10 Things To Clean and Sharpen Now So Spring Gardening Feels Easier
As the weather begins to warm up, it’s the perfect time to get your gardening tools ready for the busy spring season. Cleaning, sharpening, and maintaining your equipment now can save you time and effort later. By taking a little time to prepare your tools in late winter, you’ll reduce the risk of plant diseases, improve your efficiency, and make gardening tasks smoother. Simple steps like sanitizing, sharpening, and checking for wear will ensure you’re ready to care for your plants when the season begins.
This post may contain affiliate links, which helps keep this content free. Please read our disclosure for more info.
Pruning Shears

Pruning shears are one of the most important tools in your gardening arsenal, especially when it comes to spring gardening. Late winter is the perfect time to clean and sharpen them. Begin by disassembling the shears if possible to reach all parts. Clean the blades thoroughly with a mixture of warm water and mild soap, removing any dirt, sap, or plant material. You can also dip them in rubbing alcohol or a disinfectant to kill any bacteria or fungi that might have collected on the blades over the winter. After cleaning, dry the shears completely to prevent rust from forming.
Once they are clean, it’s time to sharpen them. Use a sharpening stone or diamond file to smooth out the blades, ensuring the cutting edge is sharp and precise. The sharper your shears, the less damage you will do to your plants when trimming, which helps prevent disease transmission. Don’t forget to check the pivot point and tighten any loose screws. This ensures the shears function smoothly, providing you with better control and reducing strain on your hands. Keeping your pruning shears in top shape will make your spring pruning tasks more efficient and less tiring.
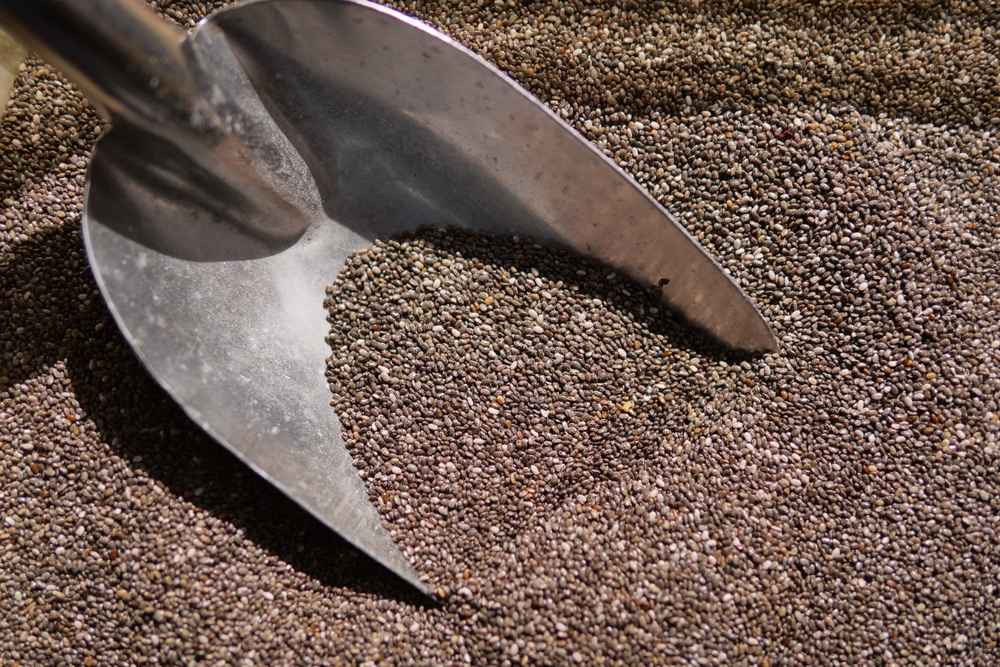
Garden Trowels
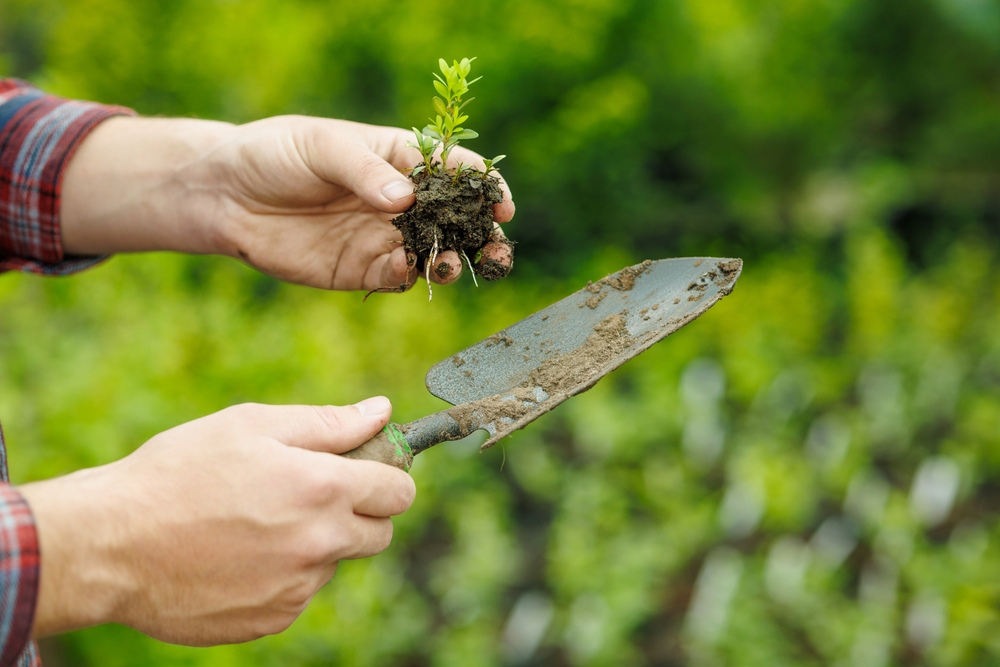
A dull garden trowel can make planting and weeding a struggle. Start by thoroughly cleaning your trowel, removing soil, sap, and any other residues that could harbor plant diseases. Use a mixture of soapy water and a scrubbing brush to clean the blade and the handle, making sure to get into any grooves or nooks where dirt can accumulate. After drying the tool, inspect the blade for nicks or dullness. A blunt blade will make digging and weeding in the spring soil more difficult and time-consuming.
Sharpen your trowel using a sharpening stone or a file, following the natural bevel of the blade. Sharpening it to a fine edge will allow it to cut through soil and plant roots effortlessly, reducing the physical strain on your hands and wrists during gardening. Pay attention to the handle as well. If it’s made of wood, apply a coat of linseed oil or beeswax to nourish and protect it from cracking or splintering over time. A well-maintained trowel will make tasks like planting bulbs, digging out weeds, and aerating soil much more enjoyable when spring arrives.
Hoes
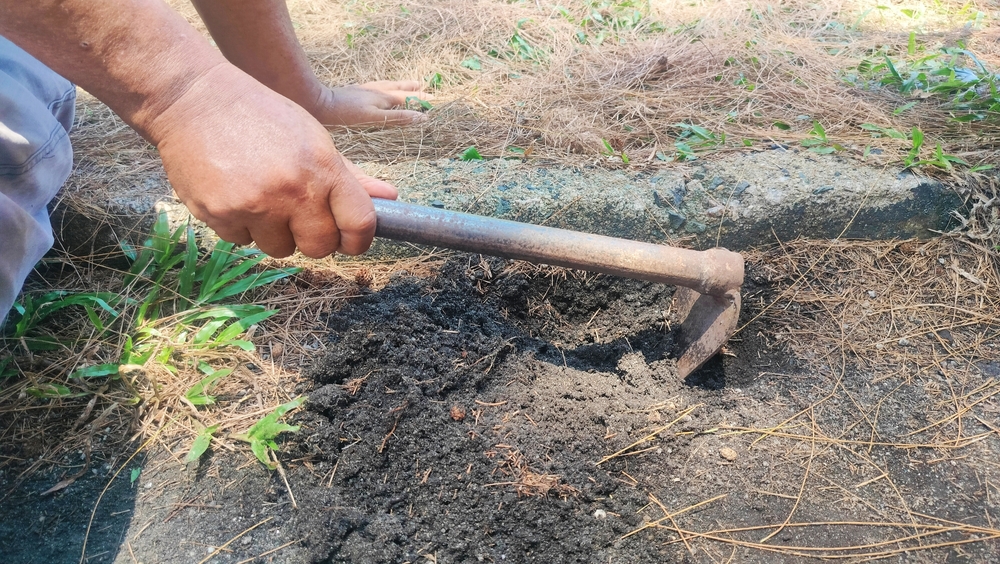
The hoe is a fundamental tool for tackling weeds and breaking up the soil, but it can accumulate soil and plant residue, leading to a decrease in efficiency. Clean the blade with a wire brush or a soapy solution to remove dirt, rust, and any plant material stuck to the surface. Once it’s clean, inspect the blade for any rust or dull spots. If you notice any, remove the rust with steel wool or a rust-removal product, then sharpen the edge with a metal file or sharpening stone. A sharp hoe will slice through weeds and soil much more effectively, reducing the amount of effort required to clear garden beds in spring.
Additionally, check the hoe handle for any signs of wear, cracks, or splinters. Sand the surface down if it feels rough and apply a wood conditioner or finish to protect it from further damage. This simple maintenance will make the hoe more comfortable to use and help prevent blisters or hand fatigue. A well-prepared hoe makes quick work of spring weed control and soil aeration, allowing you to get the garden beds ready for planting without unnecessary strain.
Spades
Spades are essential for digging, edging, and dividing plants, and they can take quite a beating during the gardening season. Clean your spade thoroughly, making sure to remove any soil or plant matter stuck to the blade. Use a wire brush to get rid of any stubborn dirt or rust, and then disinfect the blade with rubbing alcohol to prevent the spread of plant diseases. Once cleaned, dry the spade completely to avoid rust from forming on the metal.
After cleaning, it’s time to sharpen the blade. A dull spade can make digging heavy soil or cutting through plant roots much more difficult. Use a sharpening stone or metal file to carefully sharpen both sides of the blade, ensuring a smooth, sharp edge. You may also want to lubricate the spade’s handle with linseed oil to maintain its integrity. This simple step will prevent it from cracking or drying out, allowing you to handle the tool comfortably when spring gardening tasks demand a lot of digging. By taking care of your spade now, you will find that your digging tasks come spring will be easier and faster.
Rakes
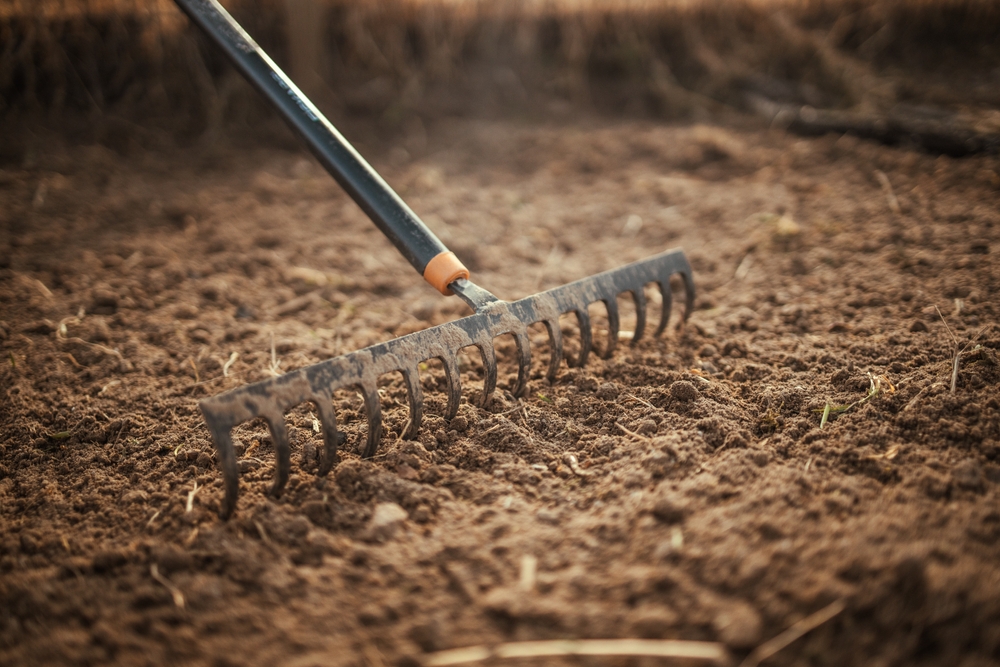
Late winter is a great time to inspect and clean your rake, especially if you have used it extensively during the fall months. Start by removing any stuck leaves or twigs from the rake’s tines. If the rake head is made of metal, use a wire brush to clean off any rust or grime. A thorough cleaning will prevent the spread of disease and ensure that the rake functions properly when you start gathering fallen leaves or breaking up soil in spring. For wooden rakes, inspect the handle for splinters or cracks and sand it down if needed.
Next, sharpen the tines of the rake using a file or sharpening stone. Sharp tines will make it easier to break up soil, collect leaves, and gather grass clippings with minimal effort. If the rake is adjustable, lubricate the joints to keep the handle extensions moving smoothly. A well-maintained rake will make cleaning up the garden and prepping your soil in spring far less exhausting, reducing the physical strain involved.
Wheelbarrows
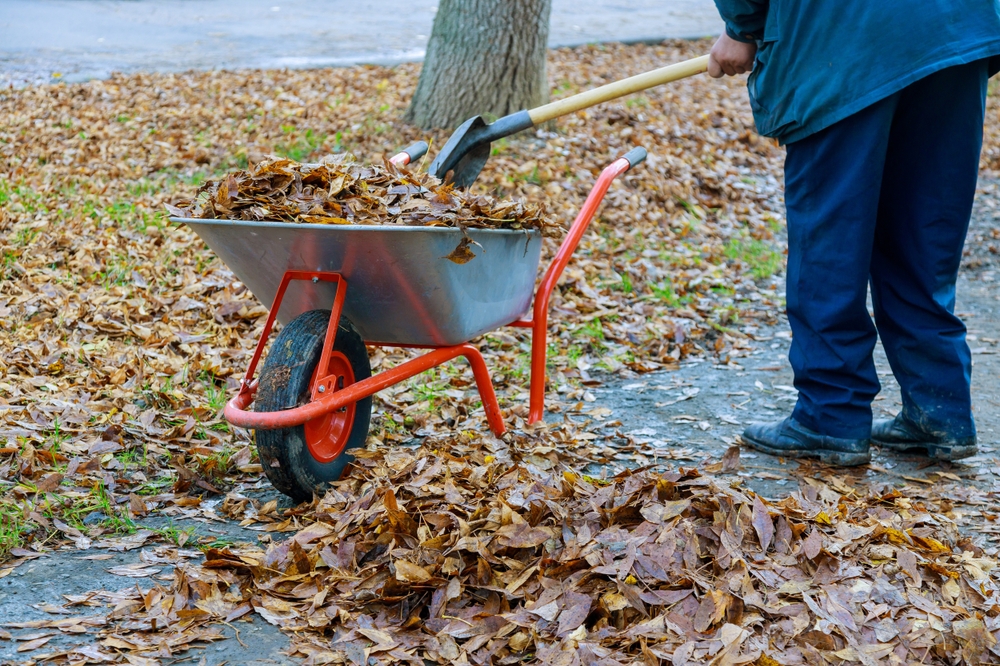
A wheelbarrow that has been neglected over the winter can become rusty, clogged, or difficult to maneuver when spring arrives. Start by giving the wheelbarrow a good cleaning, focusing on the bucket and wheels. Scrub the wheelbarrow with a stiff brush and soapy water, removing any dirt, plant material, or debris that could harbor pests or disease. If the bucket is made of metal, inspect it for rust and use a rust remover or steel wool to get rid of it. After cleaning, dry the wheelbarrow thoroughly.
Check the wheel and axle for wear. Apply oil or grease to the axle to keep the wheel moving smoothly and reduce friction. Tighten any loose bolts or screws to ensure the wheelbarrow is stable and safe to use. A wheelbarrow that’s in good condition will make hauling soil, compost, and plants much easier during spring, saving you time and energy.
Garden Gloves
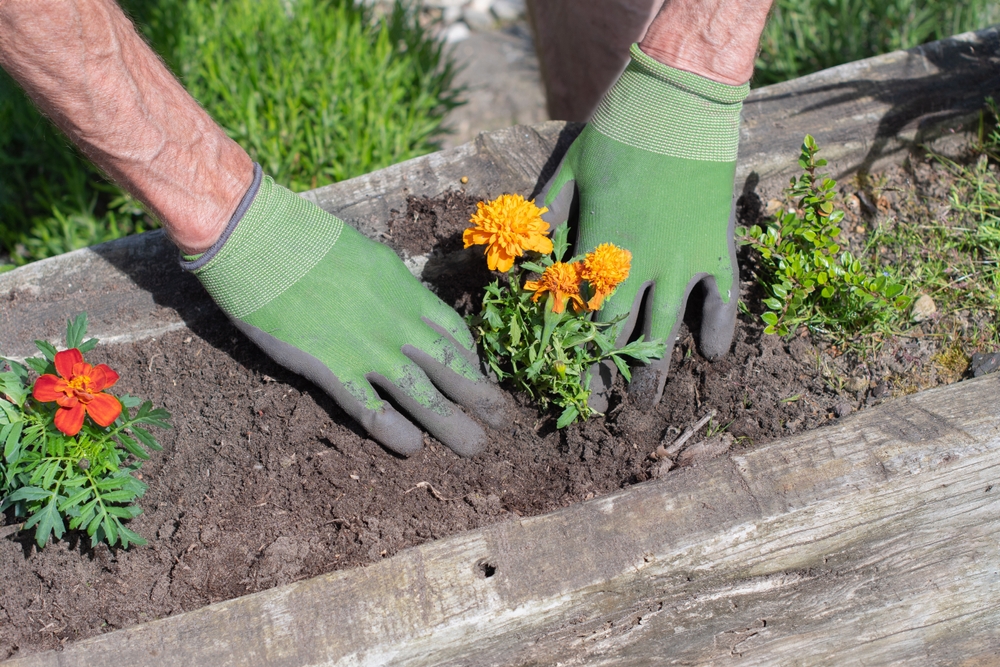
Your garden gloves might be the last thing on your mind, but they are essential for preventing blisters and protecting your hands during gardening tasks. Check your gloves for any holes, tears, or worn spots, especially at the fingertips and palms. If they’re leather, consider cleaning them with a leather cleaner and conditioning them to prevent drying out. For fabric gloves, wash them to remove any dirt and soil residue.
Once cleaned, inspect the stitching and ensure that no seams are loose. If you find any weak spots, reinforce them with a needle and thread to extend the life of your gloves. Well-maintained gloves will provide comfort and protection, making it easier to handle gardening tasks like weeding, pruning, or planting without risking cuts or skin irritation.
Garden Hoses
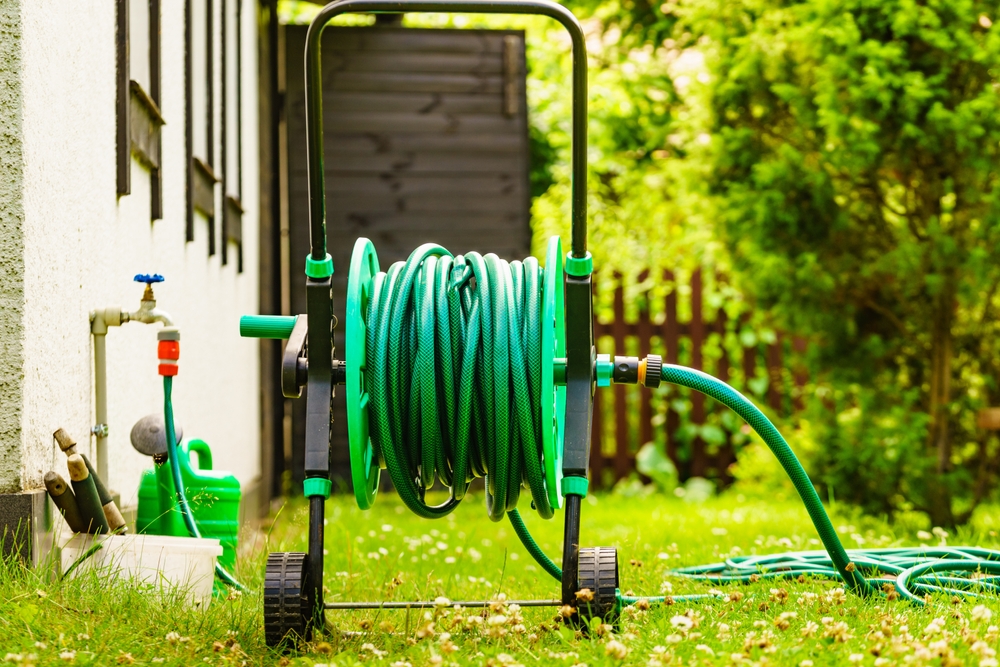
Over the winter, garden hoses can get kinked, cracked, or clogged, which makes them harder to use in the spring. Start by draining the hose completely to avoid any frozen water from damaging the interior. Inspect the hose for any visible cracks, holes, or leaks, and replace any damaged sections with hose repair kits. Make sure the hose connectors are tight and free from any debris.
Next, clean the hose nozzle by soaking it in warm soapy water and removing any built-up mineral deposits. This will ensure a steady and even water flow when you need it. If your hose is stored outdoors, invest in a hose reel to keep it organized and protected from the elements. A well-maintained hose will help you water your plants efficiently during the growing season, reducing the hassle of tangled or leaking hoses.
Garden Carts
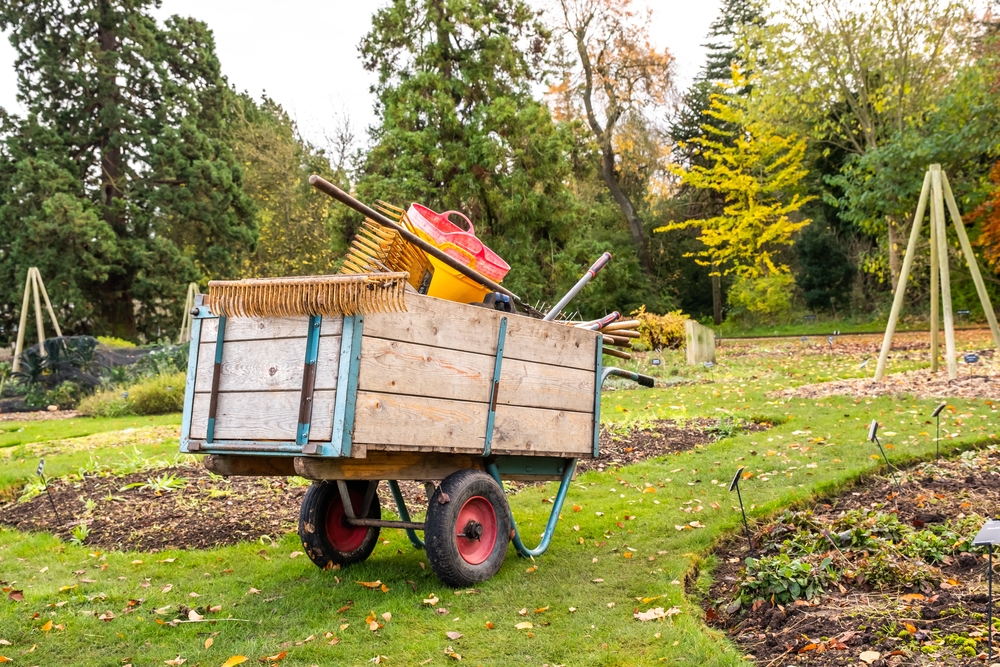
Garden carts can often carry heavy loads, so they require proper maintenance to ensure they function smoothly in spring. Start by cleaning the cart, removing any soil or plant material that may have built up over the fall and winter months. Use a garden hose to wash it down and scrub away any dirt stuck in the wheels, axles, and frame. This will help prevent rust and the spread of disease.
Once cleaned, check the wheels for wear and tear. Lubricate the axles to ensure smooth movement, and replace any worn-out tires. Tighten any loose bolts or screws to ensure the cart remains stable when carrying heavy loads. A well-maintained garden cart will help reduce the physical effort involved in transporting materials around the garden, allowing you to focus more on planting and tending to your plants.
Lawn Mowers

The lawn mower is one of the most used tools in spring gardening, so preparing it early will save you time and stress. Begin by cleaning the mower, removing any grass clippings or dirt from the blades and undercarriage. Use a stiff brush and soapy water to scrub away debris, ensuring the mower runs smoothly when it’s time to cut the lawn.
Next, sharpen the mower blades using a sharpening stone or a mower blade sharpener. Dull blades can tear the grass rather than cutting it cleanly, which can lead to brown tips and an unhealthy lawn. Check the oil levels, clean or replace the air filter, and ensure the spark plugs are in good condition. This simple maintenance will make mowing your lawn more efficient and reduce strain on the engine, ensuring that your mower is ready for action when the grass starts to grow.
This article originally appeared on Avocadu.