14 Simple Soil Tests You Can Do Before Planting Season
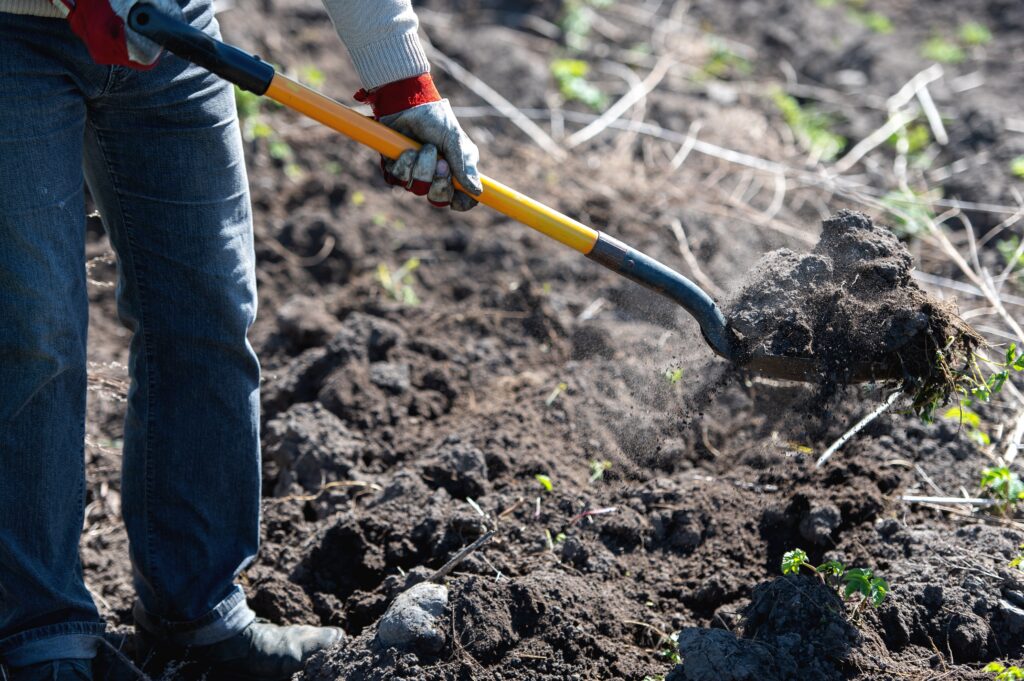
Planting season goes smoother when you know what is happening under the surface. A few quick at home checks can tell you if your soil drains well, feels compacted, or needs more organic matter. These simple tests take minutes, use basic tools, and can help you decide what to fix before you put a single plant in the ground.
This post may contain affiliate links, which helps keep this content free. Please read our disclosure for more info.
Jar Soil Texture Test
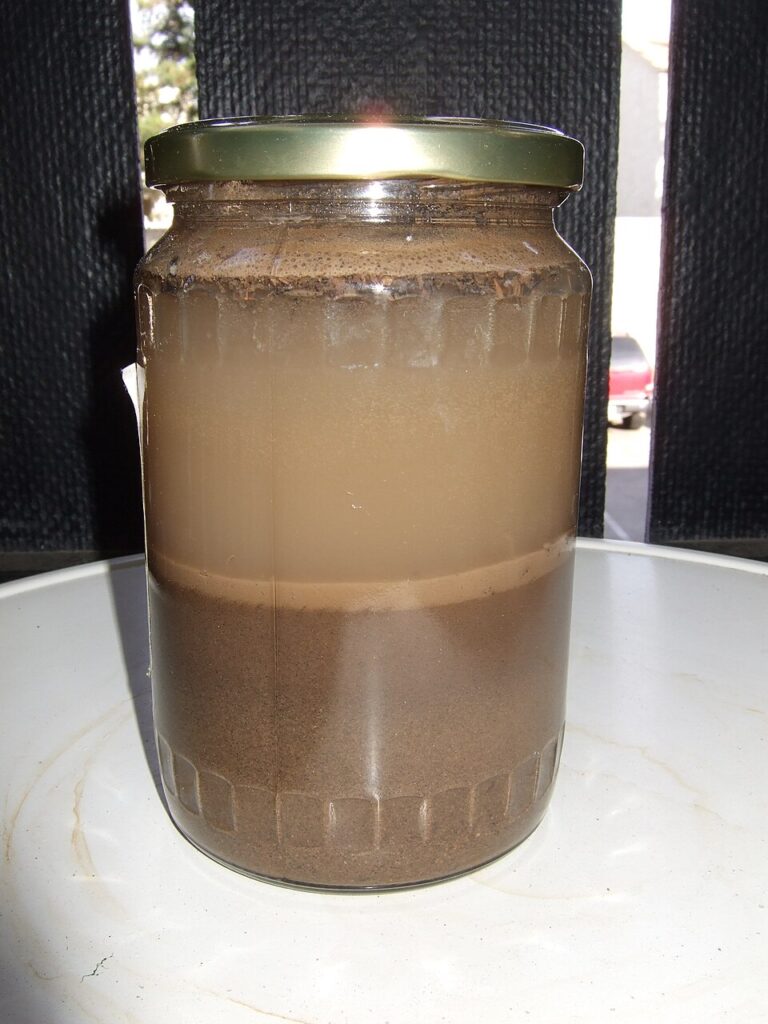
Fill a clear jar about one third full with dry soil from a few spots in your bed. Add water until it is almost full, then add a drop of dish soap and shake hard for a minute. Set it on a counter where it will not get bumped and watch the layers settle over the next day. Sand settles first, silt sits in the middle, and clay forms the finest layer near the top.
After the jar has fully settled, measure each layer with a ruler or mark it with tape. A thick sand layer usually means fast drainage and quicker drying in warm weather. A thick clay layer can mean slow drainage and soil that stays sticky after rain. Use what you see to decide if you want compost for better crumb, or grit and organic matter for heavier soil.
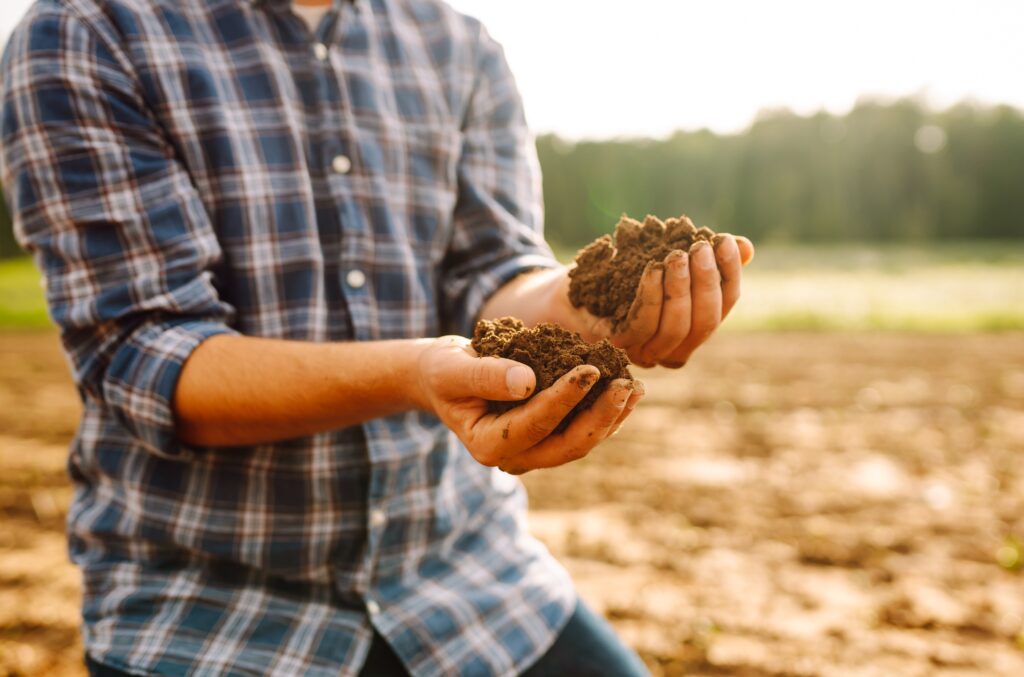
Soil Squeeze and Ribbon Test

Grab a handful of soil from a few inches down, then add a tiny splash of water if it is bone dry. Squeeze it in your fist and open your hand to see what it does. If it falls apart right away, it may be sandy or low in organic matter. If it holds together in a firm clump, it may have more clay.
Next, pinch the soil between your thumb and forefinger and try to press it into a ribbon. A short ribbon that breaks quickly usually points to loam or sandy loam. A long ribbon that holds its shape often means higher clay content. This matters because clay can hold water well, while sand can lose it fast.
Handful Crumb Test
Dig a small scoop of soil and rub it gently between your fingers. Good garden soil tends to break into small crumbs that look like coarse chocolate cake. If it feels dusty and slides through your fingers, it may need more organic matter. If it feels gummy and smears, it may be holding too much water or be clay heavy.
Try the same test after the soil has dried for a day or two, since texture can change with moisture. Crumbs that stay stable without turning to powder usually mean better structure. Soil that forms hard chunks can be a sign of compaction or low organic matter. A few inches of compost worked into the top layer can help the crumb over time.
Soil Smell Check

Take a small handful of damp soil and bring it close to your nose. Healthy soil often smells earthy, like a forest after rain. A sour or rotten smell can point to poor drainage or soil that stays waterlogged. A sharp chemical smell can mean something spilled, or that the bed needs a good flush with water and time.
Do this in a few spots, especially where plants struggled last season. If one section smells different, dig a little deeper to see if there is standing water or a dense layer below. Beds near downspouts can stay wet longer than you think. If the soil smells off, focus first on drainage and air flow through the soil.
Soil Color Check
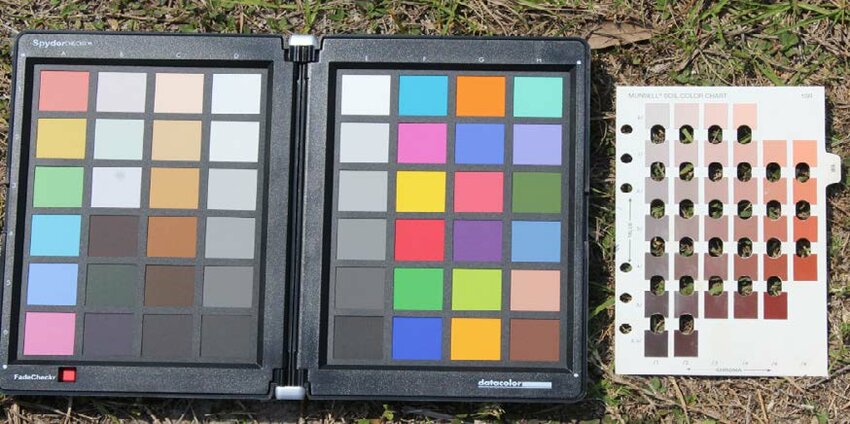
Look at your soil in natural light, not under a yellow bulb. Dark brown or nearly black soil often has more organic matter mixed in. Pale tan soil can be sandy or low in organic material. Gray soil, especially with mottled spots, can hint at poor drainage.
Dig a small hole and look at the color a few inches down, not just the surface. Sometimes the top looks darker because of mulch, while the layer below is lighter and tighter. If you see rusty orange streaks, that can happen where water moves through the soil. Use color as a clue, then pair it with a drainage test so you are not guessing.
Worm Count Test
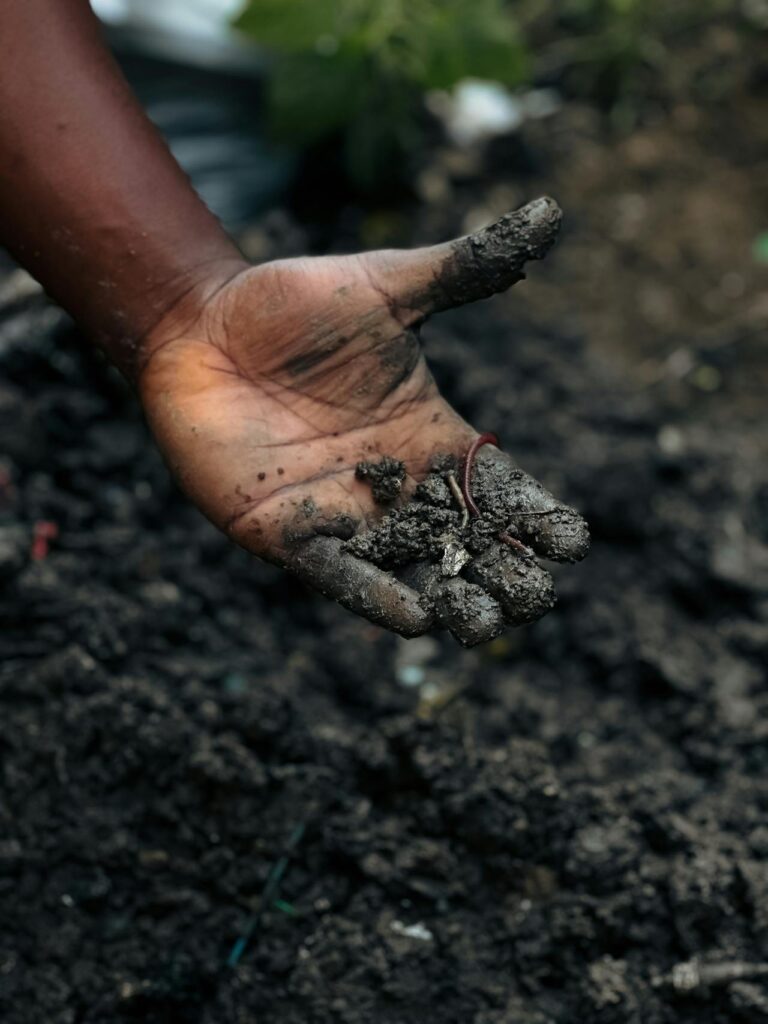
Pick a cool, damp day and mark off a square about one foot by one foot. Dig down about six inches and place the soil on a tarp or a piece of cardboard. Break it apart with your hands and count the worms you find. More worms usually means a happier soil food web and more natural mixing.
If you find very few worms, do not panic, but treat it as a sign to feed the soil. Add compost, chopped leaves, or aged manure, and keep the bed evenly moist when you can. Avoid digging the bed over and over, since that can disrupt worm tunnels. Come back in a month or two and repeat the count in the same spot.
Shovel Slice Root Zone Look
Push a shovel straight down and lift out a clean slice of soil, like you are taking a piece of cake. Look at the side of the slice for layers, cracks, and old roots. A loose top layer with lots of small pores usually means good air space. A tight, smooth layer can point to compaction.
Check for old roots that stop abruptly or turn sideways, which can happen when roots hit a hard layer. If the soil is full of fine roots, it often means plants were able to explore the area well. If you see a dense layer a few inches down, consider loosening that zone with a garden fork. Mixing in compost can help keep it from packing back down so quickly.
Infiltration Test With a Coffee Can Ring
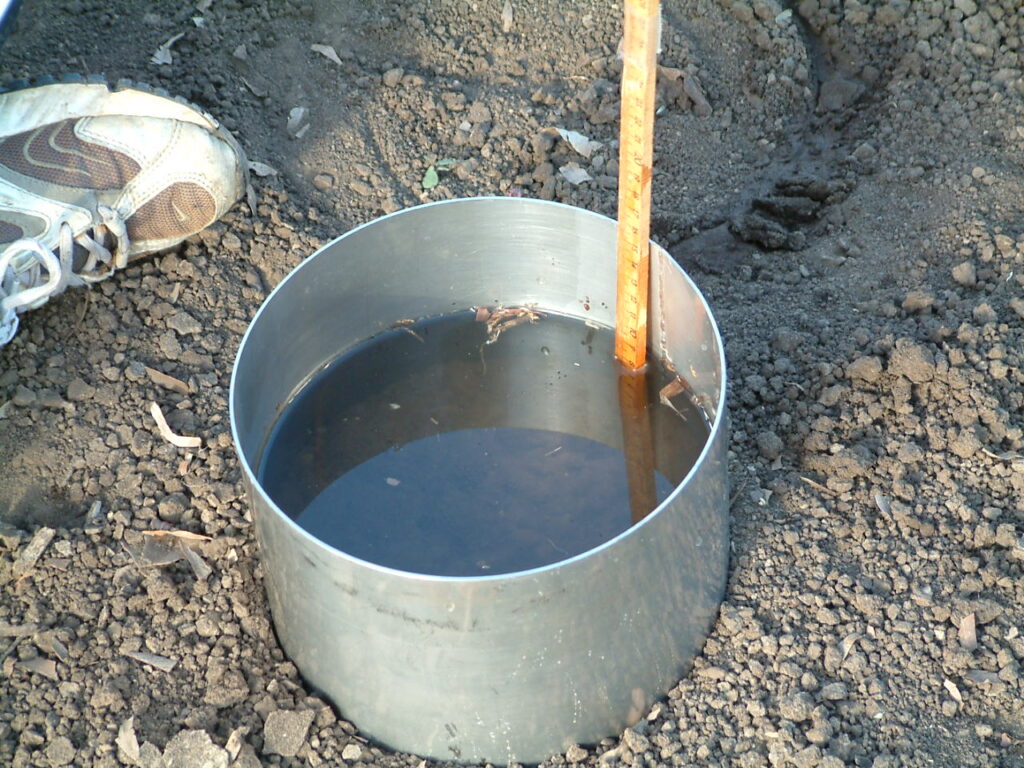
Remove both ends of a large coffee can or use a short section of wide PVC pipe. Press it a couple inches into the soil so water will not leak out the sides. Pour in a measured amount of water, like one inch, and time how long it takes to soak in. This gives you a simple read on how fast water enters the soil surface.
If the water sits for a long time, crusting or compaction may be slowing things down. If it disappears almost instantly, the bed may drain fast and dry out quickly in summer. Repeat the test in a few spots, since one area can behave very differently from another. Your goal is a steady soak in, not puddles and not a vanishing act.
Percolation Drainage Hole Test
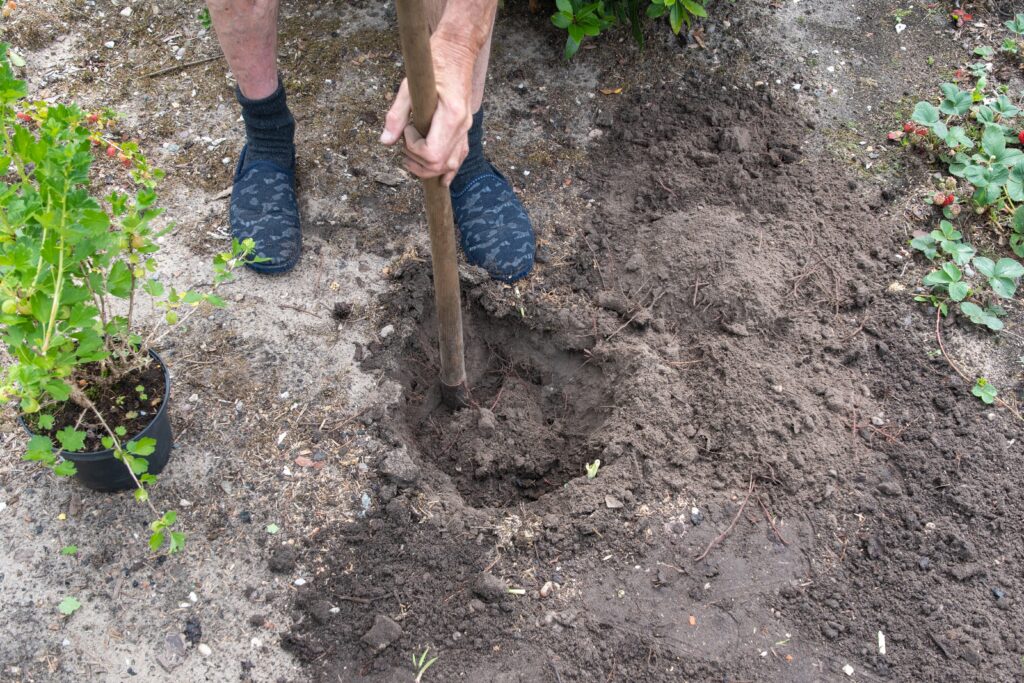
Dig a hole about one foot deep and about six inches wide. Fill it with water once and let it drain fully to pre wet the surrounding soil. Then fill it again and measure how much the water level drops over an hour. This shows how the deeper zone handles water, not just the surface.
If the water barely drops, the soil may be heavy, compacted, or sitting over a dense layer. If it drops too fast, the bed may struggle to hold moisture between waterings. Sandy beds often do fine with more compost and mulch to slow drying. Heavy beds often improve with organic matter and less foot traffic on the planting area.
Soil Crust Test After Watering
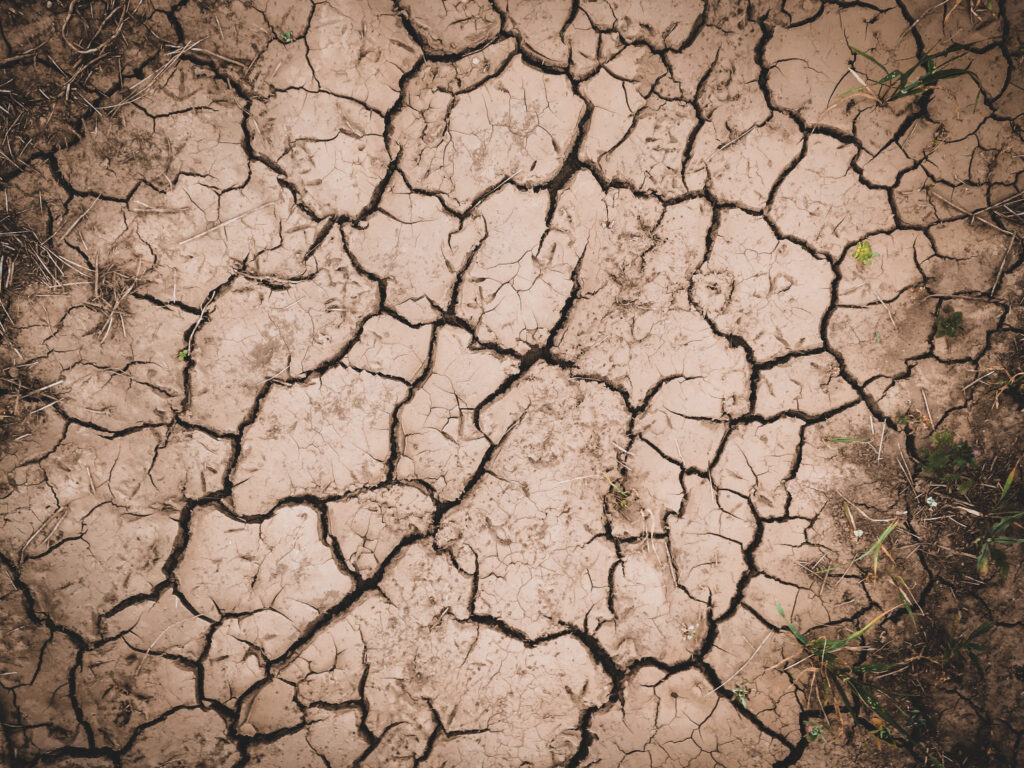
Water a bare patch of soil the way you normally would, then let it dry for a day. Come back and look for a hard surface skin that cracks like tiny plates. Crusting can block seedlings from pushing through and can make water run off instead of soaking in. It is common in fine textured soils with little cover.
Run your fingers across the surface and see if it breaks into soft crumbs or hard flakes. If it crusts easily, keep the soil covered with mulch, leaf mold, or a light layer of compost. Watering more gently can also help, especially with a hose nozzle that does not blast the soil. A thin cover crop can protect the surface if you have time before planting.
DIY pH Test With Red Cabbage Indicator
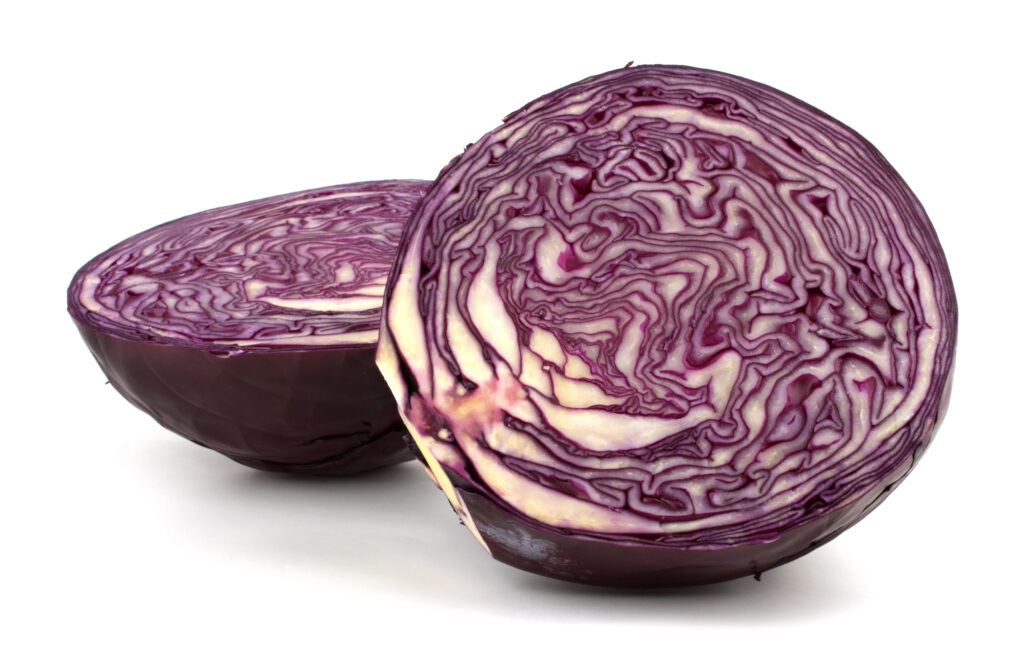
Chop a few leaves of red cabbage and simmer them in water, then let the liquid cool. Put a small scoop of soil in a cup and add a bit of the purple cabbage water. Stir and let it sit, then look at the color shift. A pink or red tint can point to acidic soil, while a greenish or blue tint can point to alkaline soil.
This is not a lab test, but it can give you a general sense of where you stand. Try it with soil from different beds so you do not miss a problem spot. If the color suggests strong acidity or strong alkalinity, a basic store bought test kit can confirm it. Most garden plants do well in a middle range, so the goal is to avoid extremes.
Vinegar and Baking Soda Fizz Test
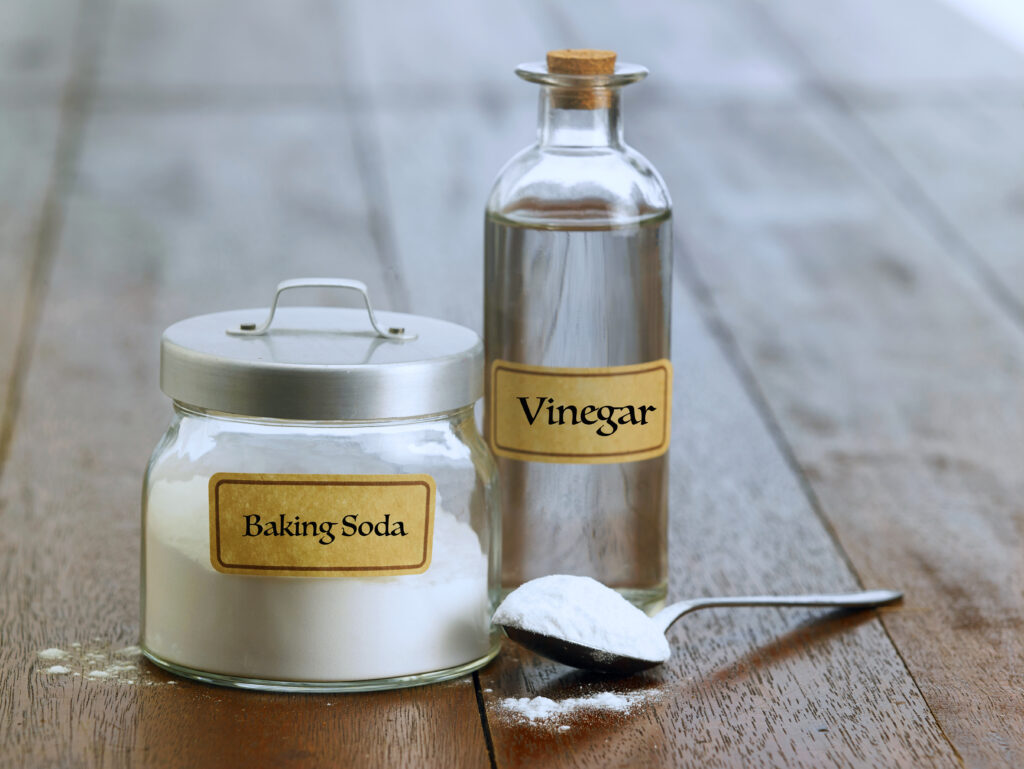
Place two small soil samples in two separate cups. Add a splash of vinegar to the first cup and watch for bubbles. Bubbling can suggest the soil has free lime and may lean alkaline. In the second cup, add a little water to make the soil muddy, then sprinkle baking soda and watch for fizz.
Fizzing with baking soda can suggest the soil leans acidic. This test is rough, but it is quick and can point you toward a proper pH test if you need one. Use clean cups and fresh ingredients so the reaction is easier to see. If nothing fizzes at all, your soil may be closer to neutral, or the reaction may be too mild to notice.
Mulch Layer Depth Check
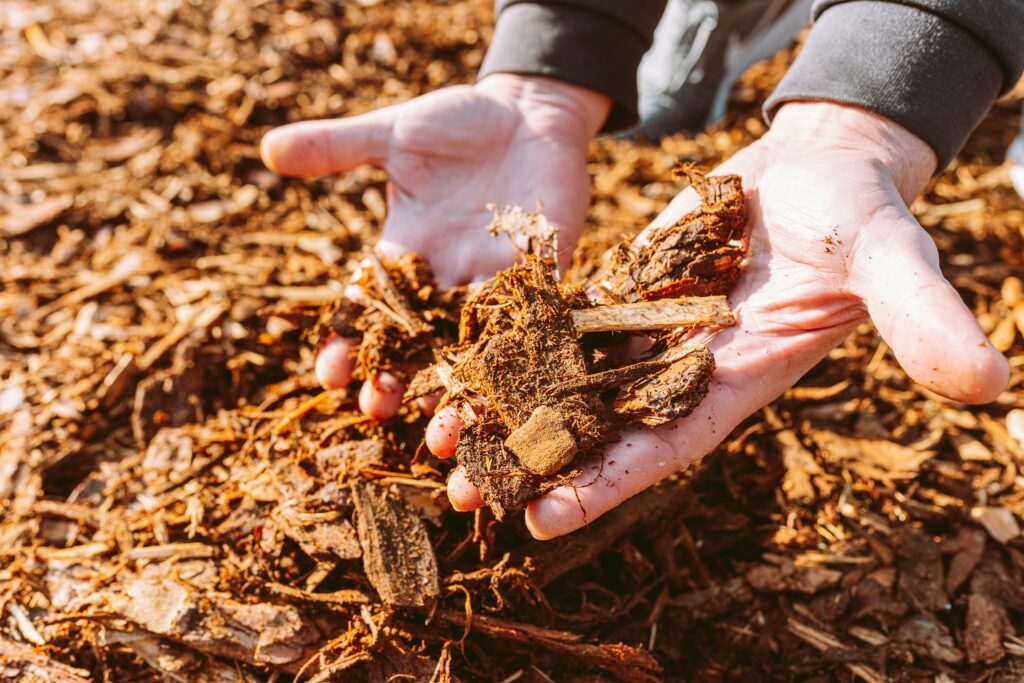
Use your fingers or a small trowel to measure how thick your mulch layer is. Too little mulch can let soil dry fast and can leave the surface open to crusting. Too much mulch can keep the soil cold and can hide slugs near tender starts. A common sweet spot is a couple of inches, with a little space around plant stems.
Look under the mulch for how the soil feels and smells. If it is soggy and matted, fluff the mulch and let more air move through. If the mulch has broken down into a dark layer, that is good food for the soil, so you can top it up lightly instead of piling on thick. Matching mulch depth to your weather and plant timing can make spring work easier.
Simple Soil Temperature Check With a Kitchen Thermometer
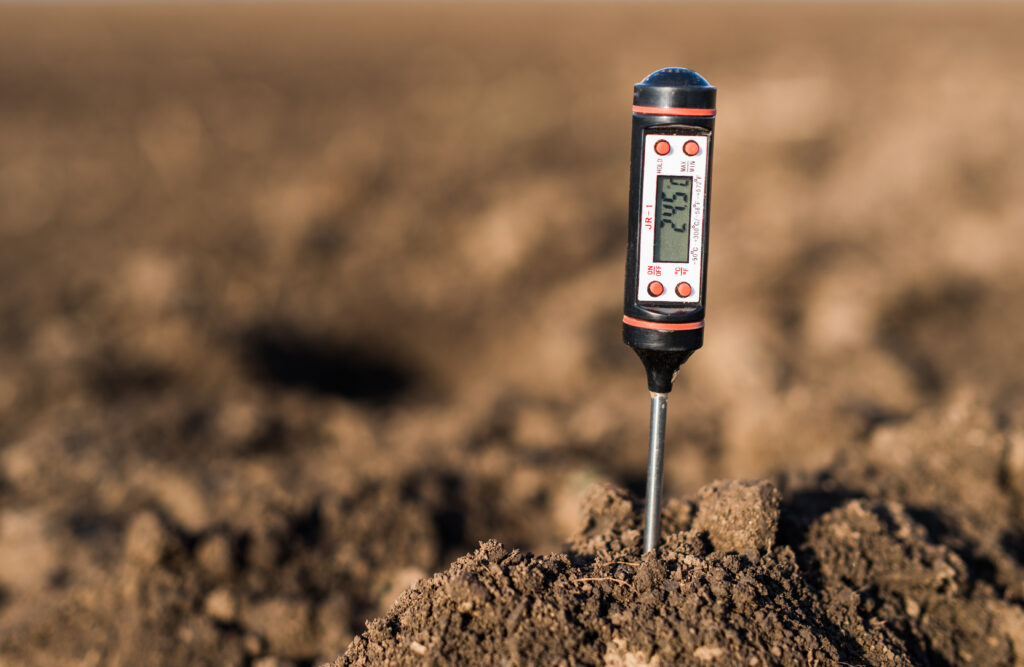
Stick a clean kitchen thermometer a few inches into the soil in the morning. Take readings in sun and shade, and also in raised beds if you have them. Soil temperature helps you decide when seeds will sprout and when transplants will settle in. Cold soil can slow growth and can lead to rot for some crops.
Write down the numbers for a few days, since one warm afternoon can fool you. Warm season plants usually want warmer soil, while peas and greens handle cooler ground. Dark mulch and raised beds tend to warm faster than bare ground in a low spot. If the soil is still chilly, you can wait a bit or use clear plastic for a short time to warm the bed.
This article originally appeared on Avocadu.