13 Glow Tricks People Use for Holiday Photos
Holiday photos tend to show every shadow and strange light angle, especially during busy gatherings. Small changes in where you stand, how light hits your face, and what is around you can make photos look softer and more balanced. These simple glow tricks are easy to use at home and work well for group shots or quick phone photos.
This post may contain affiliate links, which helps keep this content free. Please read our disclosure for more info.
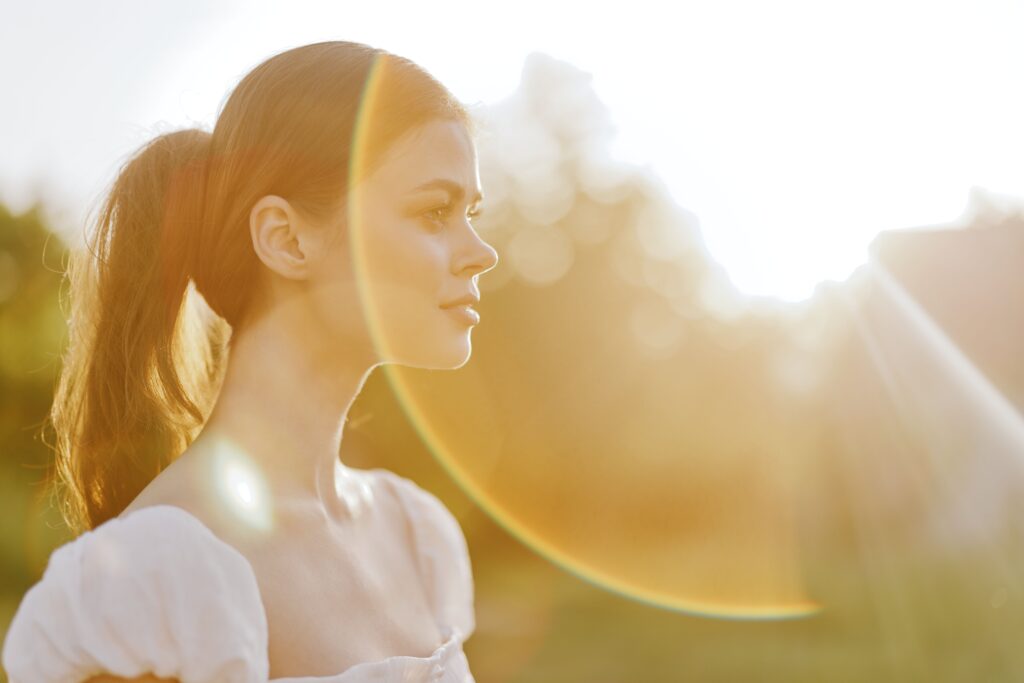
Face Toward Window Light Instead of Overhead Lighting

Natural window light falls across the face in a softer way than ceiling fixtures, which often cast shadows under the eyes and nose. Standing near a window helps skin look more even and reduces harsh contrast that cameras tend to exaggerate. Morning or late afternoon light works especially well because it is less sharp. Even cloudy daylight usually looks better than indoor bulbs.
Try turning your body slightly toward the window instead of facing it straight on. This angle adds shape without creating deep shadows. If the window is bright, take a small step back so the light spreads more gently across your face. This works well for both solo photos and group shots.
Use a Sheer Curtain to Soften Harsh Daylight
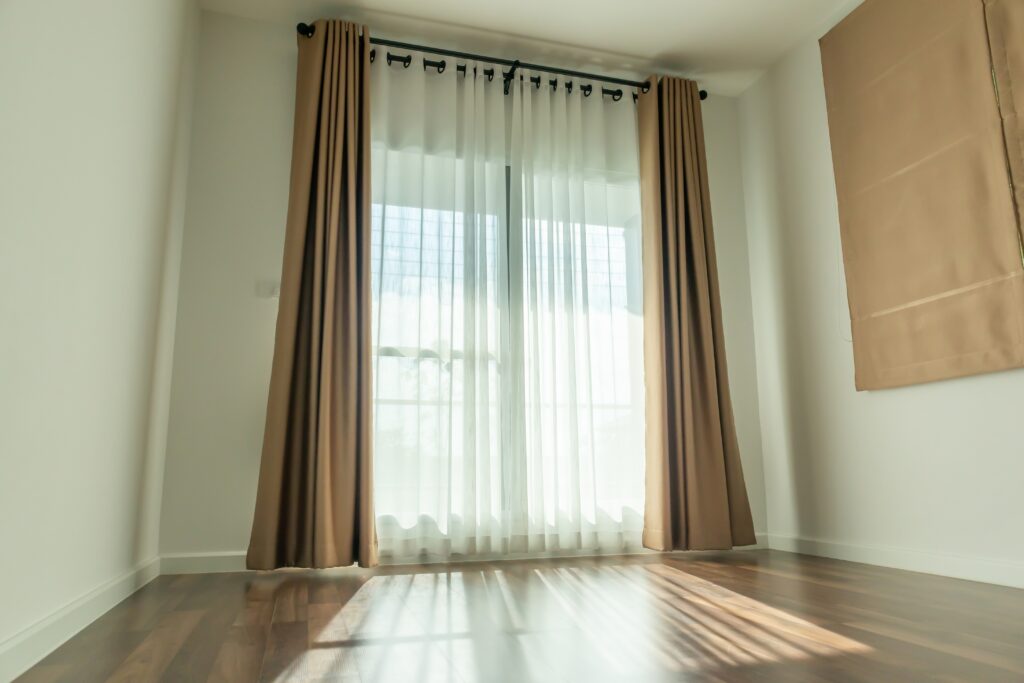
Direct sunlight through a bare window can wash out skin and cause squinting. A sheer curtain diffuses that light and spreads it more evenly. This makes faces look smoother and tones down bright spots. Many homes already have sheer panels that work perfectly.
If you do not have curtains, a thin white sheet can work in a pinch. Keep it loose rather than pulled tight so light scatters naturally. Stand a few feet back from the window for best results. The camera will read the light as softer and more flattering.
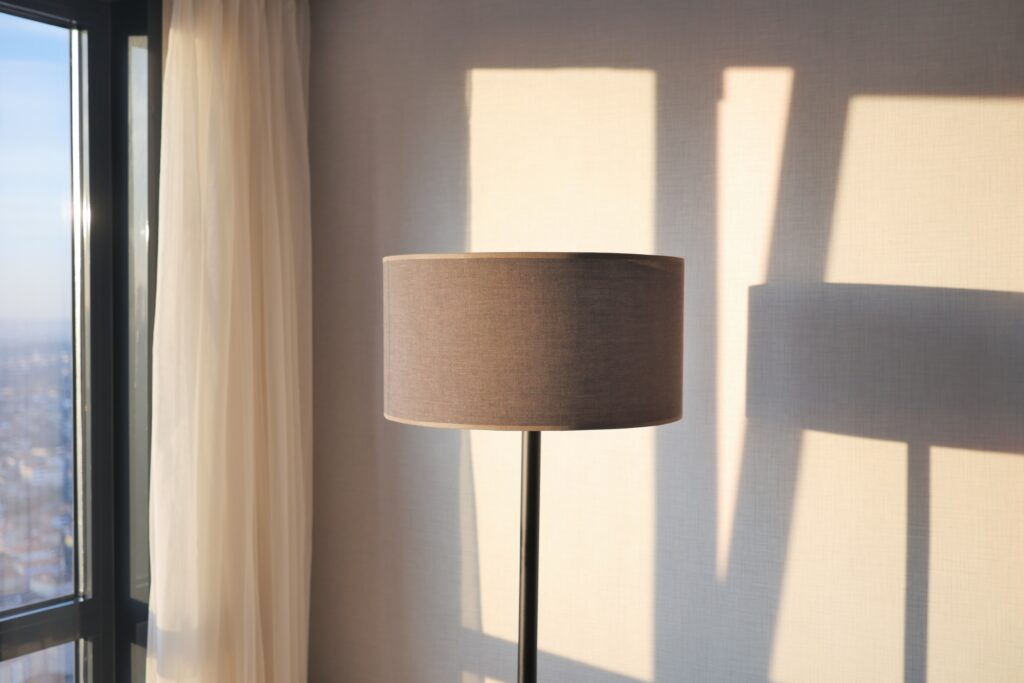
Turn Off Yellow Lamps Before Taking Photos

Warm lamps often add a yellow or orange cast that cameras struggle to balance. Skin can look dull or uneven under mixed lighting. Turning off lamps helps daylight remain the main source. This keeps colors more natural.
If you need extra light, use white bulbs instead of warm ones. Try to avoid having multiple light tones in the same room. One consistent light source makes editing unnecessary later. Photos usually look cleaner right away.
Hold a White Card or Phone Screen Below the Face

Light bouncing up from below helps soften shadows under the eyes and chin. A white card, napkin, or even a phone screen works well. This trick is common in casual portraits because it is quick and simple. It adds brightness without looking obvious.
Hold the card just out of frame near chest level. Angle it slightly toward your face so light reflects upward. This works best near a window or lamp. It can make tired skin look more awake.
Step a Few Feet Away From the Tree Lights

Holiday tree lights are pretty but can create uneven spots on the face. Standing too close often causes bright dots and strange color casts. Taking a few steps back lets the lights blur softly in the background. This keeps attention on faces instead of glare.
Position the tree behind you rather than beside you. Make sure the main light still hits your face from the front or side. The lights will look festive without overpowering the shot. Cameras handle this balance much better.
Choose One Main Light Source and Ignore the Rest
Multiple light sources can confuse a camera and flatten features. Picking one main light helps keep shadows consistent. This usually means a window or a single lamp. Everything else should be turned off or ignored.
Stand so the main light hits one side of your face. Let the other side fall slightly darker for depth. This simple setup often looks more polished than bright rooms. Photos feel calmer and more natural.
Raise the Camera Slightly Above Eye Level
Cameras placed too low can exaggerate shadows and angles. Holding the camera slightly above eye level smooths features. It also helps light reach the eyes more evenly. Many people find this angle instantly more flattering.
Ask someone to hold the phone a bit higher than usual. Tilt it down gently rather than sharply. This keeps proportions balanced. The difference is subtle but noticeable.
Stand Sideways to the Light and Turn the Face Gently
Facing light straight on can flatten the face. Standing sideways adds shape while keeping skin evenly lit. Turning the face slightly back toward the light softens shadows. This creates a natural glow without harsh contrast.
This position works well near windows or lamps. Adjust slowly until the light hits the cheek and eye area. Small movements matter here. Take a few test shots to find the best angle.
Use Neutral Walls or Curtains to Bounce Light

Light-colored walls help reflect light back onto the face. This fills in shadows without adding extra lamps. Neutral colors work best because they do not tint skin. White, beige, or light gray are ideal.
Stand near the wall but not directly against it. Let the reflected light soften your features from the side. This is especially helpful in darker rooms. It gives a balanced look with little effort.
Take Photos During Late Afternoon Golden Light
Late afternoon light is softer than midday sun. It creates gentle highlights without sharp shadows. Skin often looks warmer and smoother at this time. Many photographers prefer this window for portraits.
If indoors, open curtains wide during this time. If outdoors, face the light rather than standing with it behind you. The glow feels natural and relaxed. Photos often need no adjustment.
Avoid Flash and Increase Room Light Instead
Camera flash can flatten faces and create harsh shine. It also tends to wash out skin tone. Increasing room light gives better results. Lamps or windows provide softer coverage.
Turn on extra lights behind the camera rather than near the subject. This spreads light more evenly. Keep the room bright but not glaring. Faces will look more natural on camera.
Keep Hair Away From the Face to Catch More Light
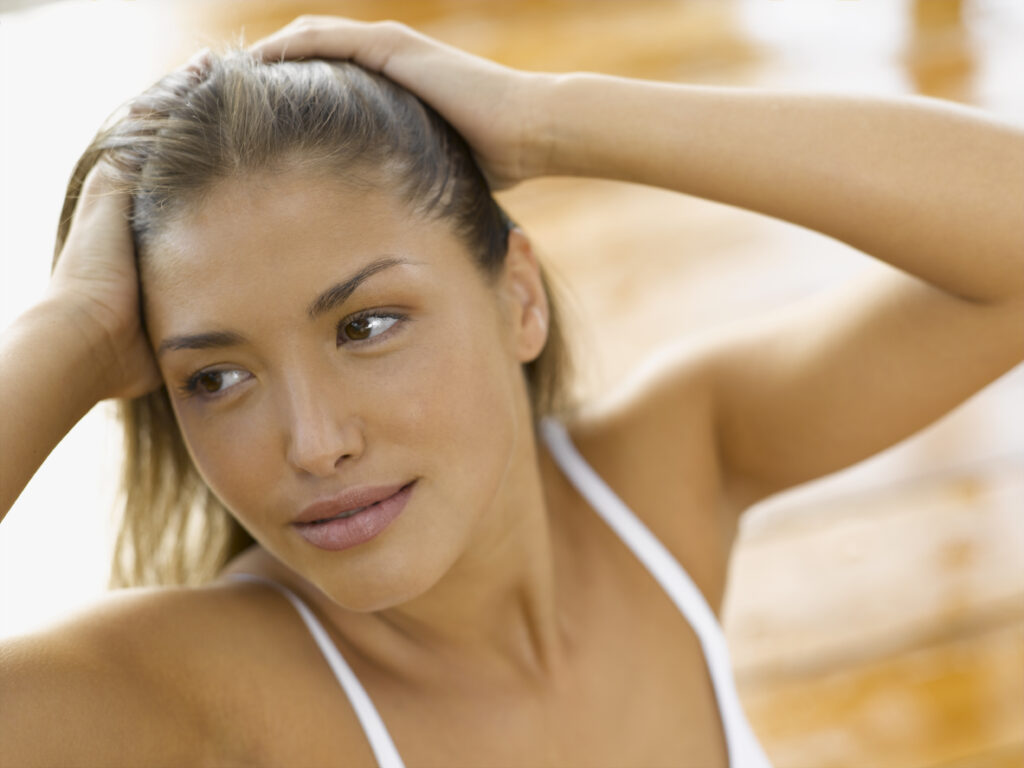
Hair falling forward can block light and create shadows. Pulling it back slightly helps light reach the face. This makes skin look clearer and eyes brighter. It also keeps features defined.
You do not need a full hairstyle change. Simply tuck hair behind one ear or move it off the cheeks. This small adjustment can change the entire photo. Light reaches the skin more evenly.
Wear Soft Shimmer Makeup Instead of Heavy Sparkle
Heavy sparkle reflects light unevenly and can look harsh on camera. Soft shimmer adds a gentle glow without sharp shine. Cream or satin finishes usually photograph better. They blend smoothly under light.
Focus shimmer on high points like cheeks or eyelids. Avoid chunky glitter that catches too much light. Less product often looks better in photos. The goal is subtle warmth, not shine.
This article originally appeared on Avocadu.