10 Easy Seed-Starting Tasks for February That Make Spring Planting Smoother
As the days grow longer, February is the perfect opportunity to prepare for a fruitful spring garden. Starting seeds early can give your plants a head start, making the planting process easier. By taking a few simple steps now, you will be ready for the warmer months ahead. These tasks will help set the foundation for healthy, thriving plants.
This post may contain affiliate links, which helps keep this content free. Please read our disclosure for more info.
Clean and Prepare Seed Trays
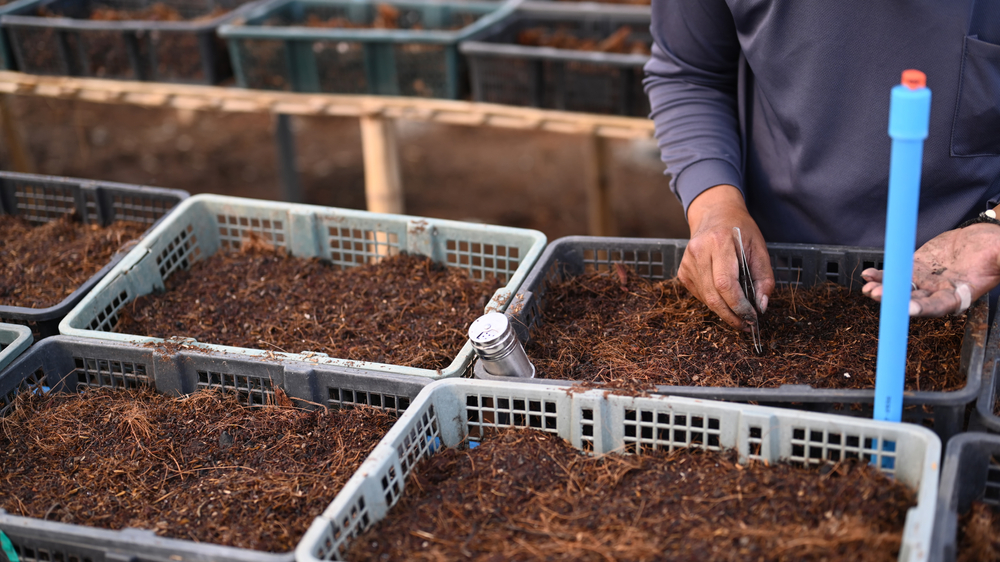
Before starting your seeds, one of the first steps is to clean and prepare your seed trays. Over time, trays can accumulate dust, mold, and pests that may interfere with the health of your seedlings. Cleaning them thoroughly ensures that any harmful residues are removed, allowing your seeds the best chance of germinating and growing healthy. A simple wash with soapy water followed by a rinse should be sufficient to eliminate most potential issues.
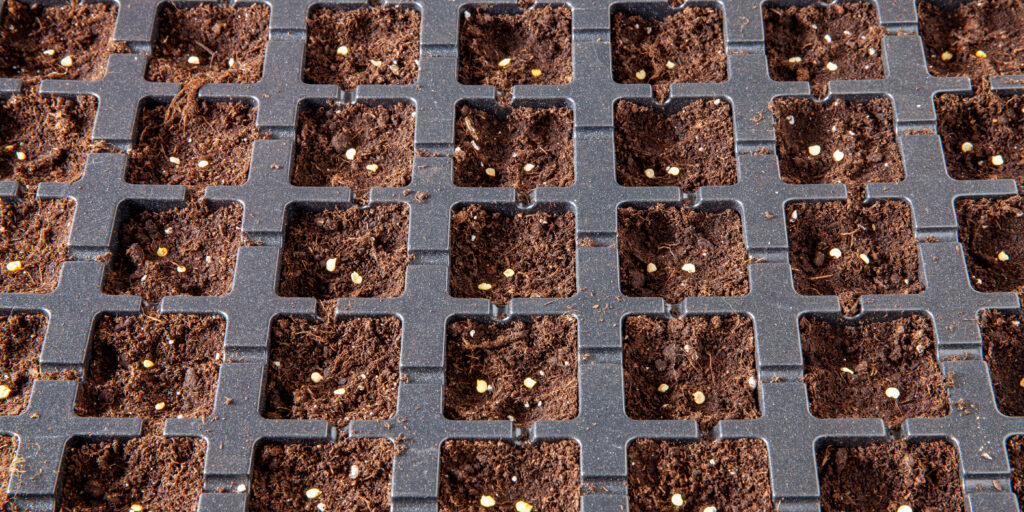
Once the trays are cleaned, check their condition to ensure they are sturdy and functional. If they are cracked or damaged, replace them with new ones to prevent soil leakage or uneven watering. After cleaning and inspecting, fill each tray with fresh, light potting mix. This simple task provides a clean, safe environment for your seeds to thrive, making it an important part of the seed-starting process.
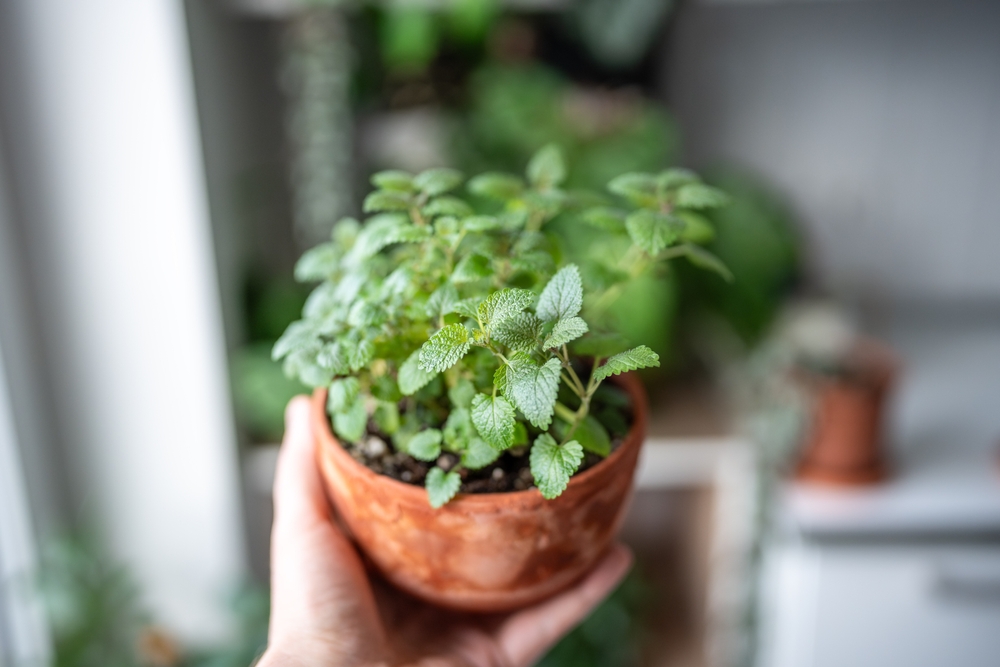
Start Indoor Herbs
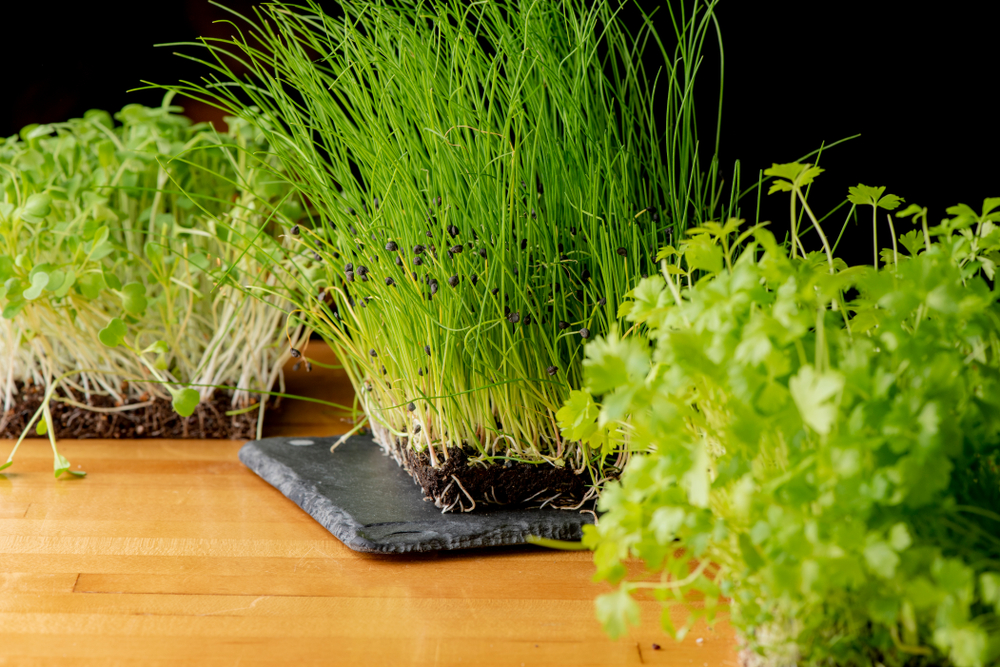
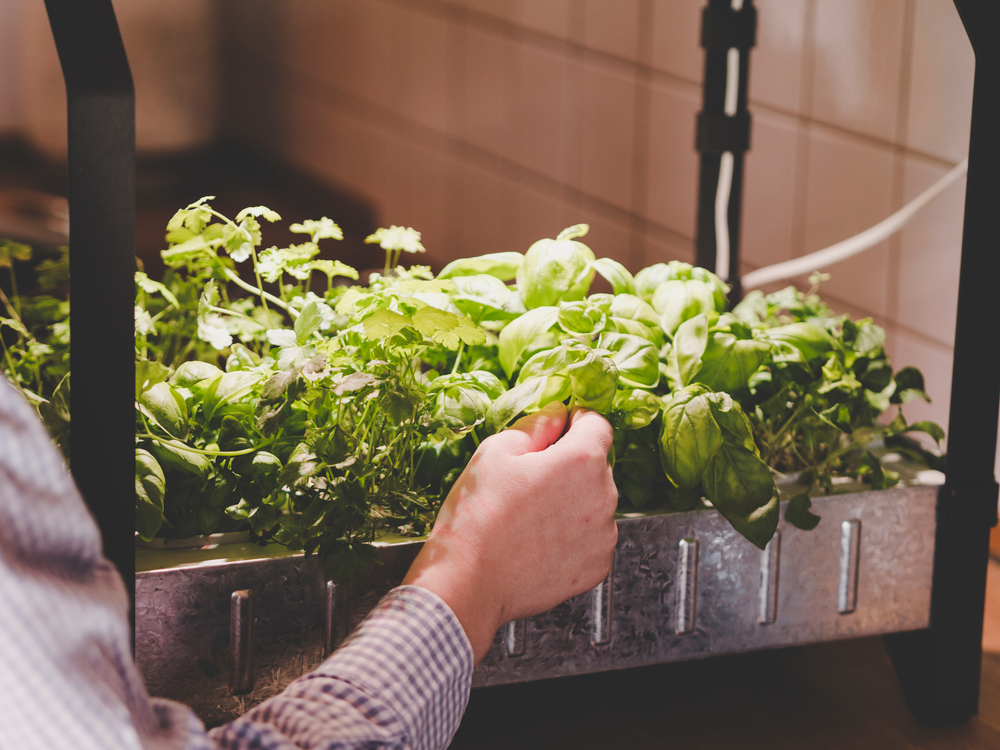
Starting herbs indoors during February is a great way to get ahead on your spring garden, especially for those herbs that are sensitive to cold temperatures. Herbs like basil, parsley, thyme, and oregano can be planted in small pots or seed trays and will benefit from the warmer indoor climate until the outdoor temperatures are right for planting. Begin by filling containers with well-draining potting mix, ensuring that each herb has enough space to grow. Indoor herbs are perfect for windowsills or under grow lights, where they can get the light and warmth they need.
As the herbs begin to grow, be sure to monitor the moisture levels, keeping the soil consistently moist but not soggy. Herbs generally do not require deep pots, so smaller containers are fine. The key to healthy herbs is regular trimming, which encourages fuller, more flavorful growth. These early-started herbs will be well-established by the time the weather warms up, and you can transfer them to your garden or containers outdoors.
Pre-Germinate Seeds
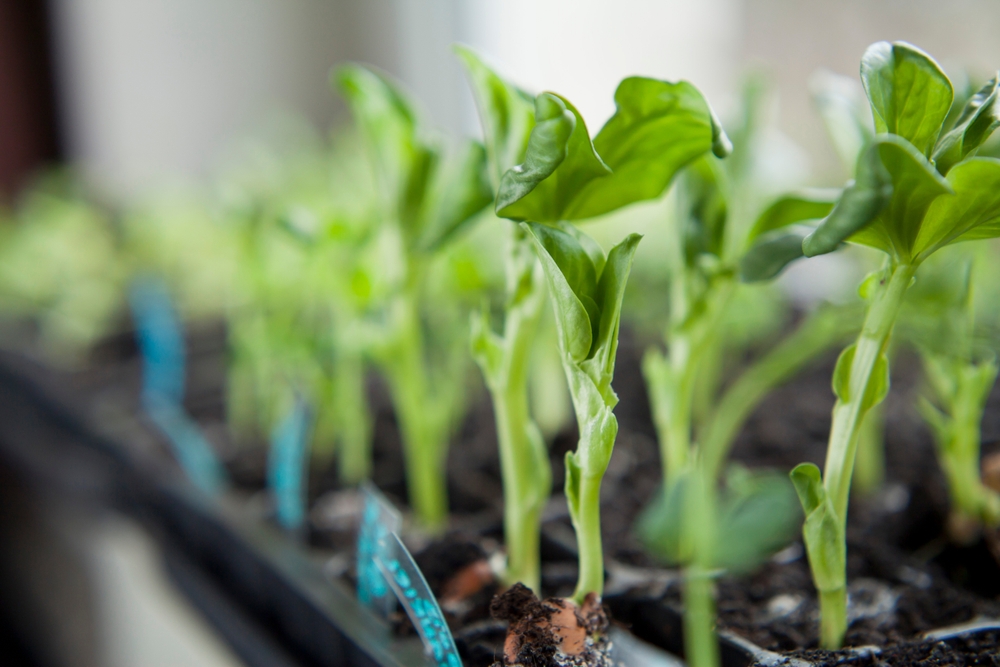
Pre-germinating seeds is an excellent method for speeding up the planting process and ensuring a higher germination rate, especially for seeds with hard outer coatings like peas, beans, and peppers. To pre-germinate, simply soak the seeds in water for 12 to 24 hours, depending on the seed type. This process softens the seed coat and promotes quicker sprouting, which leads to more robust plants. After soaking, wrap the seeds in a damp paper towel and place them in a warm location, checking for sprouting after a few days.
Once the seeds begin to sprout, you can plant them directly into seed trays or pots, being careful not to damage the tiny roots. This technique ensures that your seeds are already on the path to success before being placed in the soil, which is especially useful when growing vegetables or flowers that need a head start. Pre-germinating seeds also helps identify any that are unlikely to sprout, allowing you to replace them before you start planting in larger quantities.
Check Seed Viability
February is the ideal time to assess the viability of your older seeds. Over time, seeds can lose their ability to germinate, which is why it’s important to test their viability before you invest too much time and energy into planting them. To do this, take a few seeds from each batch and place them on a damp paper towel. Roll it up and store it in a warm area for about a week, then check for sprouting. If a good percentage of the seeds sprout, they are still viable.
If the seeds fail to sprout, or if very few germinate, it’s time to purchase fresh ones. This test is especially helpful for saving time and preventing frustration, ensuring that you are only planting seeds that are likely to succeed. Checking seed viability now means that when it’s time to plant, you’ll have high-quality, sprout-ready seeds for a successful growing season.
Set Up Grow Lights
As February’s natural sunlight is still limited, setting up grow lights is essential for successful seed starting. Grow lights provide the right spectrum of light to help your seeds thrive indoors, especially if you do not have access to a sunny window or the weather is too cold for outdoor planting. A proper grow light setup mimics the natural sunlight that plants need for healthy photosynthesis, promoting strong growth and minimizing the risk of leggy or weak seedlings. Set your grow lights about 2 to 3 inches above your seedlings to ensure they get enough light without being scorched.
Remember that different plants have varying light needs, so choose a light setup that provides the correct intensity for your specific seeds. Most seedlings need 14 to 16 hours of light a day, so consider using a timer to ensure they receive the right amount of light without having to manually turn the lights on and off. Grow lights will help you maintain steady, consistent conditions that are critical for strong seedling development, ensuring a smooth transition to the outdoors when the weather warms up.
Prepare Containers for Transplants
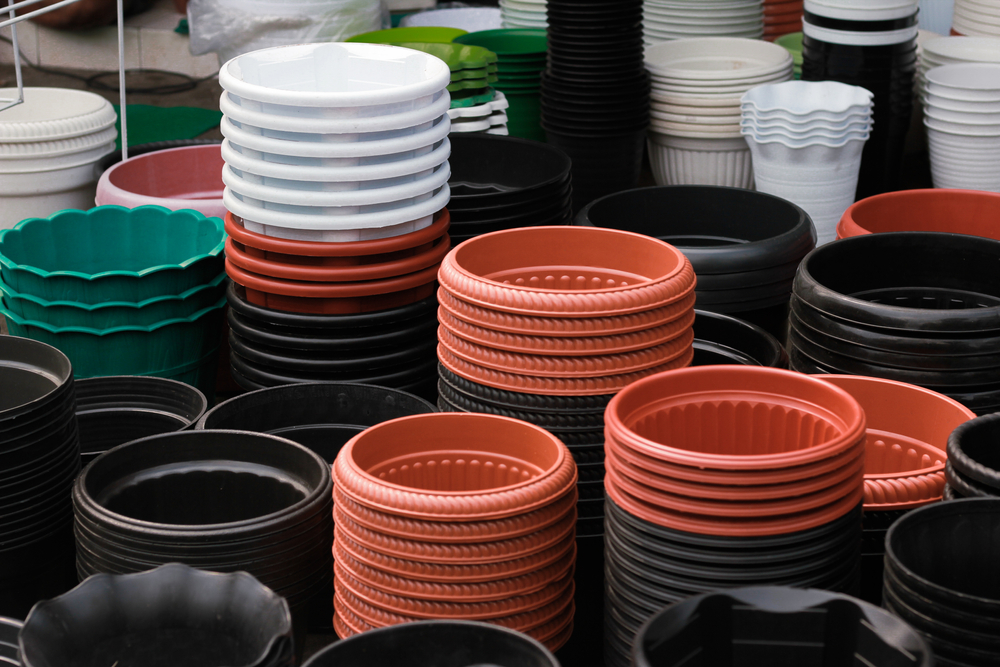
As you start your seeds indoors, it’s important to get your containers ready for future transplants. Gather a variety of containers, such as small pots, seed trays, or even recycled materials like yogurt cups or egg cartons, that will allow enough space for your seedlings to grow until they’re ready to be moved outside. Make sure that the containers have proper drainage to prevent water from accumulating at the bottom and potentially rotting the roots. Clean them thoroughly before use to avoid transferring any diseases or pests to your young plants.
Once your containers are ready, fill them with a light, well-draining potting mix that will encourage strong root growth. Be sure to label each container with the name of the plant and the date it was planted. Organizing your containers ahead of time allows you to smoothly transition seedlings as they grow, giving them the best environment to continue thriving. Preparing now ensures you won’t be rushed when it’s time to transplant your young plants into your garden.
Prune Overwintering Plants
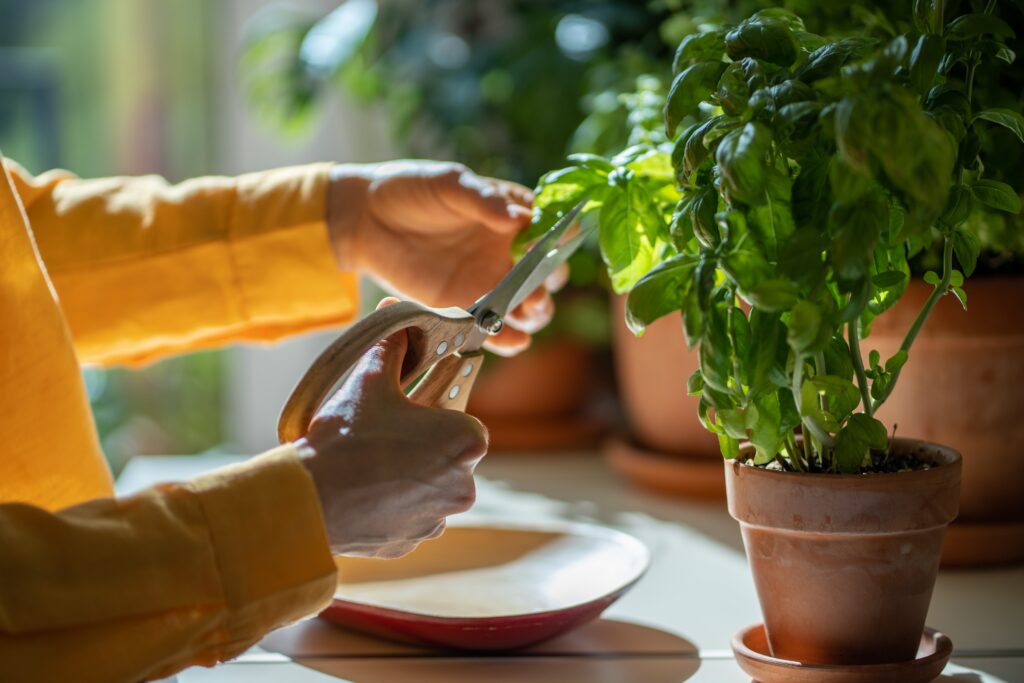
February is a great time to prune any plants that have been overwintering indoors. Overwintering plants often benefit from a light pruning to remove any dead or damaged stems, promoting healthy growth as the days begin to get longer. Removing any old foliage will allow for better air circulation and reduce the chance of mold or pests that may develop in stagnant conditions. By trimming back these plants, you are encouraging new, strong growth that will help them flourish come spring.
Take care when pruning to avoid cutting too much, especially if the plant is still dormant. For plants like roses, perennials, and shrubs, removing just the dead or damaged parts will make a noticeable difference in the plant’s appearance and health. Pruning now helps set the stage for a beautiful, bountiful garden in the spring and ensures that your plants are ready to burst into new growth as the weather warms.
Maintain Ideal Indoor Temperature

Creating the ideal indoor temperature for your seeds is an important step in the seed-starting process. Most seeds require a temperature range between 65°F and 75°F or 18°C to 24°C for optimal germination. Placing your seed trays in a warm, consistent location will help keep the seeds at the right temperature and ensure that they don’t become too cold or hot, which could delay or hinder their growth. Be sure to avoid placing them near windows or drafts that could cause temperature fluctuations.
A soil thermometer can help you monitor the temperature of the soil in your trays, giving you a more accurate reading of how warm it is for the seeds. If necessary, you can use heating mats designed for seed starting, which provide consistent warmth at the soil level. Maintaining a steady, comfortable temperature indoors ensures that your seeds will have the best possible environment for sprouting and growing strong.
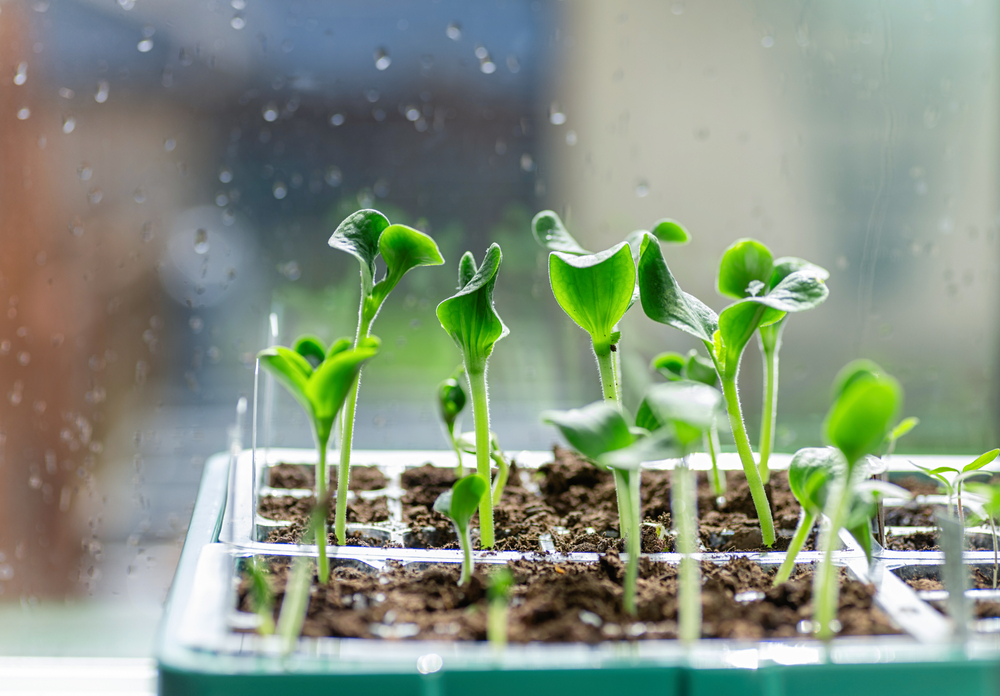
Harden Off Seedlings
By the end of February, many of your indoor seedlings will be ready for a gradual introduction to outdoor conditions. This process, known as hardening off, helps your seedlings adjust to the changes in light, temperature, and humidity they will experience once planted outside. Begin by placing the seedlings outside for a short time each day, starting with an hour or two in a shaded, sheltered area. Gradually increase the exposure, adding a little more sunlight each day as the seedlings become more accustomed to the outdoors.
Be sure to protect your seedlings from strong winds or freezing temperatures during this process, as they are still vulnerable. After a week or two of hardening off, your seedlings will be better prepared for transplanting into your garden. This process prevents transplant shock, ensuring that your seedlings will thrive when they are finally planted outdoors.
Prepare a Seed Starting Calendar
February is a great time to create a seed starting calendar to help you stay organized throughout the planting season. A calendar will allow you to track when to plant each seed, how long they need to germinate, and when they should be moved outside for hardening off. By planning your seed starting in advance, you can make sure that everything is timed perfectly for the growing season. Write down the sowing and transplant dates for each plant, taking into account their specific needs.
Having a clear schedule will help you avoid overcrowding or missing key planting dates. It will also help you plan for which seeds should be started first, making the process feel less overwhelming. A calendar provides structure and makes it easier to manage your gardening tasks, so you’re ready for the growing season ahead.
This article originally appeared on Avocadu.