14 Cold Weather Compost Tips for January
January composting can feel slow when the pile is cold and wet, but small habits still make a real difference. A few simple tweaks can keep scraps from turning slimy and help the center stay active when temperatures drop. These cold weather tips keep your compost tidy now and ready to wake up faster when spring arrives.
This post may contain affiliate links, which helps keep this content free. Please read our disclosure for more info.
Keep the pile covered to shed rain and snow
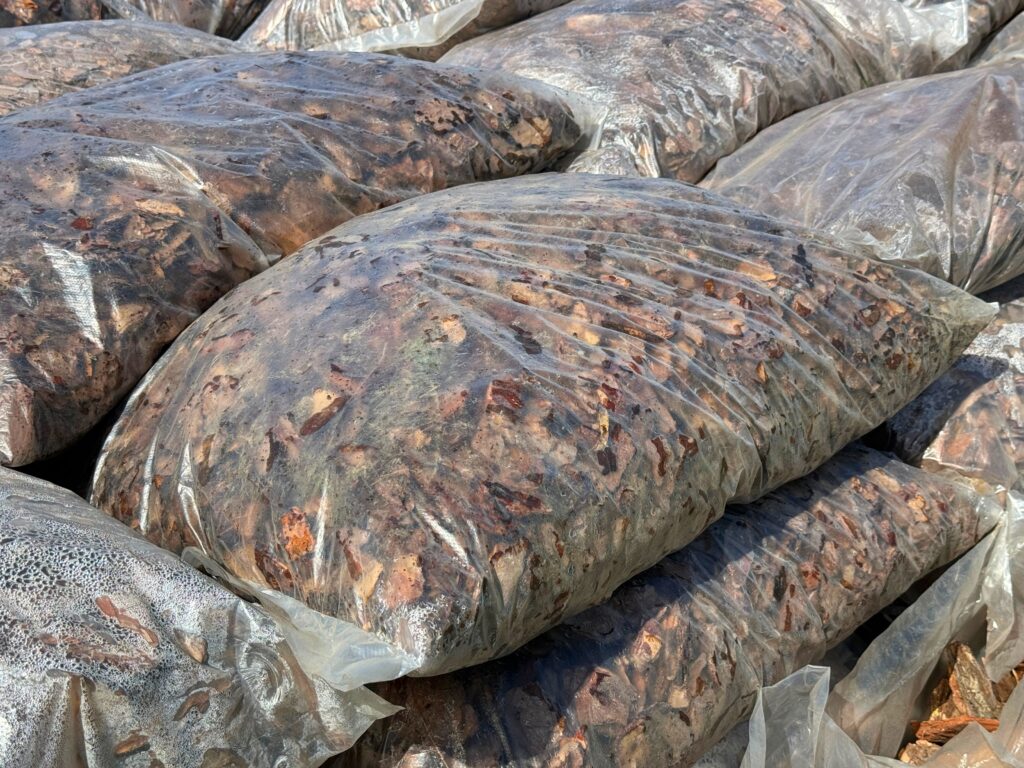
A cover keeps extra water from soaking your compost and turning it into a heavy, airless mess. Use a tarp, a scrap of plywood, or an old plastic lid that overlaps the sides by a few inches. Angle it slightly so meltwater runs off instead of pooling on top. If wind is a problem, weigh the corners down with bricks or stones.
A cover also helps trap a little warmth, which matters when daytime thaws are brief. Lift the cover only when you add material, then put it back right away. If you notice a sour smell after a wet week, add a thicker layer of dry leaves under the cover. That simple change can bring the pile back into balance fast.
Add more browns than usual to balance winter moisture
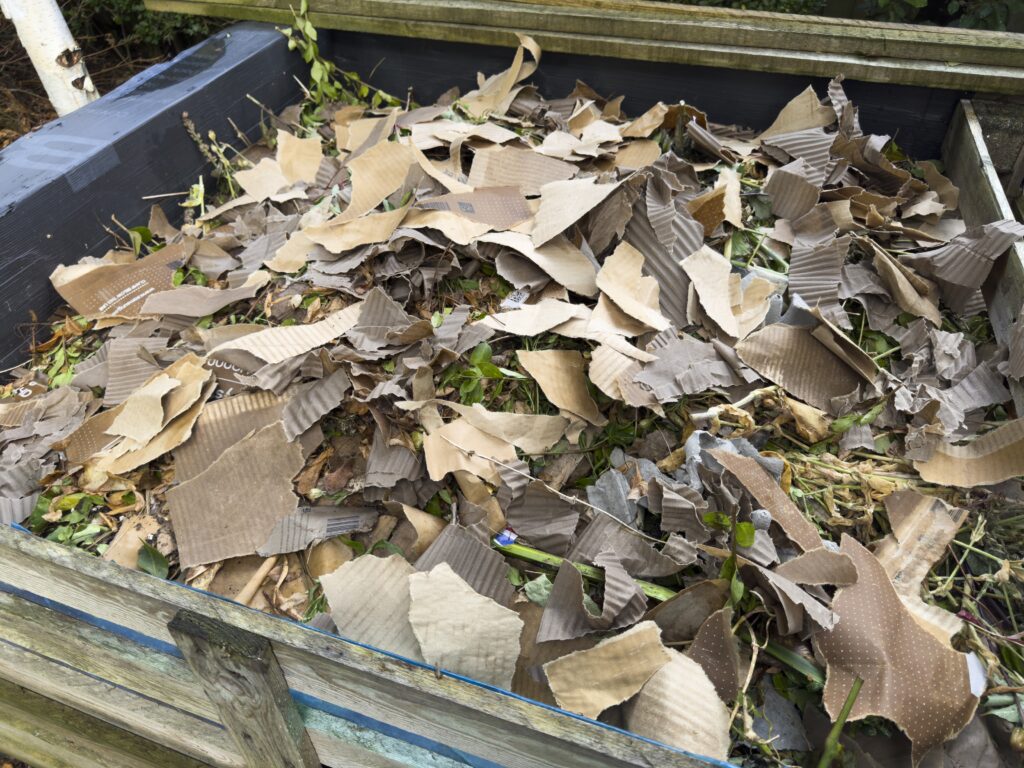
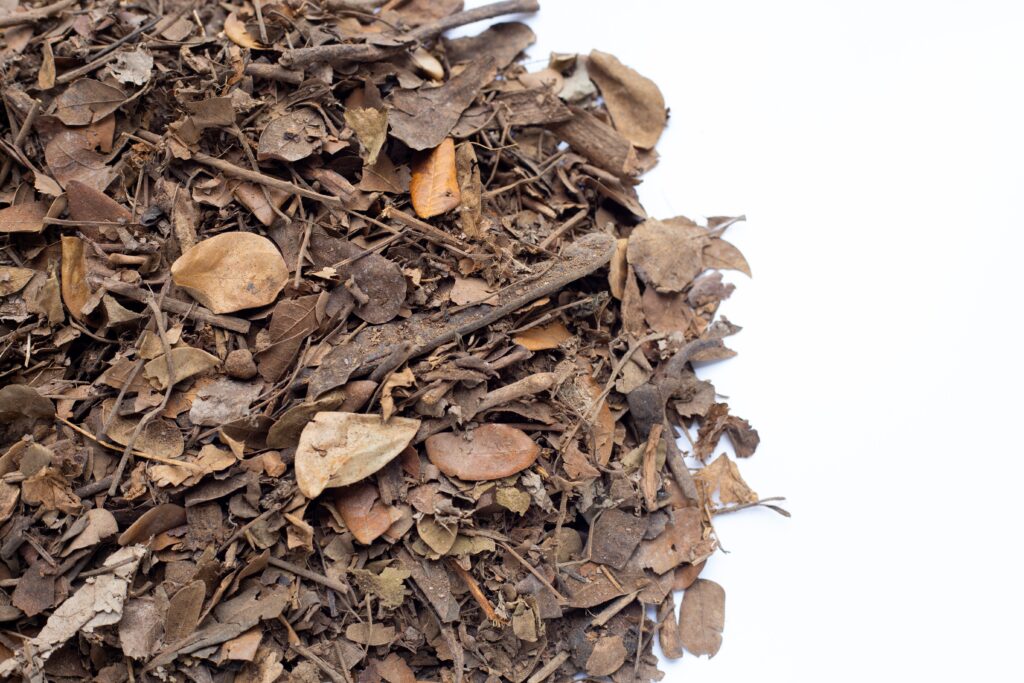
Cold months often mean more soup, produce peels, and wet scraps, so the pile can get soggy quickly. Browns like dry leaves, shredded paper, and small bits of cardboard soak up that moisture and keep air pockets open. Aim for a thicker brown layer than you would use in summer, especially after adding fruit scraps. Keeping a stash nearby makes it easier to stay consistent.
If your compost looks shiny or matted, it is asking for more browns. Sprinkle a generous handful each time you dump a kitchen pail. You can also mix in chopped straw or wood shavings if you have them. The pile should look layered and fluffy, not packed down like wet laundry.
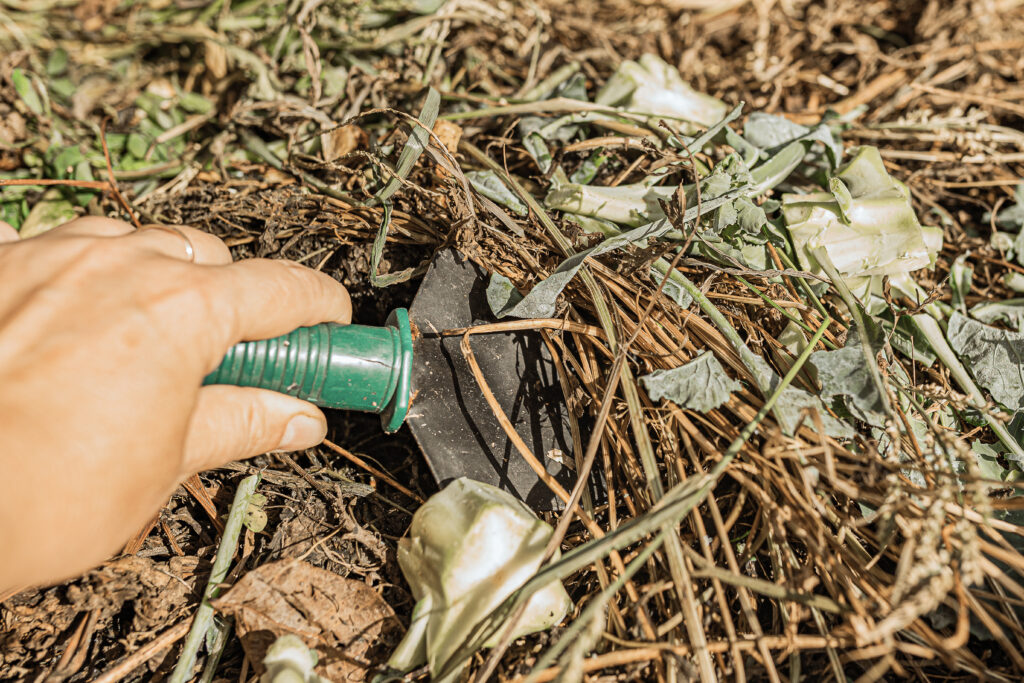
Chop kitchen scraps smaller so they break down faster
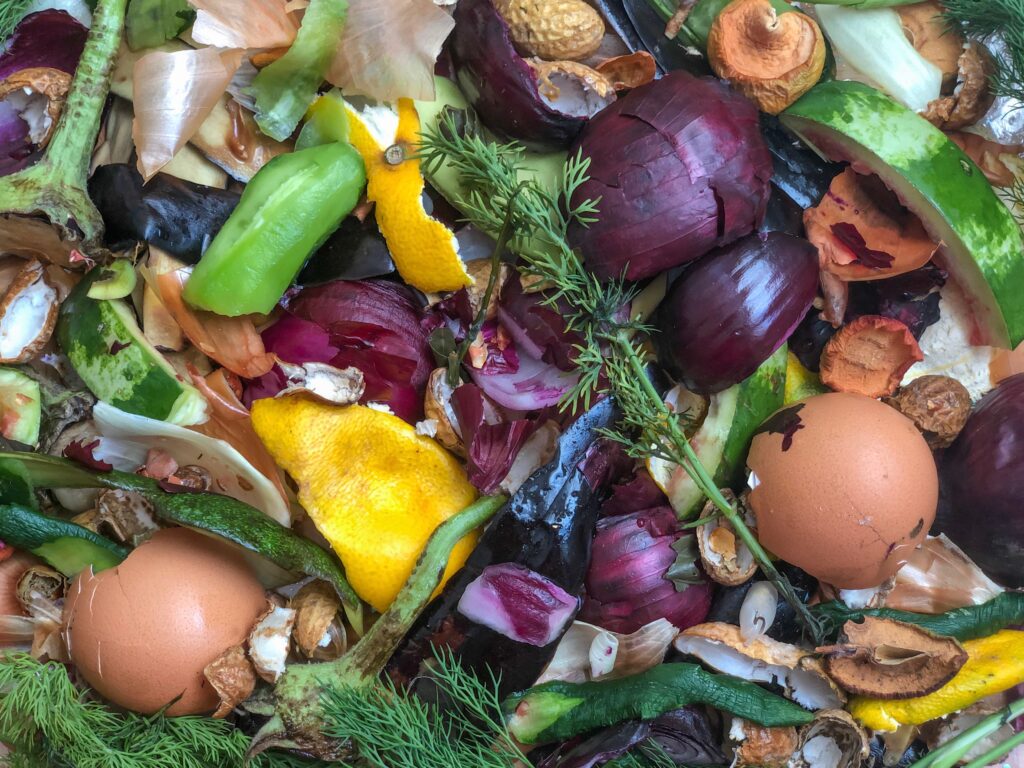
Big chunks freeze into solid blocks and sit there for weeks, while small pieces thaw and soften much sooner. Chop peels, cores, and veggie ends into bite size bits with a kitchen knife before they go outside. You can also tear greens like lettuce and spinach by hand in a few seconds. Smaller scraps mean more surface area for microbes once conditions warm up.
This habit also helps prevent pests because smaller pieces are easier to bury fully. If you do not want to chop every day, collect scraps in the freezer and then smash the frozen bag to crack everything into smaller pieces. Another easy option is to run scraps through a manual chopper. Even a quick rough chop makes winter composting feel less stuck.
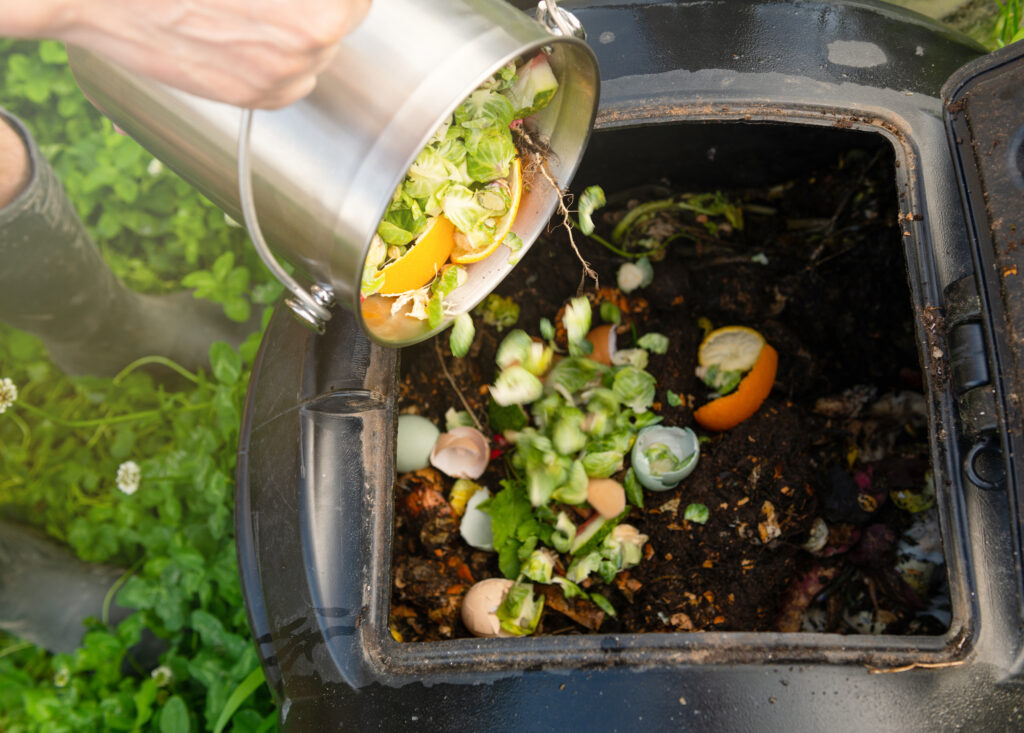
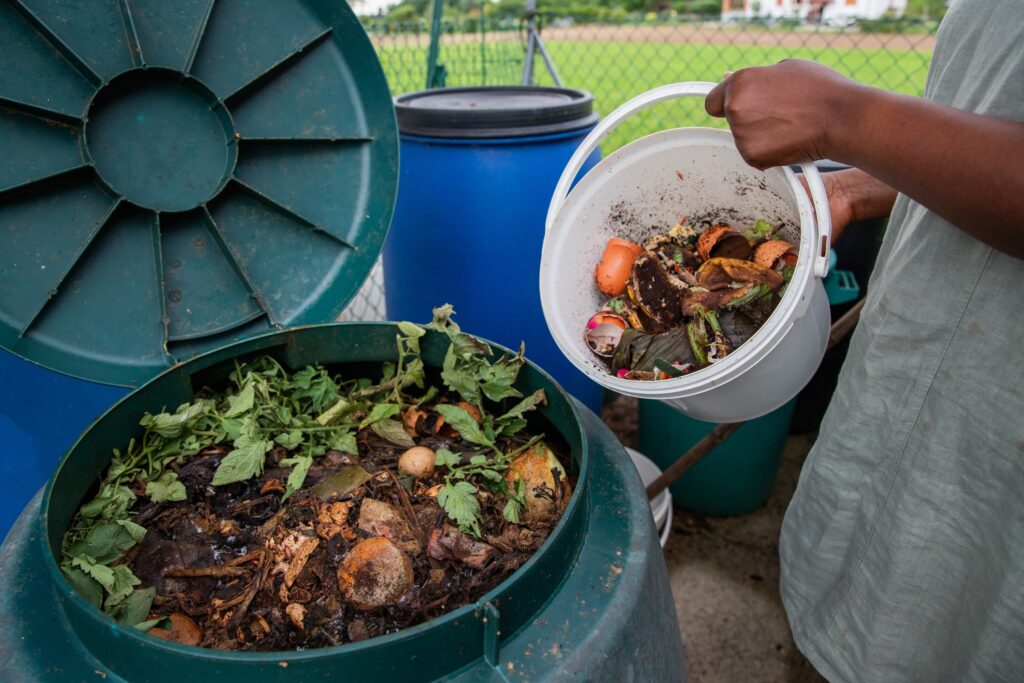
Bury fresh food scraps in the center of the pile
The center is the warmest part of a winter pile, so it is the best place for fresh scraps. Pull back the top layer of browns and make a small pocket, then dump scraps into that opening. Cover them right away with a thick blanket of dry leaves or shredded paper. This keeps smells down and reduces the chance of animals finding dinner.
If the pile is partly frozen, use a garden fork to open a spot rather than forcing a large hole. Add scraps in the same area for a week or two so you create a steady warm core. When that section starts to look broken down, move to a new spot near the center. Rotating the drop zone keeps the whole pile moving along.
Save a bucket of dry leaves or shredded paper for quick layering
Winter is not the time to run around hunting for browns after dark. Fill a tote, trash can, or sturdy bag with dry leaves in fall and keep it near the compost area. Shredded paper, paper towel tubes, and torn brown bags work well too. Having a dry stash makes it easy to keep the pile from getting wet and smelly.
Store your browns somewhere they stay dry, like a shed or under an overhang. If you only have outdoor storage, put the stash in a lidded bin so snow cannot soak it. Toss in a handful of cardboard egg cartons for extra structure. When you add scraps, scoop browns first, then layer scraps, then top with more browns.
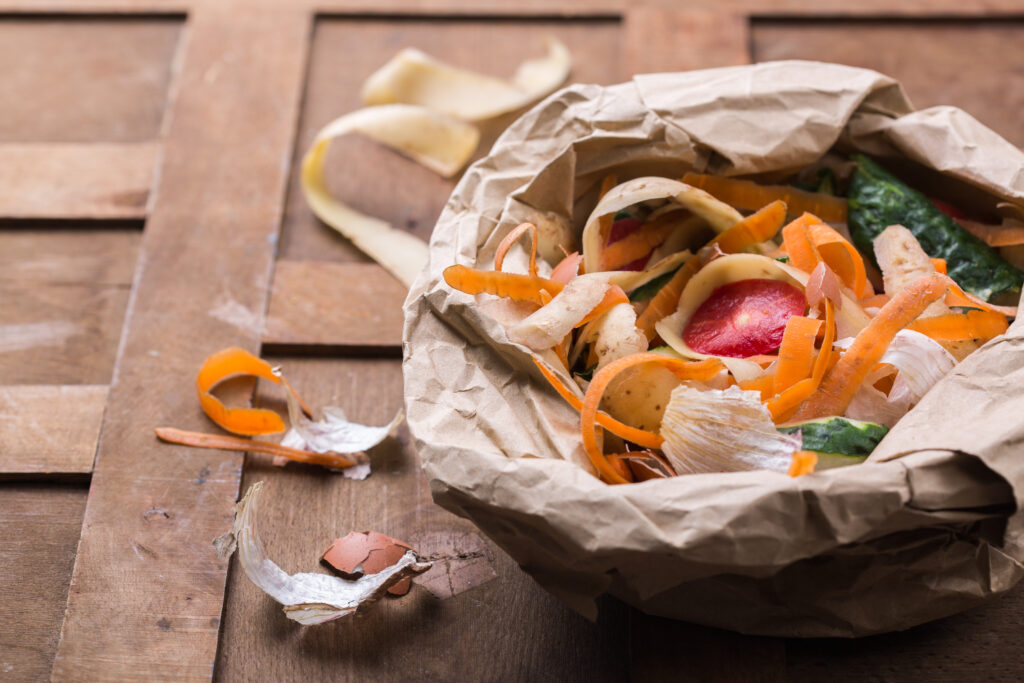
Use a tight lidded container indoors to hold scraps until you dump them
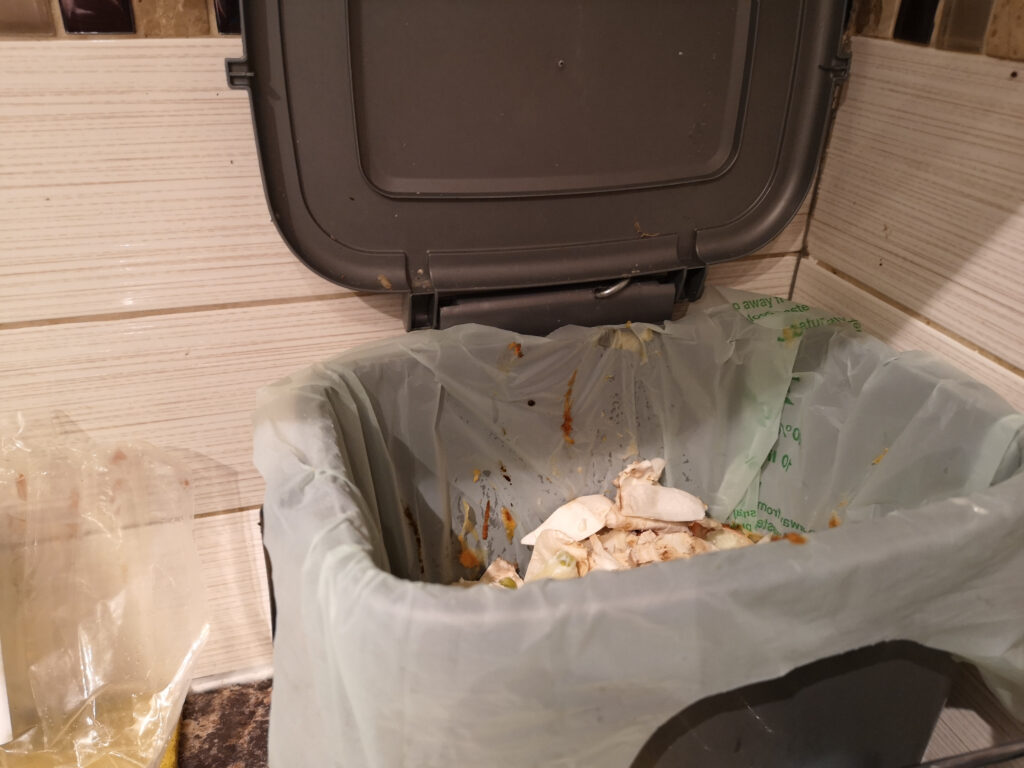
A tight lid keeps odors in check and fruit flies away during the week. A small kitchen pail with a handle works well, or you can reuse a sturdy plastic tub. Line it with newspaper or a paper bag so it is easier to dump cleanly. Keeping scraps contained also makes it less likely you will forget them on the counter.
In winter, you may not want to walk outside daily, so holding scraps for a few days is practical. Keep the container in a cool spot like a mudroom if you have one. If scraps get too wet, add torn paper to absorb liquid before you carry it out. A clean container also means you are more likely to keep composting through the month.
Avoid meat dairy and oily foods in cold months
Cold piles break down slowly, and rich foods can linger long enough to smell or attract animals. Meat, cheese, butter, and greasy leftovers are the biggest troublemakers when temperatures stay low. Save those for a municipal program that accepts them, or toss them in the trash if you do not have another option. Sticking to fruit and vegetable scraps keeps winter compost simpler.
Even small amounts of oily food can coat other materials and block airflow. If you compost eggshells, rinse and crush them so they do not hold bits of egg white. Avoid large piles of bread too, since it can draw rodents when the pile is quiet. If you accidentally add something questionable, bury it deep and add extra browns over the top.
Keep the pile slightly damp like a wrung out sponge
Compost needs moisture to break down, but winter moisture can quickly turn into slop. Grab a handful from the middle when it is not frozen and squeeze gently. It should feel damp, and you might get a drop or two, but it should not drip steadily. That sponge feel is the sweet spot for airflow and decomposition.
If the pile is too wet, add dry leaves or shredded cardboard and gently mix just the top layer. If it is too dry, sprinkle a little water on a mild day, then cover again. Avoid watering right before a hard freeze because it can create an icy crust. Small adjustments work better than big changes in winter.
Skip turning during deep freezes and wait for a mild day

Turning a pile during a deep freeze can cool it even more and leave you wrestling frozen clumps. When the weather is harsh, focus on layering properly and burying scraps instead of mixing everything. Let the pile sit and do its slow winter work. A quiet pile is normal in January.
When you get a mild day, turn just enough to loosen compacted spots and bring browns and greens into contact. Do not aim for a full, perfect mix if the outer layers are icy. Even a light fluff with a fork helps air move through. Then cover it again so it does not lose the little heat it has.
Start a small active core pile inside the larger pile for warmth
A small core can stay warmer than the rest, even when the outside is cold. Choose a central spot and consistently add chopped scraps there along with dry leaves. Keep that core about the size of a beach ball or a bit larger so it can hold some heat. Add a thick brown cap after each drop to keep it tidy.
Over time, the core becomes the engine that slowly feeds the rest of the pile. If you have a batch of coffee grounds, sprinkle them into the core in small amounts, since they break down well when balanced with browns. Watch for a mild warmth when you stick your hand near the center on a warmer day. If it smells sharp, add more browns and mix lightly within that small area.
Keep the pile off bare frozen ground with pallets or branches
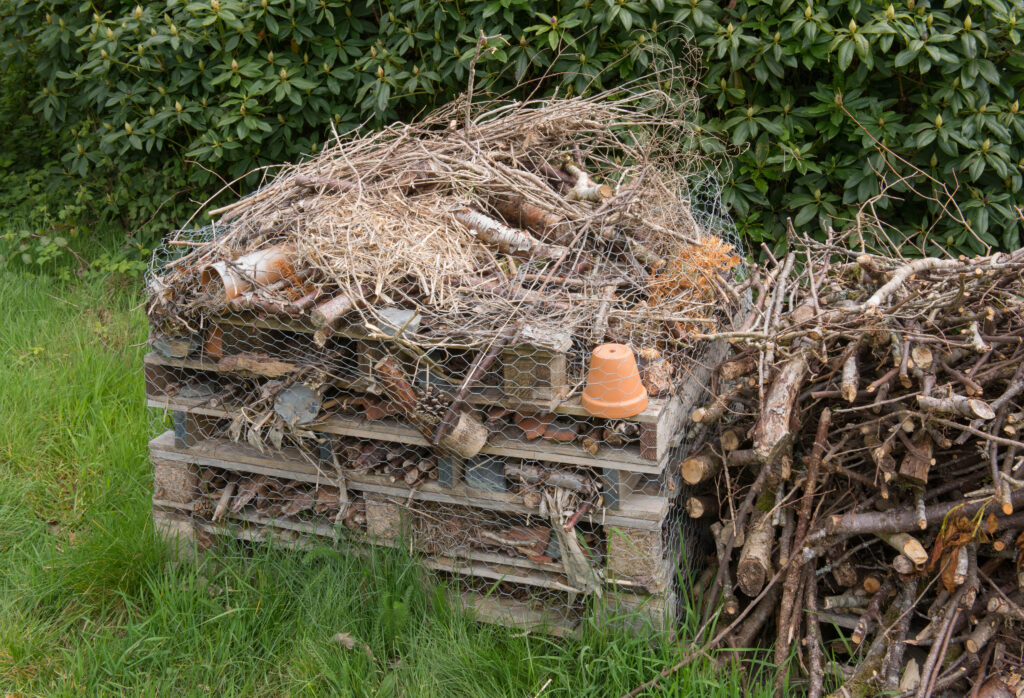
Frozen ground can act like a cold sink that pulls warmth out of your compost. Setting the pile on a pallet, a few thick branches, or a layer of coarse sticks creates space for air to move underneath. That airflow also helps with drainage so the bottom does not turn into a wet, sour layer. A raised base can make turning easier later too.
If you already have a pile on the ground, you can still improve it by adding a thick twiggy layer around the edges and keeping the cover in place. In a bin, consider adding a chunky base layer inside the bottom to help drainage. Avoid placing the pile on a spot where water pools after rain. Dry footing is a quiet win in winter composting.
Watch for rodents and use a closed bin if they are a problem

Rodents look for easy food in winter, and an open pile can be tempting if scraps are exposed. Signs include tunnels, scattered scraps, and little holes near the base. The simplest fix is to bury scraps deeper and add a thicker brown layer on top. Keeping the pile neat and covered also helps.
If problems continue, switch to a closed bin with a secure lid and small vents. Hardware cloth under the bin can block digging from below. Avoid adding bread and big fruit piles, since those can pull animals in fast. A clean routine beats baiting or harsh measures for most home compost setups.
Do not add large frozen clumps of scraps all at once
Dumping a big frozen mass can cool the center and create a wet pocket that struggles to break down. Instead, add scraps in smaller portions and mix them with browns as you go. If you collect scraps in the freezer, break the block into chunks before it hits the pile. Smaller pieces thaw faster and spread out more evenly.
This also helps with smell control because you can bury each smaller portion properly. Keep a scoop of dry leaves ready so you can cap the area right away. If you must add a larger batch, sandwich it between thick layers of browns. That layering prevents one cold, soggy zone from stalling the whole pile.
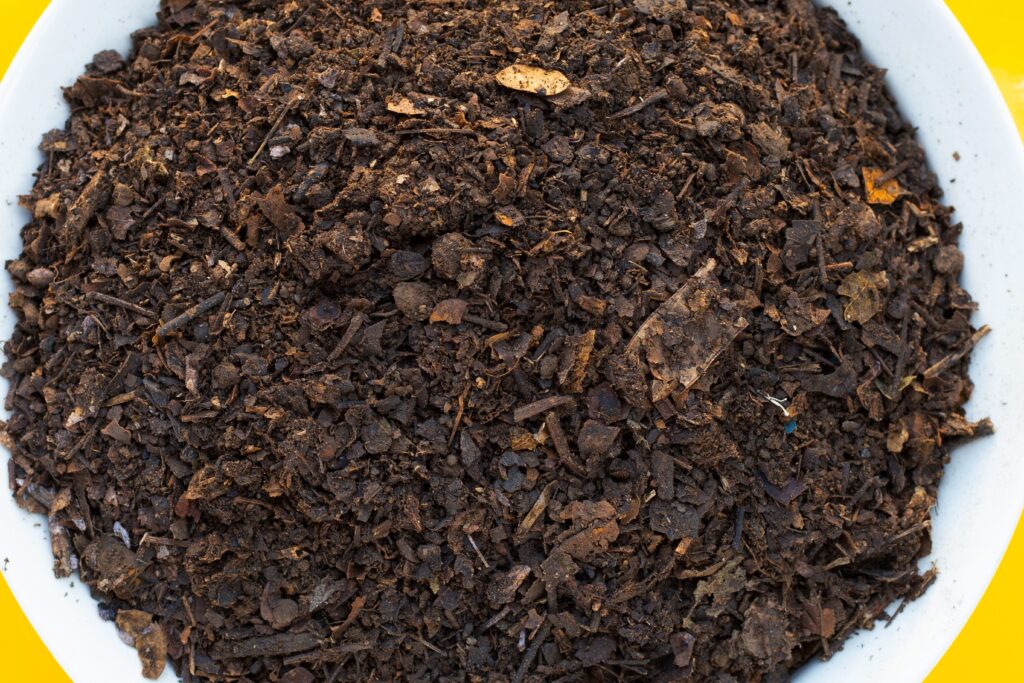
Plan a spring reset by setting aside finished compost in a covered spot
January is a good month to think ahead because winter compost often becomes layered and uneven. If you find pockets of finished, dark compost near the bottom, scoop some out on a mild day. Store it in a covered bin, a heavy duty bag, or a lidded tote so rain does not leach nutrients away. This gives you space to keep adding winter scraps without overflowing.
When spring arrives, you can rebuild the pile with a clean base and a better mix of materials. Use the saved compost as a starter layer to seed the new pile with active material. If you have seedlings later, that finished compost is also handy for mixing into garden beds. A little planning now makes the first warm weeks feel much easier.
This article originally appeared on Avocadu.