10 Painted Pumpkin Ideas That Don’t Require Carving
Forget about the carving mess and embrace the beauty of painted pumpkins this fall. Painting is a quick and easy way to create pumpkins that perfectly fit your style. Whether you’re decorating for Halloween or Thanksgiving, painted pumpkins make a charming addition to any space. Grab your favorite colors and get ready to make your pumpkins pop!
This post may contain affiliate links, which helps keep this content free. Please read our disclosure for more info.
Polka Dot Pumpkin
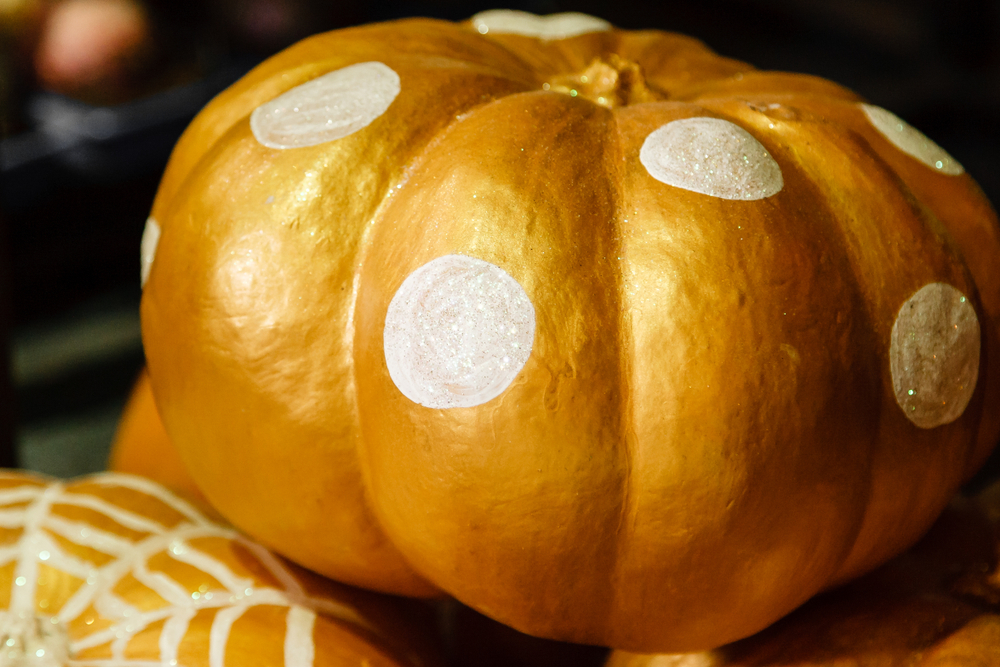
Start by painting your pumpkin a solid color, such as white or black. Once the paint is dry, use a round sponge or paintbrush to create polka dots in a contrasting color. You can mix up the sizes of the dots to make it more dynamic. Use metallic or bright colors for the dots to give it a fun pop. After painting the dots, let the pumpkin dry completely before displaying it.
For a more polished look, make sure to evenly space out the dots. If you want to add some extra texture, you can apply a thin layer of clear glitter paint over the dots. This gives the pumpkin a little sparkle. This is a simple and playful way to decorate for fall. The polka dot design is sure to stand out in your autumn décor.
Glitter Pumpkin
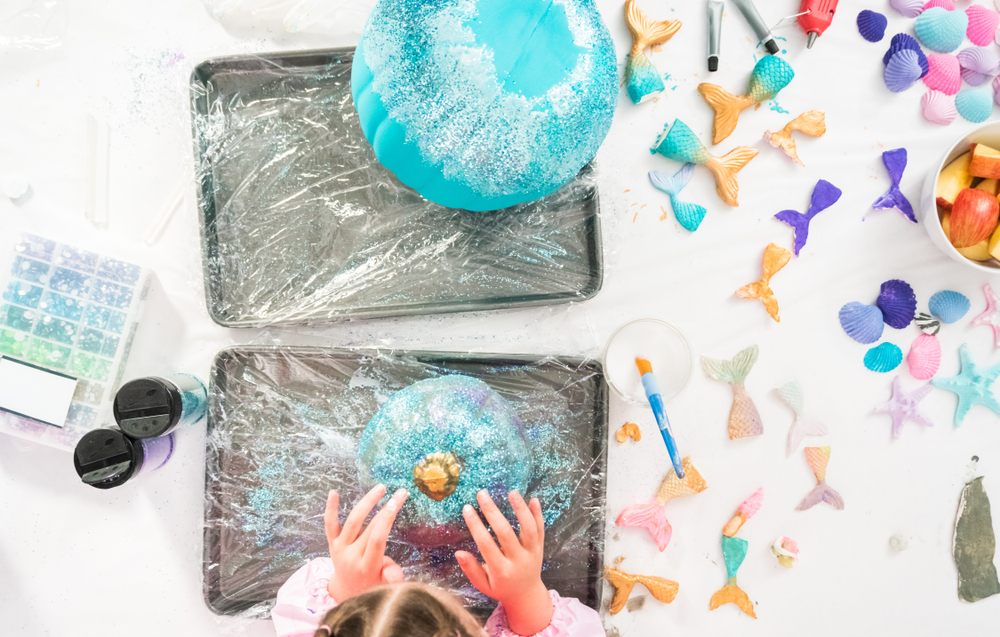
Begin by painting the entire pumpkin in a base color, like white or orange. Once the paint is dry, apply a layer of glue to the surface using a brush. Next, sprinkle glitter over the glued areas, making sure the entire surface is covered. Shake off any excess glitter to prevent clumping. Let the pumpkin dry completely before displaying it.
You can choose from different glitter colors, such as gold, silver, or even black, for a spooky look. If you want to add dimension, try layering multiple colors of glitter. For a smoother finish, apply a thin coat of clear spray paint to seal the glitter. This sparkly pumpkin is a simple but eye-catching way to add some shine to your fall décor. It’s perfect for both Halloween and Thanksgiving displays.
Marbleized Pumpkin
Start by painting your pumpkin a light base color, like white or cream. Once the base coat is dry, mix a few colors of paint, such as blue, gray, or purple. Use a sponge or brush to apply the paint in swirling motions, allowing the colors to blend. Do not overwork the paint to keep the marble effect intact. After painting, allow the pumpkin to dry completely before displaying it.
To enhance the marble effect, you can gently mist the pumpkin with water while painting. This helps create a more fluid, marble-like appearance. This design gives a high-end look without the need for carving. The swirled colors mimic the natural patterns found in marble stone. This elegant pumpkin will fit perfectly into any chic fall décor.
Nature-Inspired Pumpkin

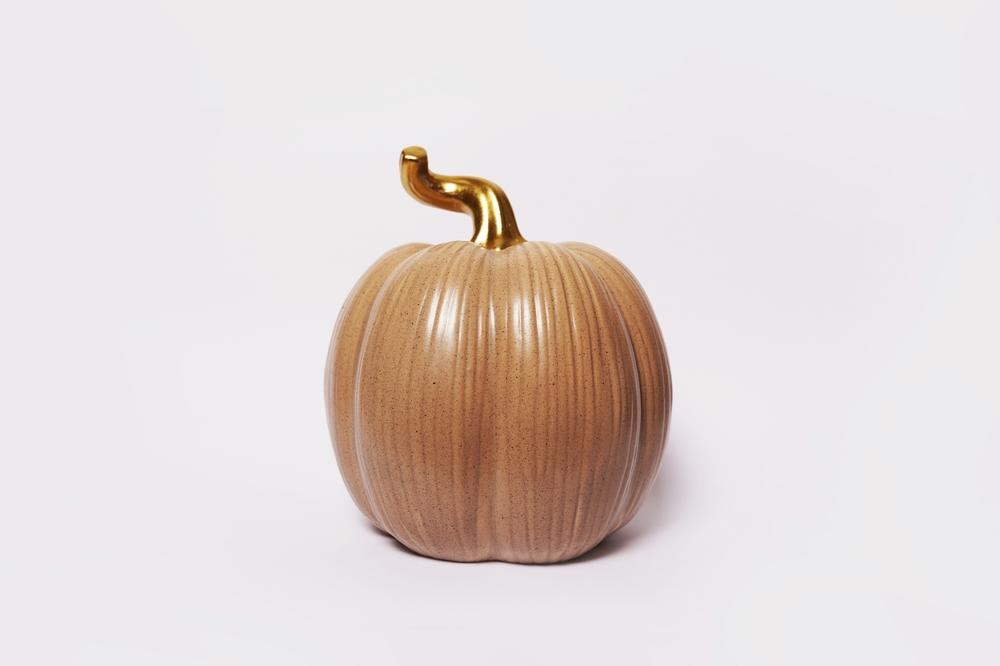
Start by painting your pumpkin in an earthy tone, such as brown, green, or gold. Once the base coat is dry, use a fine paintbrush to add leaves, vines, or tree patterns. You can also paint the pumpkin to resemble a wooden texture by using shades of brown. Once the design is finished, allow the paint to dry before handling it. This design brings nature’s beauty into your home for a rustic fall vibe.
For an added touch, you can glue small twigs or branches to the top of the pumpkin to create a stem-like effect. This gives the pumpkin an even more natural feel. Using metallic paint for the details adds a sophisticated touch to the earthy look. Nature-inspired pumpkins fit well with farmhouse or boho-style decorations. They create a peaceful and warm atmosphere for your fall gatherings.
Galaxy Pumpkin
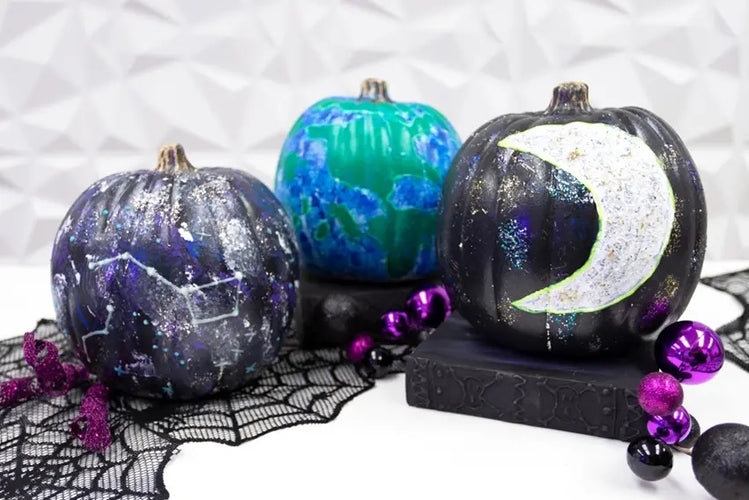
Start by painting the pumpkin a dark color, such as black or navy blue. Once the base coat is dry, use a sponge to apply various shades of purple, blue, and white. Blend the colors together to create a swirling galaxy effect. You can also splatter white paint across the surface to simulate stars. Allow the pumpkin to dry completely before showcasing it.
For an added cosmic touch, use silver or gold glitter to highlight the stars and create a shimmering effect. The galaxy pumpkin will give your décor a magical, otherworldly feel. You can mix in other metallic paints to give it a more dynamic look. This design works great for both Halloween and Thanksgiving displays. It’s perfect for anyone looking for a whimsical fall decoration.
Animal Print Pumpkin
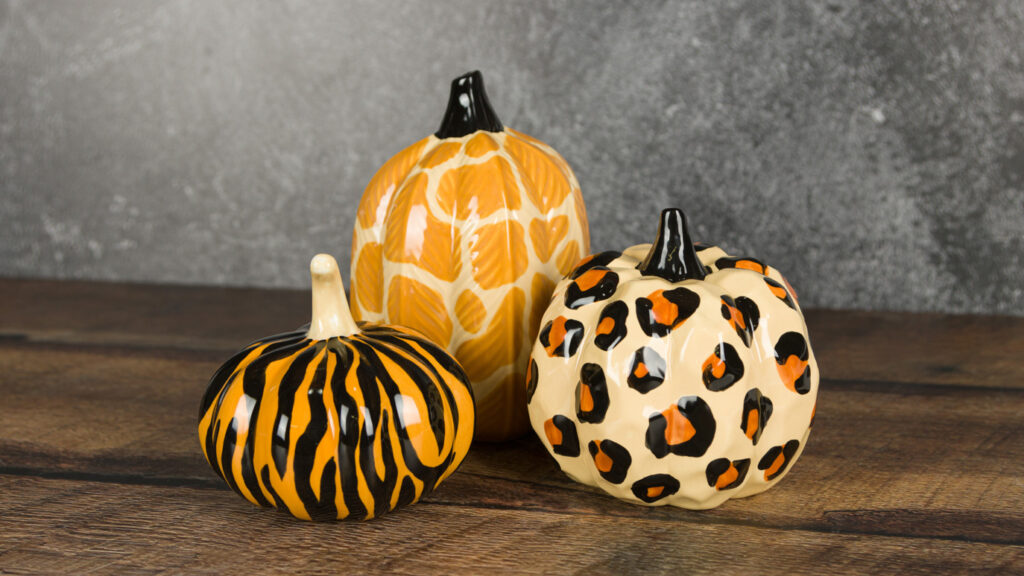
Start by painting your pumpkin in a neutral color, such as beige or brown. Once the paint has dried, use a fine brush to create patterns like leopard spots or zebra stripes. Use black or dark brown paint for the patterns, and vary the shapes for a natural effect. Let the design dry completely before handling the pumpkin. This animal print design adds a bold statement to your fall décor.
For a more textured effect, you can use a sponge to apply the paint in a dabbing motion. This will give the pumpkin a more organic, fur-like appearance. Animal prints work well with more eclectic or exotic-themed decorations. You can pair this pumpkin with other natural elements, like faux fur or animal figurines. It’s a fun way to bring a wild side to your seasonal décor.
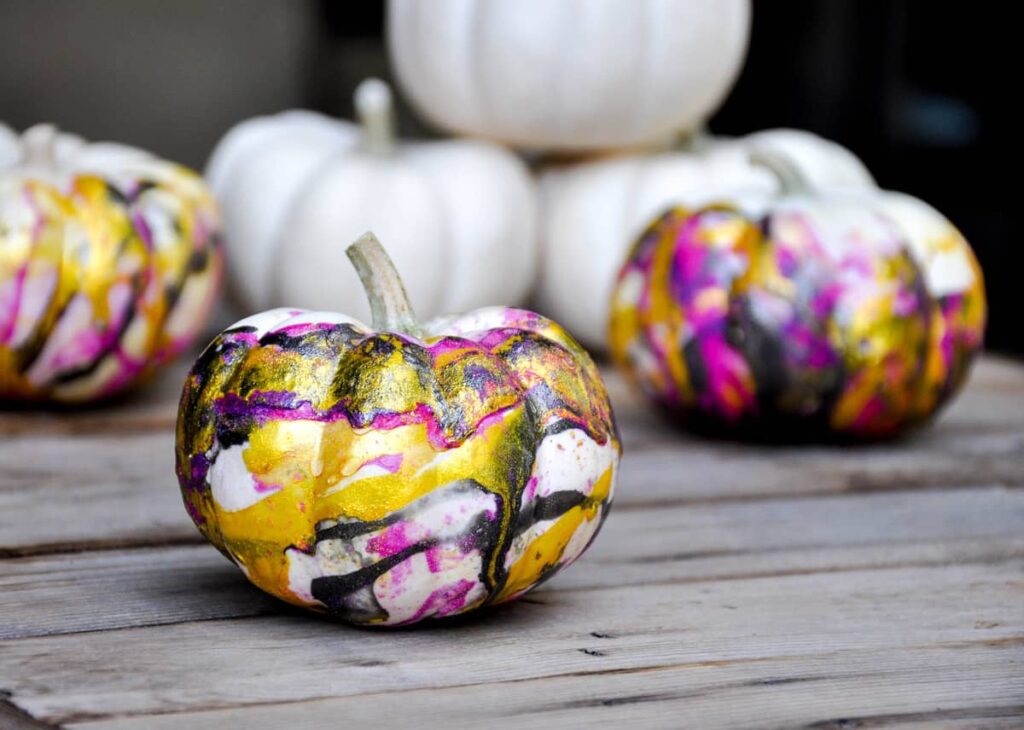
Drip Art Pumpkin
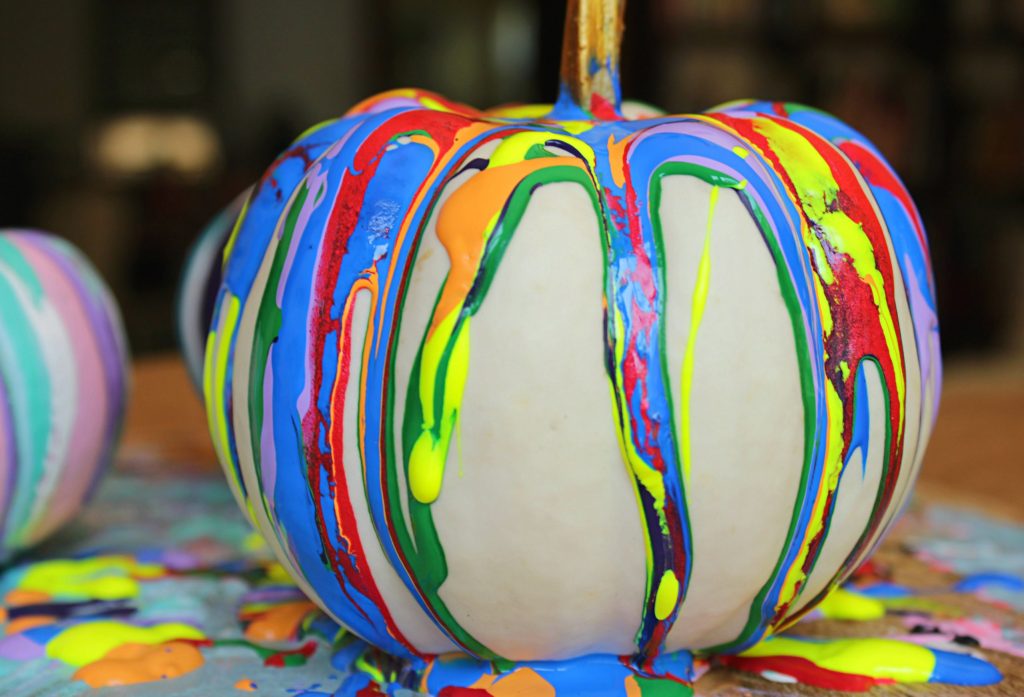
Start by painting your pumpkin in a solid base color, like white or pastel. Once the paint is dry, use a liquid acrylic paint in a bold color, such as red or blue. Slowly pour the paint over the top of the pumpkin, letting it drip down the sides. You can mix colors to create a rainbow or tie-dye effect. Let the pumpkin dry completely before handling it.
For a smoother finish, you can gently shake the pumpkin to make the paint drip evenly. This design is perfect for those who enjoy a more abstract or artistic touch to their décor. The drip effect creates a playful, colorful look. You can also add glitter to the wet paint for an extra pop. It’s a fun and creative way to decorate pumpkins for fall.
Spider Web Pumpkin
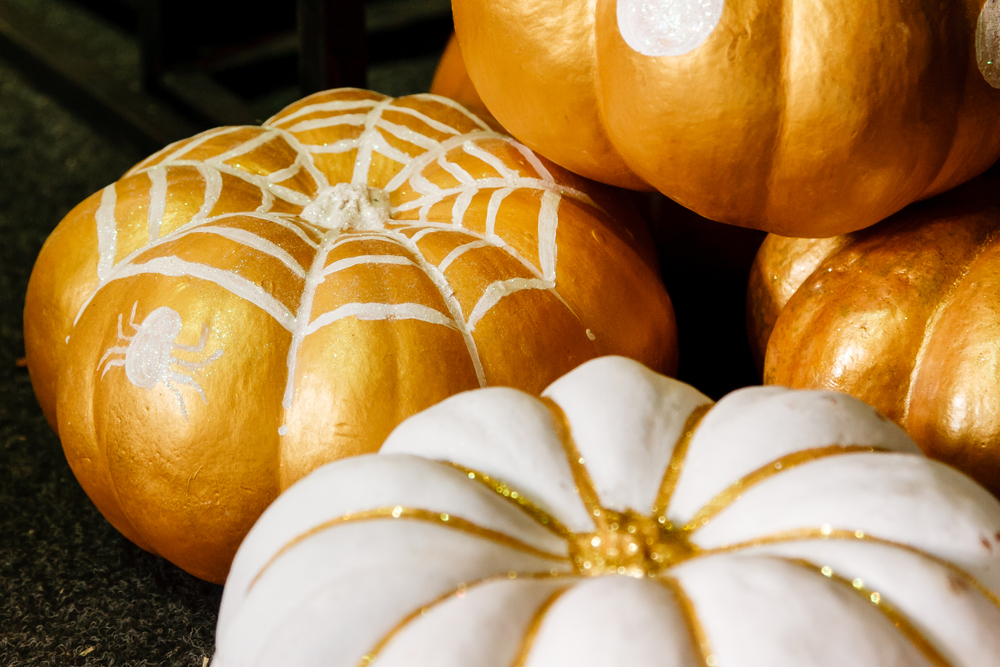
Start by painting your pumpkin black or dark purple. Once the paint is dry, use a white or silver paint to draw a spider web on the surface. You can draw the web with curved lines that meet in the center, creating a web-like effect. Add a small plastic spider on top or paint one directly on the pumpkin for an extra spooky touch. Let the paint dry before placing it on display.
This spooky design is perfect for Halloween. You can add additional creepy elements like a mini spider or bats to make it even scarier. The contrast between the black pumpkin and the white web makes the design stand out. For a more eerie effect, you can also use glow-in-the-dark paint. This spider web pumpkin will be sure to frighten guests.
Emoji Pumpkin
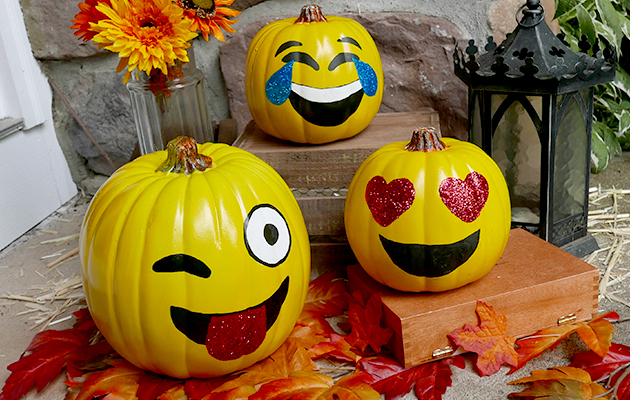
Pick your favorite emoji, like the heart eyes or laughing face, and paint it on your pumpkin. Start by painting the pumpkin in a bright color, such as yellow or light pink. Once dry, use black or contrasting paint to add the facial features. You can make the pumpkin unique by customizing the emoji with your own twist. Let the pumpkin dry completely before displaying it.
This fun, modern design is great for adding a playful touch to your autumn decorations. You can paint multiple pumpkins with different emoji expressions to create a whole emoji-themed display. These pumpkins are perfect for a kid-friendly or quirky fall look. They can be placed on your front porch or in your living room. Emojis bring a fresh and youthful vibe to Halloween.
Polished Gold Pumpkin
Start by painting your pumpkin with a metallic gold paint for a luxurious look. Once the paint is dry, apply a second coat to ensure full coverage. For a smooth, shiny finish, use a clear gloss spray over the pumpkin. The metallic gold will make your pumpkin stand out, adding a sophisticated touch to your fall décor. Let the pumpkin dry completely before displaying it.
To add a little texture, you can use a sponge to dab the paint on for a more organic finish. This polished gold design works well for upscale or elegant fall decorations. You can pair it with other metallic elements for a cohesive look. The shiny finish gives the pumpkin a chic and refined appearance. This design is perfect for those looking to add a touch of glamour to their fall décor.
This article originally appeared on Avocadu.