11 Late-Winter Seed Starting Checklist for Busy Weeks
Late winter is the perfect time to get a jump start on your garden, even with a busy schedule. By using simple, low-maintenance techniques like winter sowing and starting hardy seeds indoors, you can set yourself up for a successful growing season. Focus on high-yield plants that require minimal attention and make use of readily available materials. With a little preparation, you can have your garden ready to thrive when the warmer weather arrives.
This post may contain affiliate links, which helps keep this content free. Please read our disclosure for more info.
Winter Sowing in Milk Jugs
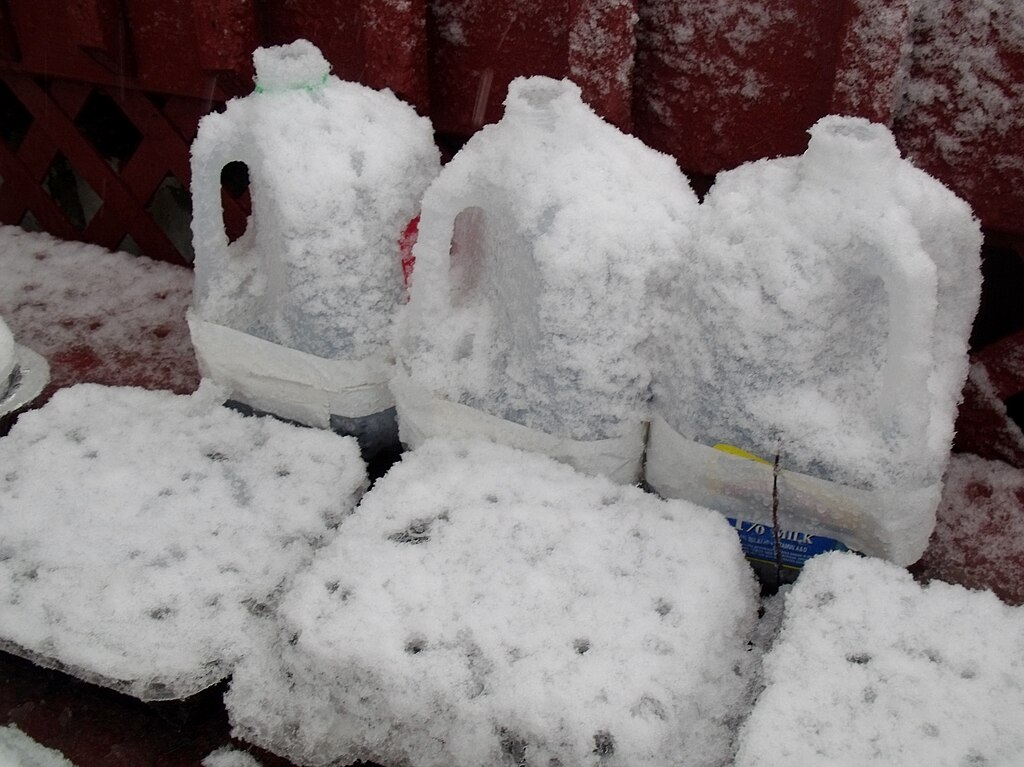
Winter sowing is a low-effort, highly effective method for gardeners with limited time. By repurposing milk jugs, you can create mini-greenhouses that will allow you to sow seeds directly outdoors, eliminating the need for space indoors. The process is simple: cut holes in the jug for drainage and air circulation, fill it with a sterile, moist seed-starting mix, and place your seeds inside. Seal the jug with tape and leave it outdoors in a sunny spot where the seeds will naturally experience cold stratification, which encourages strong and hardy growth. This method works particularly well for hardy plants like pansies, snapdragons, and even perennial flowers, as they benefit from the chilling winter temperatures.
This method requires minimal attention once set up. The milk jug acts as a greenhouse, trapping heat and moisture while still allowing for ventilation. As the days get warmer, the seeds will begin to sprout and grow. You do not have to worry about watering them constantly, as the jug’s lid helps retain moisture. When the weather is consistently warm enough, you can simply cut open the jug and transplant the seedlings directly into your garden. Winter sowing is perfect for late-winter gardeners who are busy but still want to get an early start on spring planting.
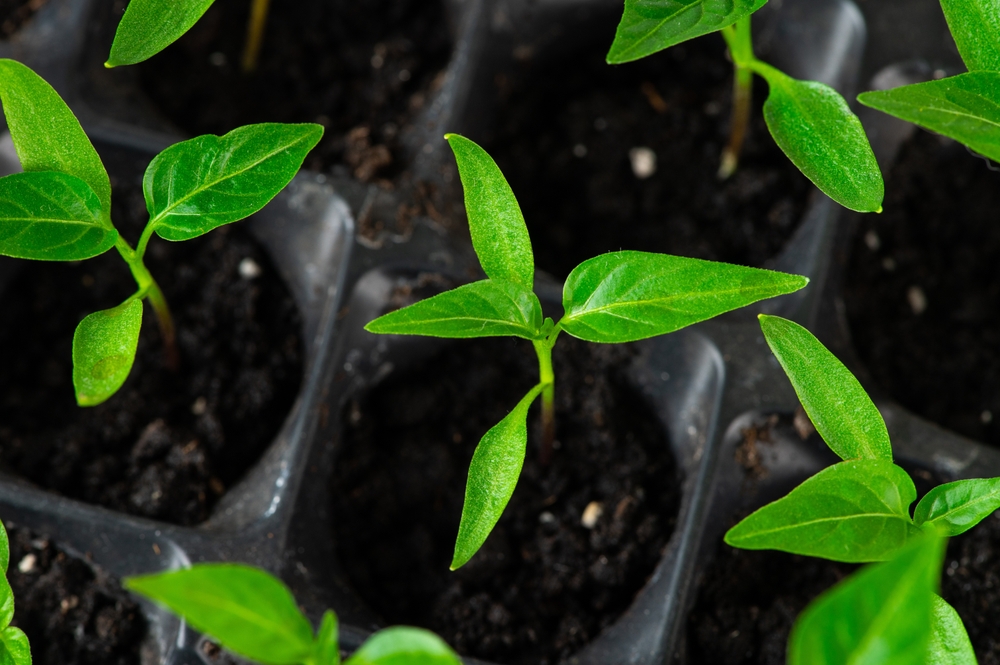
Starting Hardy Seeds Indoors (Onions, Brassicas, Pansies)
Starting hardy seeds indoors is another excellent choice for busy gardeners, especially those who want to maximize the growing season without being overwhelmed. Many cool-season crops, like onions, brassicas (broccoli, cabbage, kale), and pansies, can be started 6–8 weeks indoors before the last expected frost. These plants thrive in cooler temperatures and can be hardened off once the weather begins to warm. Using small containers filled with a sterile, moist seed-starting mix, sow the seeds and lightly press them into the soil to ensure they have adequate moisture. By starting these hardy varieties indoors, you are giving them a head start, leading to earlier harvests.
After sowing, provide these seeds with at least 14–16 hours of light per day, using grow lights if natural sunlight is insufficient. Keeping the soil consistently moist but not soggy is crucial for proper germination. Label the containers with both the seed type and the sowing date to track their progress. The indoor environment also offers more control over the temperature, which is beneficial for seedling development. With the right care, you will have healthy, hardened seedlings ready to transplant when the weather is right, even if your schedule is tight.
Sterile, Moist Seed-Starting Mix
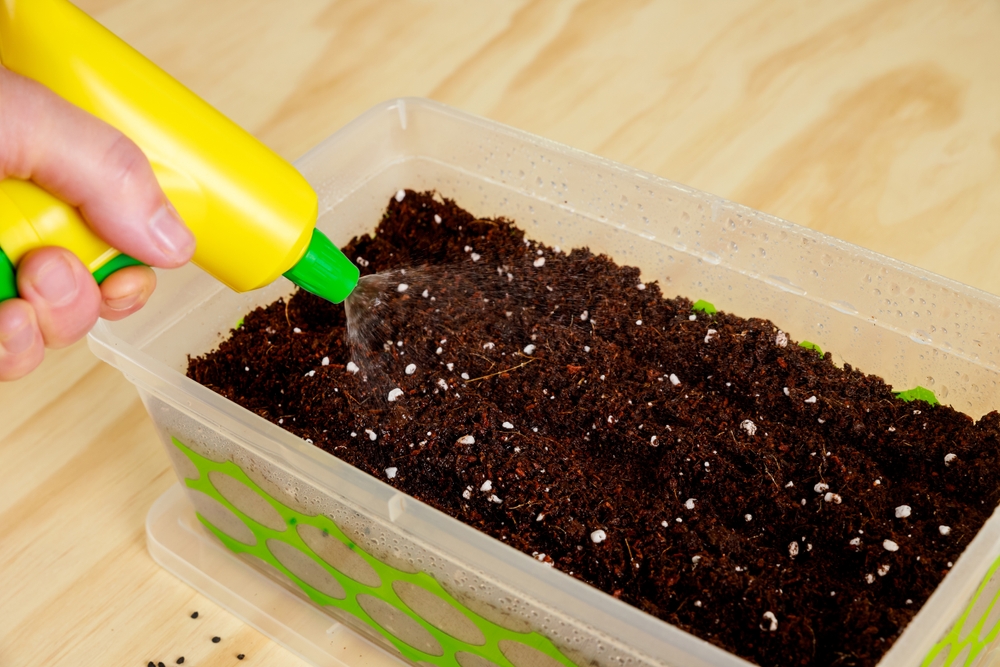
Choosing the right seed-starting mix is a critical step in ensuring your seeds germinate successfully. A sterile, well-draining seed-starting mix is essential because it reduces the risk of disease and fungus, which can easily harm young plants. Most commercial seed-starting mixes are made from a blend of peat, perlite, and vermiculite, providing good aeration and moisture retention. For late-winter gardeners with limited time, using pre-made, sterile mix saves the hassle of creating your own mix, and it offers a reliable base for healthy seedlings. Be sure to moisten the mix before sowing to help the seeds settle in and begin their growth cycle.
When filling containers with your seed-starting mix, avoid packing it too tightly, as seeds need room to sprout. If you are using milk jugs for winter sowing or small seed trays, ensure that the mix is spread evenly and lightly pressed to avoid creating pockets of dry soil. Once the seeds are sown, keep the soil moist but not soaking, as too much water can lead to root rot. A moist, well-aerated mix helps promote strong root systems and reduces the likelihood of damping-off, a common fungal disease. By using a sterile, moist seed-starting mix, you ensure that your seeds have the best possible start for a successful growing season.
Label Containers
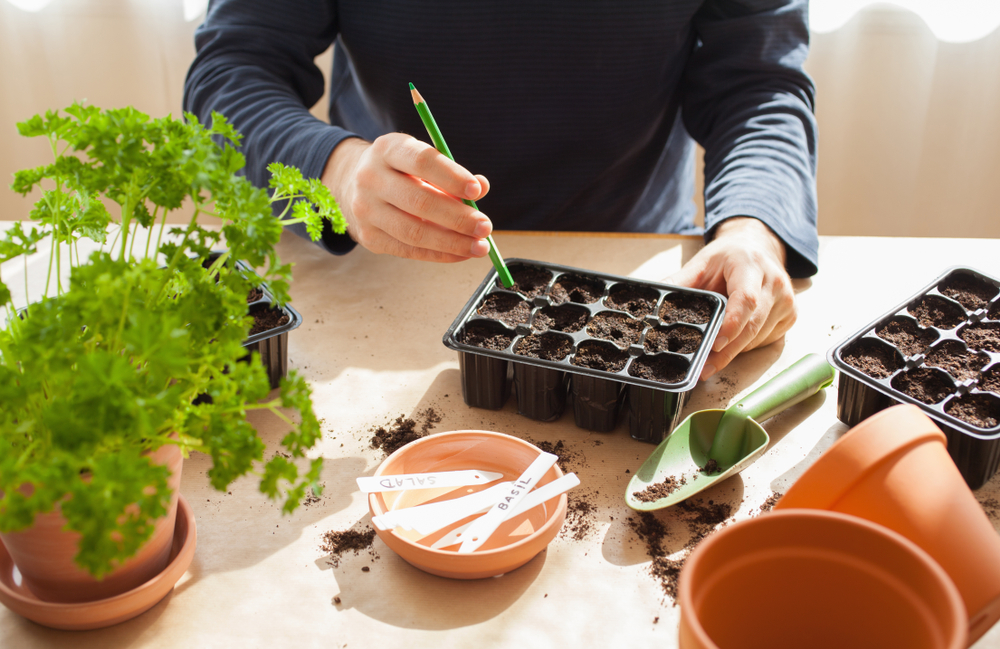
Labeling your seed containers is a simple but important task for staying organized, especially when dealing with multiple types of seeds. At the start of each planting session, write the name of the plant, the sowing date, and any other relevant information (like germination time) on a small plant marker or popsicle stick. Clear, legible labels will help you track the progress of each seed and prevent confusion as the seedlings grow. For busy gardeners, a simple, straightforward labeling system ensures that you do not waste time trying to remember which seeds are in which pots or trays.
If you are using winter sowing techniques with milk jugs, labels are just as important. Once you have cut the jug open to check on your seedlings, you want to be able to quickly identify which plants are which, especially when dealing with multiple jugs. Waterproof or laminated labels are the best option for this, as they can withstand outdoor conditions and will not fade easily over time. As the season progresses, you will appreciate having clear labels to help with transplanting, ensuring you place each seedling in the proper location in your garden.
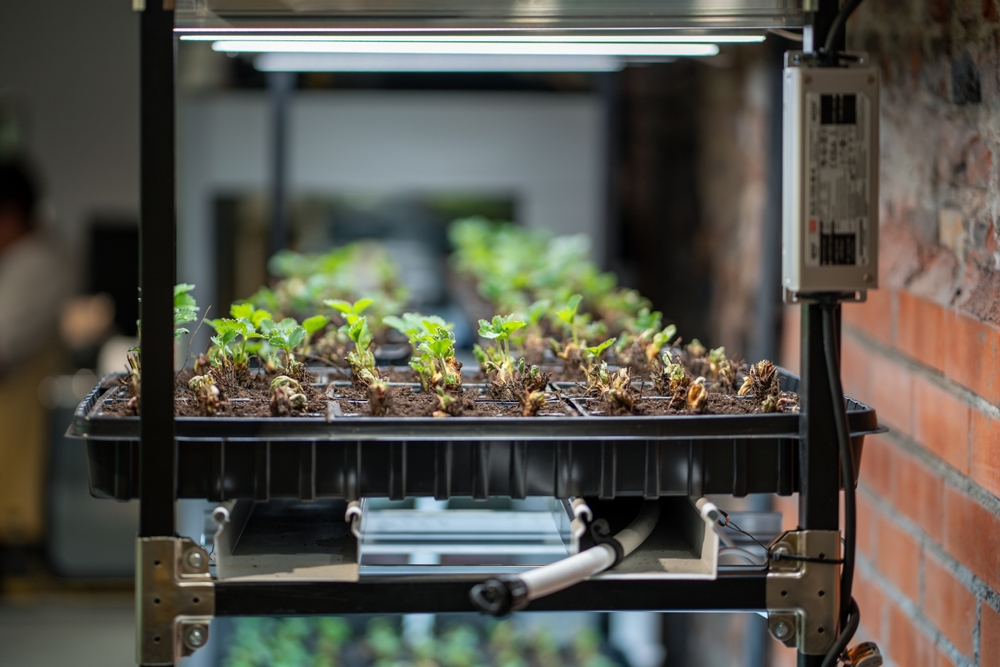
Provide 14–16 Hours of Light

For seedlings to grow strong and healthy, they require adequate light. If you are starting seeds indoors, particularly in late winter when daylight hours are limited, providing 14–16 hours of light per day is essential for successful germination. Grow lights are an excellent option for this, as they simulate natural sunlight, giving your seedlings the light they need to grow at a steady pace. Position the lights just a few inches above the seedlings to prevent them from becoming leggy or weak, ensuring they receive even light exposure.
If using grow lights, set them on a timer to ensure the plants receive consistent light every day, even when you are too busy to monitor them. The steady light cycle will help the seedlings develop strong stems and leaves, preparing them for outdoor conditions once the weather warms up. For gardeners with a tight schedule, this low-maintenance approach allows you to focus on other tasks while still providing optimal conditions for your plants. With enough light, your seedlings will thrive and be ready for transplanting when the time comes.
Keep Soil Damp
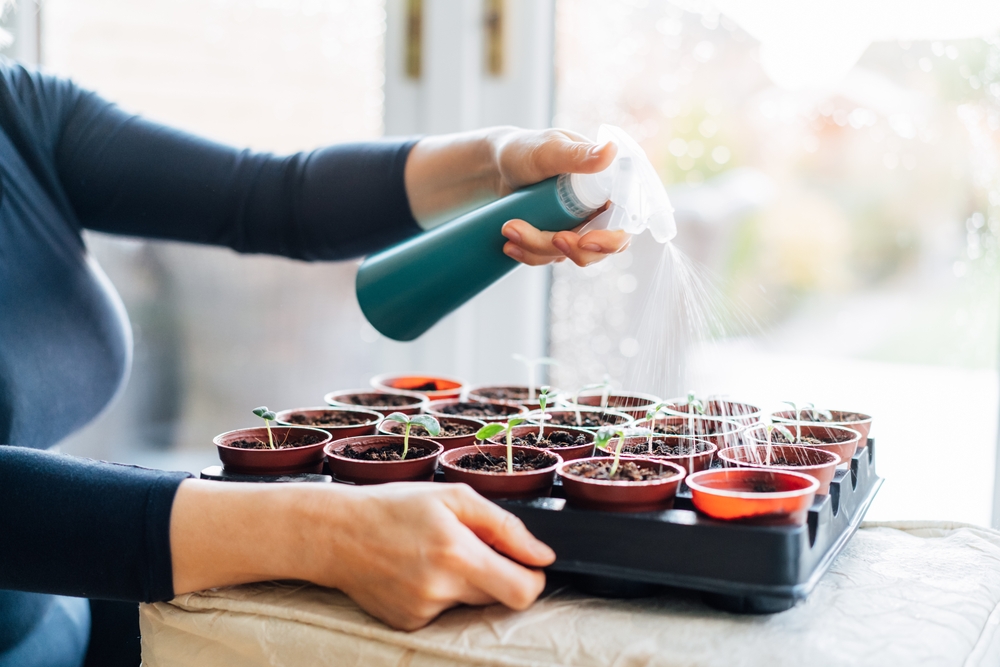
Maintaining the right moisture level is crucial for seedling success, especially in the busy late-winter months. For seeds started indoors or through winter sowing, it is important to keep the soil damp but not soaking wet. Too much water can lead to root rot and mold, while too little will prevent the seeds from germinating properly. For indoor starts, watering from the bottom by placing containers in a shallow tray of water is an efficient method that encourages the seedlings to take in only as much water as they need.
For winter sowing, the sealed milk jug will help maintain moisture levels, but it is important to check occasionally to make sure the soil is still damp. If necessary, add a small amount of water to keep the mix moist, but avoid over-wetting, which can cause fungal problems. Damp soil helps to promote good seedling growth and allows the roots to develop properly, preparing them for a successful transfer to your garden when the weather warms. This simple step, when done correctly, will ensure that your seeds have the best chance to thrive without the need for constant attention.
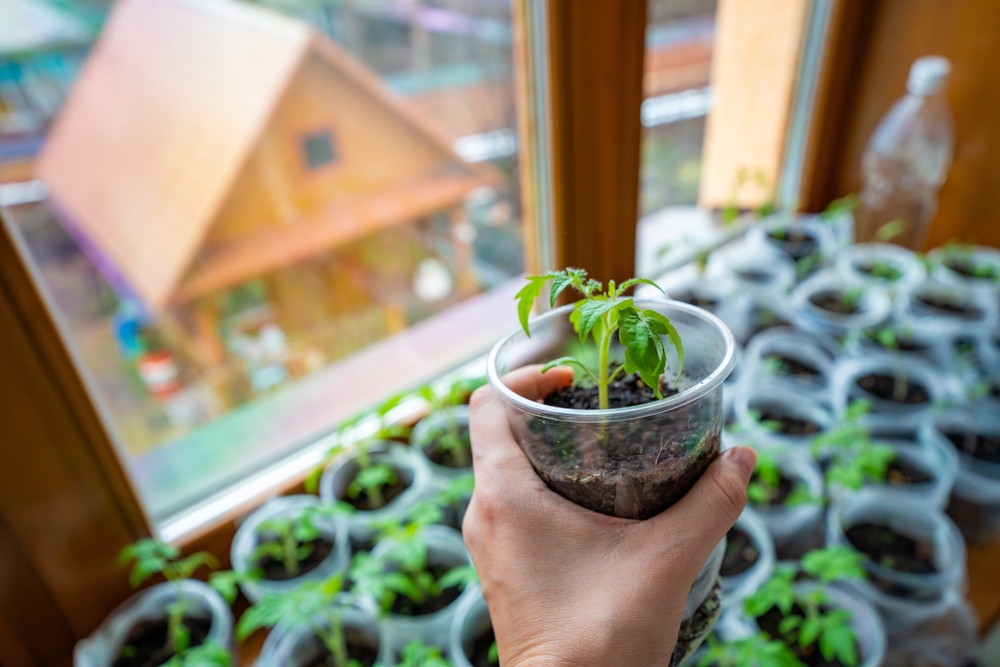
Organize Seed Trays
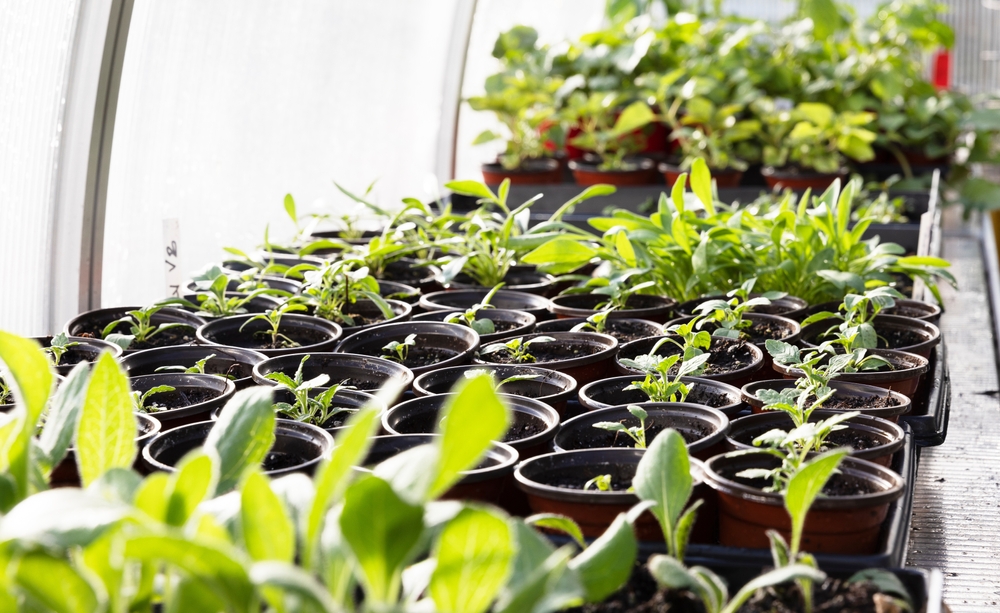
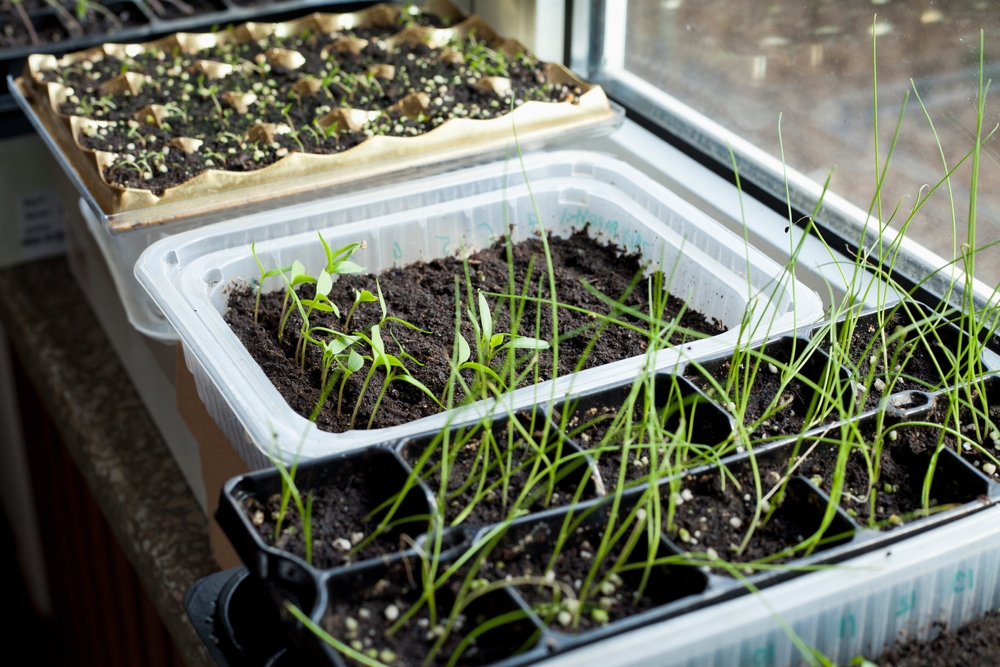
As a busy gardener, organization is key to staying on top of your seed-starting tasks. Using seed trays to group your plants helps you keep everything in one place, making it easier to monitor progress. These trays typically come with separate compartments for each seed, allowing you to start multiple varieties in a small, efficient space. Label each tray with its contents, and consider using a tray with a clear lid to trap moisture and heat, creating a mini greenhouse effect. The ability to quickly assess and adjust the trays as necessary saves time, especially when you have a busy schedule and need to stay efficient.
Seed trays also make it easier to keep track of the watering and light requirements of each seed type. Since many seedlings need slightly different conditions, organizing them by their specific needs will help you avoid overwatering or underwatering. Using multiple trays can help you stagger planting, so you can plant different varieties based on their expected germination times. Once the seeds are ready for transplanting, having them in organized trays will make it easier to move them outside or to their final location in the garden.
Monitor Temperature
Maintaining the right temperature is essential for successful seed germination. For most seeds, the ideal temperature range is between 65–75°F (18–24°C). Using a small space heater or a heat mat under seed trays can help maintain consistent temperatures, especially if your home is cooler during the late winter months. Be sure to check the temperature regularly using a thermometer, as fluctuating temperatures can stress seedlings and delay growth. If you are winter sowing, the outdoor temperatures naturally fluctuate, but the milk jugs help regulate the temperature for cold-hardy plants.
Proper temperature control speeds up germination and allows for a more predictable growing process. For particularly sensitive seeds, it is important to monitor the heat closely to ensure the environment does not become too warm or too cold. As the seedlings mature and become ready for transplanting, you can gradually acclimate them to the outside temperatures, reducing the shock of moving them from the warmth of indoors to the cooler outdoors.
Use Heat Mats for Extra Warmth
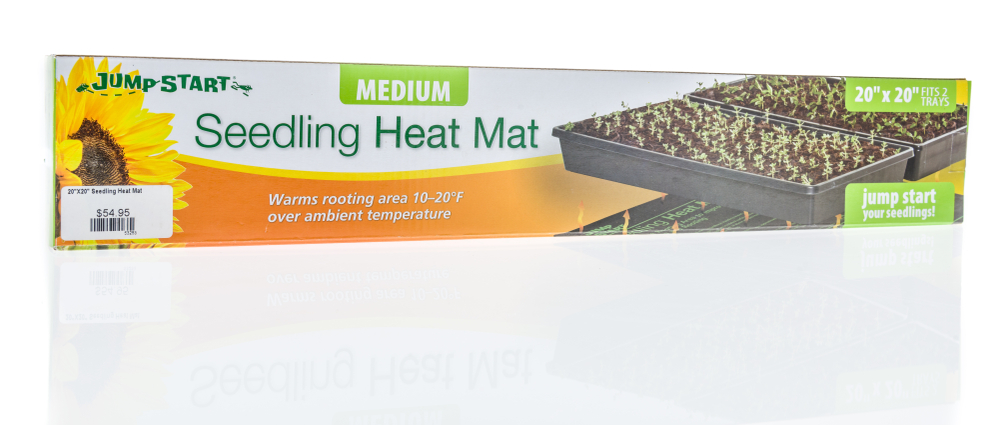
For gardeners who are starting seeds indoors during the late winter, using a heat mat is an easy way to encourage quicker germination. Heat mats provide consistent, gentle warmth to seed trays, ensuring the soil stays at the optimal temperature for seedling growth. This is especially helpful if your home is colder than the ideal temperature range for germination. The mats are designed to raise the temperature of the soil, not the air around the seedlings, so they help to stimulate root growth without causing the seeds to dry out or overheat.
Heat mats can be particularly beneficial for slower-germinating seeds that require a warm environment to sprout. By using heat mats in combination with grow lights, you can simulate the ideal growing conditions for your seeds, even in the colder months. Keep in mind that not all seeds need a heat mat, so it is best to use it for seeds that thrive in warmer soil, such as tomatoes or peppers. The result is healthier, stronger seedlings that are ready to be transplanted when the season changes.
Keep Seedlings Ventilated
Proper ventilation is crucial to prevent fungal growth and ensure healthy seedling development. Whether you are using seed trays, milk jugs, or other containers, make sure to provide some airflow to keep the seedlings healthy. A small fan set on low can help to improve airflow, especially if you are starting seeds indoors, where humidity can easily build up. If using milk jugs for winter sowing, cutting small slits in the lid allows for natural air circulation, preventing the buildup of excess moisture that can lead to mold or rot.
Good ventilation also helps strengthen seedling stems, as they are exposed to gentle air movement. This encourages them to grow stronger and more resilient, which is important when it is time to transplant them into the garden. Overcrowding in a confined space without proper airflow can lead to weak seedlings that are more susceptible to disease. By keeping the seedlings ventilated, you are creating an environment that mimics the conditions they will experience once planted outdoors.
Harden Off Seedlings Before Transplanting
Before you move your seedlings outdoors, it is essential to harden them off. This process involves gradually acclimating your seedlings to the outdoor environment to reduce the risk of transplant shock. Start by placing your seedlings outside for a few hours each day, gradually increasing the time and exposure to direct sunlight. This helps the seedlings adapt to temperature fluctuations, wind, and the intensity of the sun, which is critical for their survival once planted in the garden.
The hardening-off process typically takes about a week and is necessary for plants started indoors or through winter sowing. Begin with a shady area and slowly introduce the seedlings to more sunlight over the course of the week. During this time, it is also important to monitor them for any signs of stress, such as wilting or yellowing leaves. By the end of the hardening-off period, your seedlings will be stronger and more ready to face the outdoor conditions, making them more likely to thrive when transplanted into the garden.
This article originally appeared on Avocadu.