15 Budget Friendly Garden Upgrades to Do Before Spring
Spring gardening feels a lot easier when a few small upgrades are already done. This list focuses on simple, budget-friendly projects you can tackle now with basic supplies and a little weekend time. You will find quick ways to refresh beds, improve paths, save water, and reuse what you already have so your yard is ready as soon as the weather warms up.
This post may contain affiliate links, which helps keep this content free. Please read our disclosure for more info.
Refresh Your Mulch With One Affordable Bulk Drop
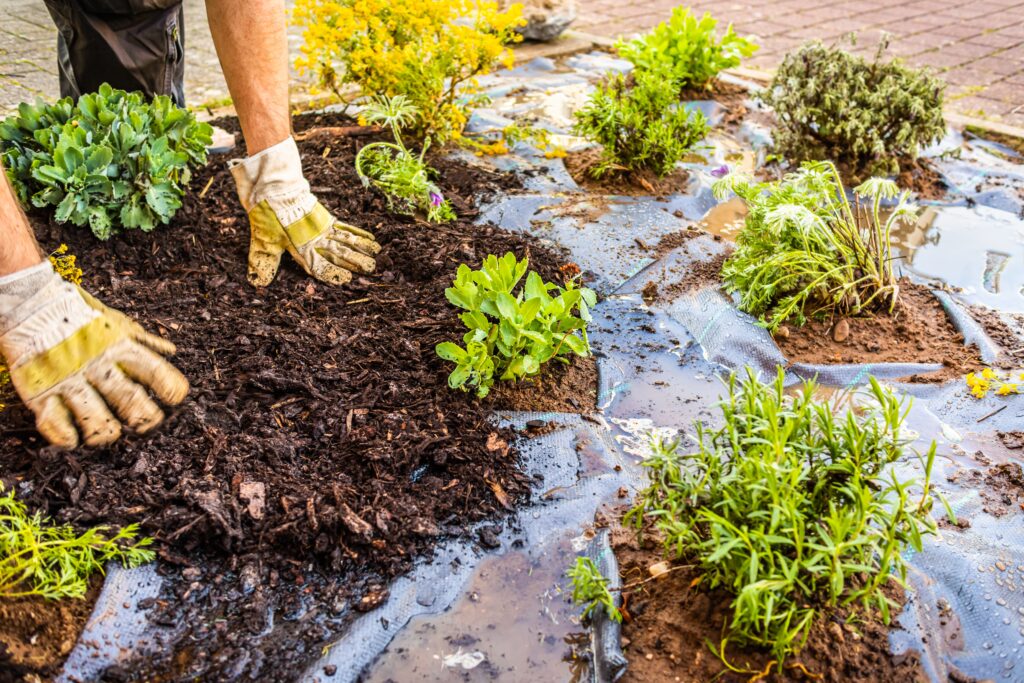
Old mulch gets thin and patchy by late winter, so a fresh layer helps beds look tidy right away. Call a local mulch yard or garden center and ask for a bulk delivery of shredded bark or wood chips, since bulk is usually cheaper than bags. Rake out matted areas and pull out any weeds you see before you spread anything new. Aim for a 2 to 3 inch layer, keeping mulch a few inches away from plant stems so they do not stay damp.
Spread mulch after a light rain or after you water, since it settles better and stays put. Use a rake to pull mulch into an even blanket, then lightly pat it down around the edges. If you have leftover mulch, pile it on bare spots where mud forms near a gate or hose spigot. A single drop can cover a lot when you focus on the most visible beds first.
Edge Garden Beds With a Simple Spade Cut
A crisp edge makes a garden bed look cared for, even if nothing is blooming yet. Use a flat spade or edging tool and cut straight down along the border where grass meets soil. Remove the thin strip of sod you cut loose and shake off the soil back into the bed. This small step also slows grass from creeping into your planting area.
Work in short sections so your lines stay neat and you do not tire out your hands. If the ground is hard, water the edge the day before so the spade slides in more easily. Re-cutting the edge once or twice a year keeps it looking sharp without buying plastic edging. You can also use the removed sod pieces to patch a thin spot in the lawn.
Add Compost to Beds With a One-Day Top-Dress
Compost is one of the cheapest ways to improve soil texture and plant growth. Spread a 1 to 2 inch layer over garden beds and around shrubs, then lightly rake it smooth. You do not have to dig it in, since rain and worms will pull nutrients down over time. Bagged compost works for small spaces, while bulk compost costs less if you have a larger yard.
Choose compost that smells earthy, not sour, and looks dark and crumbly. Keep compost off plant crowns and away from woody stems to prevent rot. If you are feeding vegetable beds, add compost a few weeks before planting so the surface settles. This simple top-dress also makes soil easier to work when spring planting starts.
Plant a Row of Cool-Season Seeds in Cheap Trays
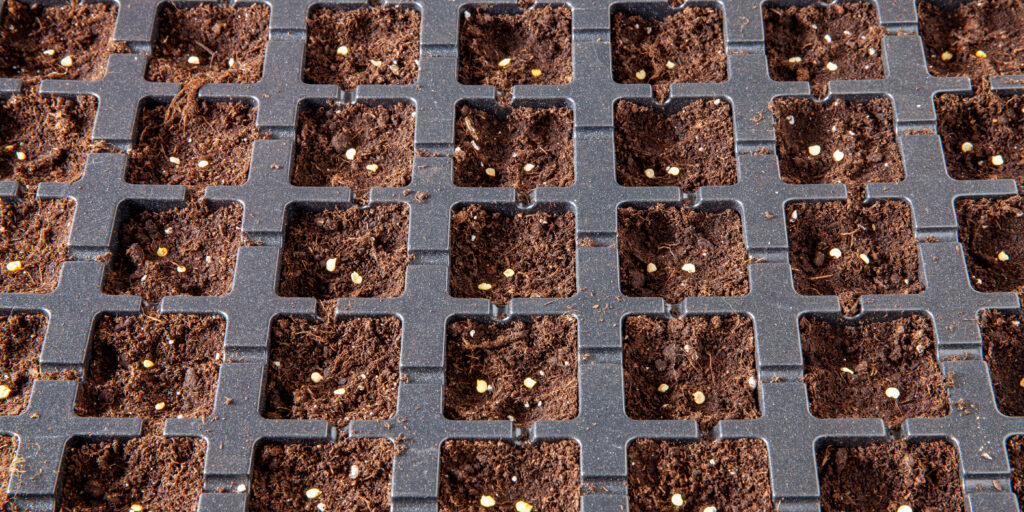
Starting a few cool-season plants early can save money at the garden center. Use inexpensive seed trays, recycled yogurt cups with drainage holes, or shallow takeout containers. Fill them with seed-starting mix, water it well, then sow hardy seeds like lettuce, kale, spinach, or peas based on your climate. A sunny window works, and a cheap shop light can help if your window light is weak.
Label each tray with the plant name and the date so you know what is what later. Water from the bottom when possible so the soil stays evenly moist without washing seeds away. Once seedlings have two or three true leaves, harden them off by placing them outside for short periods. These early starts often transplant into the garden with less stress than store-bought plants.
Start a DIY Worm Bin for Free Fertilizer
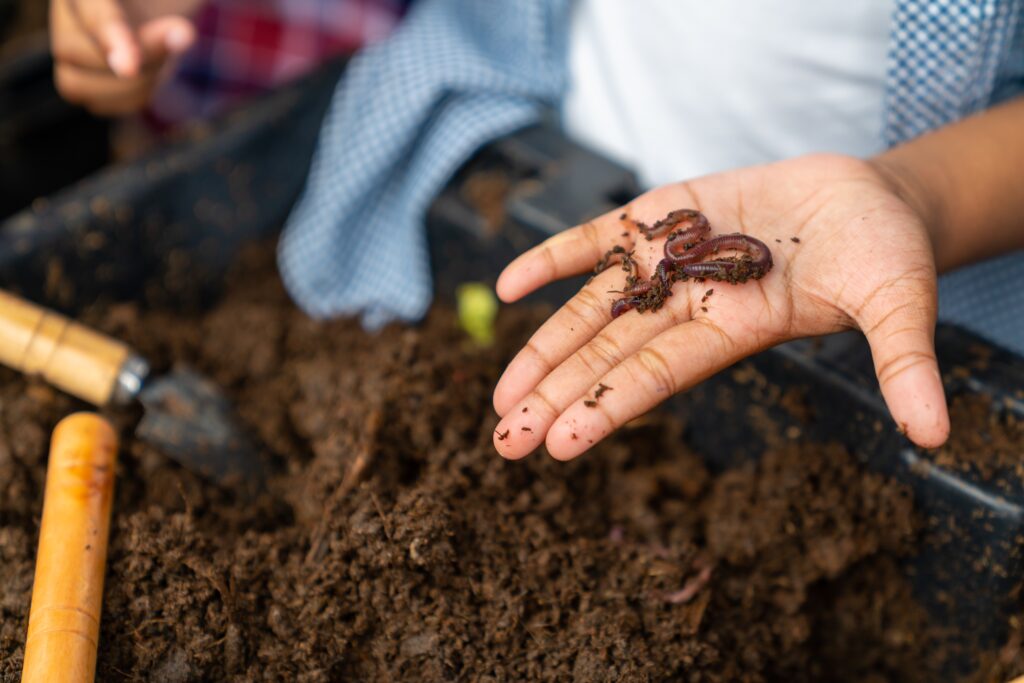
A basic worm bin turns kitchen scraps into rich castings that feed plants. Use a plastic tote with a lid, drill air holes near the top, and add shredded paper or cardboard as bedding. Moisten the bedding until it feels like a wrung-out sponge, then add red wiggler worms and a small amount of food scraps. Keep the bin in a cool spot like a garage or laundry area where it stays out of direct sun.
Feed worms small amounts at first, such as vegetable peels, coffee grounds, or crushed eggshells. Avoid meat, dairy, and oily foods since those can smell bad and attract pests. Stir the top layer gently once a week to keep things airy and to prevent soggy pockets. In a few months you can harvest worm castings and mix a handful into pots or sprinkle a thin layer around plants.
Swap to Soaker Hoses to Save Water and Money
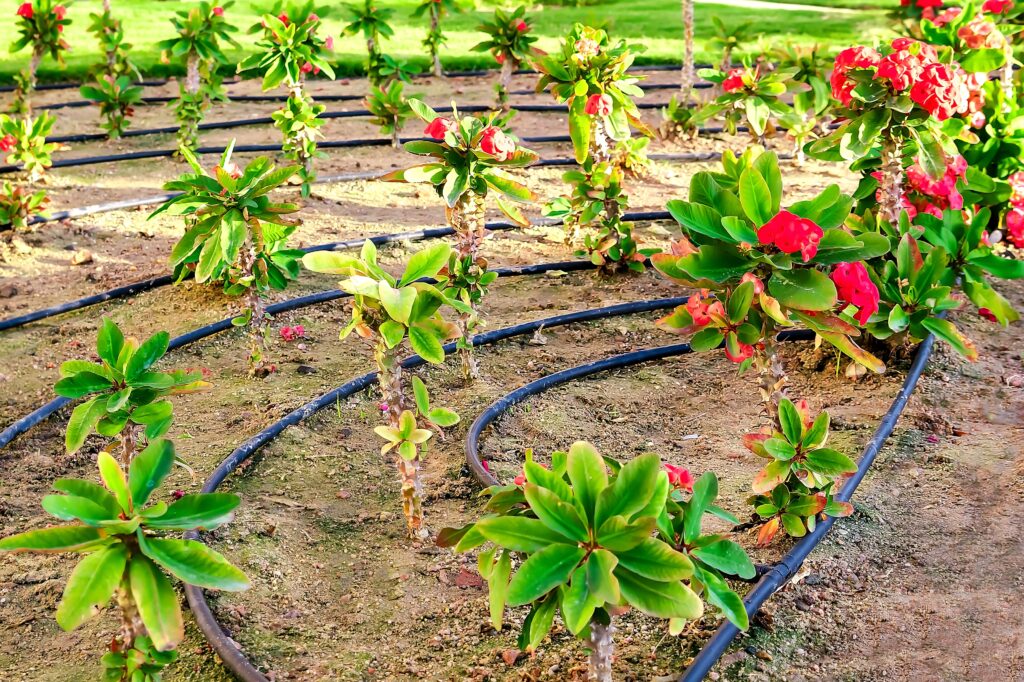
Soaker hoses deliver water slowly right at the soil, which helps reduce waste. Lay them along garden rows or coil them around shrubs, then cover them with a thin layer of mulch to slow evaporation. Hook the hose to a timer if you have one, or simply water for a set amount of time a few mornings per week. You can often find soaker hoses on sale before spring, and one hose can cover several beds when placed carefully.
Check the hose for leaks the first time you run it and adjust the layout where dry spots appear. Watering early in the day helps plants dry off and reduces disease problems. If water pressure is high, add a simple pressure regulator so the hose does not spray unevenly. This change makes watering feel less like a chore, especially once summer heat arrives.
Install a Rain Barrel or a Basic Downspout Diverter
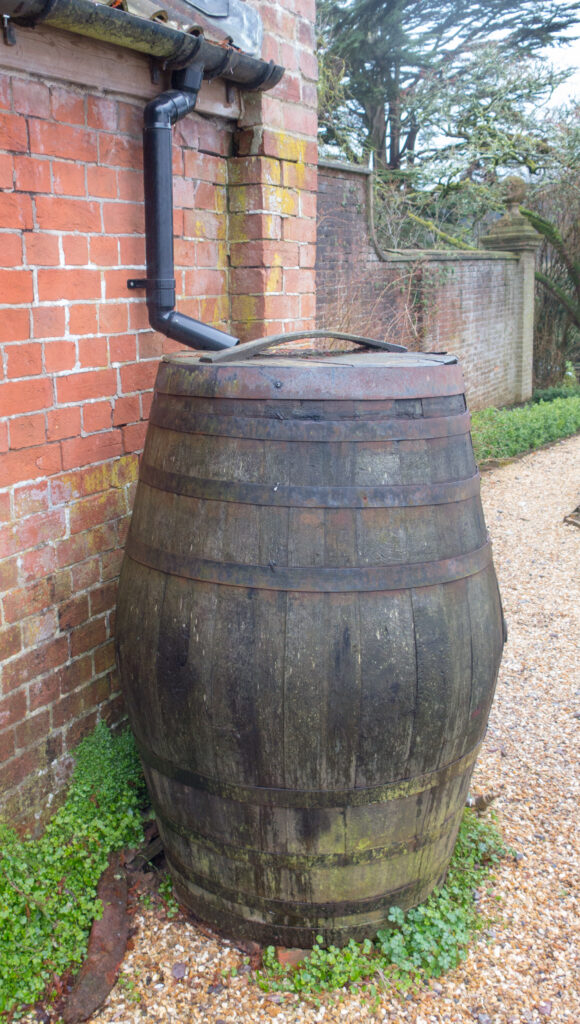
Catching rainwater is a smart way to water without raising your bill. A basic rain barrel can sit under a downspout and fill during storms, giving you free water for pots and beds. If a barrel feels like too much, a downspout diverter can send water into a large lidded trash can for a simple setup. Make sure any container has a screen or tight cover so mosquitoes cannot get in.
Place the barrel on sturdy blocks so you can fit a watering can under the spigot. Add a short hose to the spigot for easy filling, especially if the barrel sits near your garden beds. During heavy rain, use an overflow hose to direct extra water away from your foundation. Even one barrel can make a difference during dry weeks when seedlings need steady moisture.
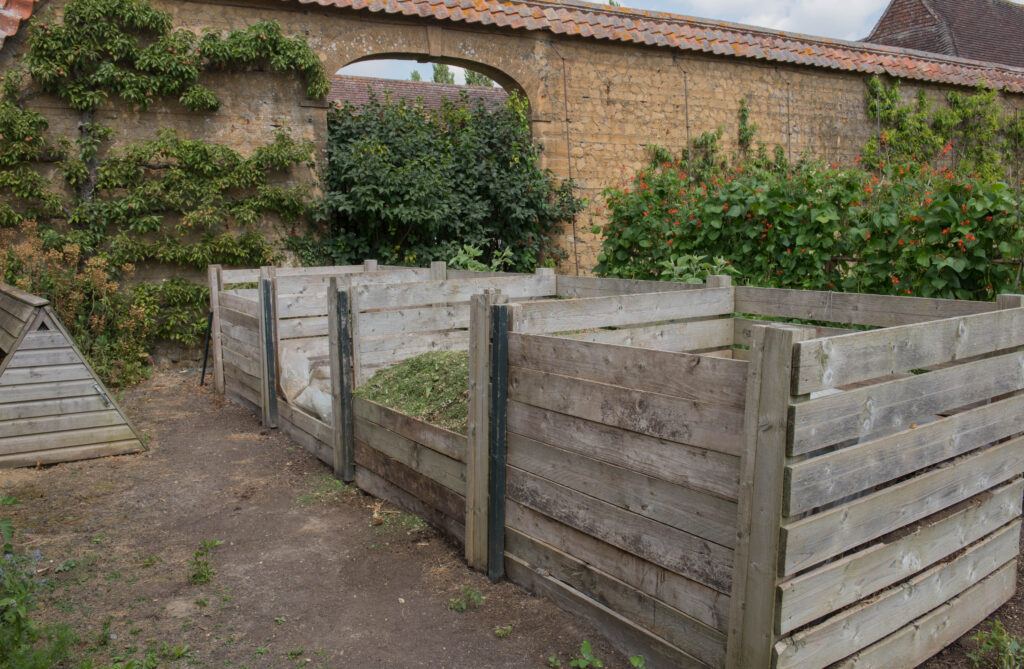
Turn Fallen Leaves Into Leaf Mold in Trash Bags
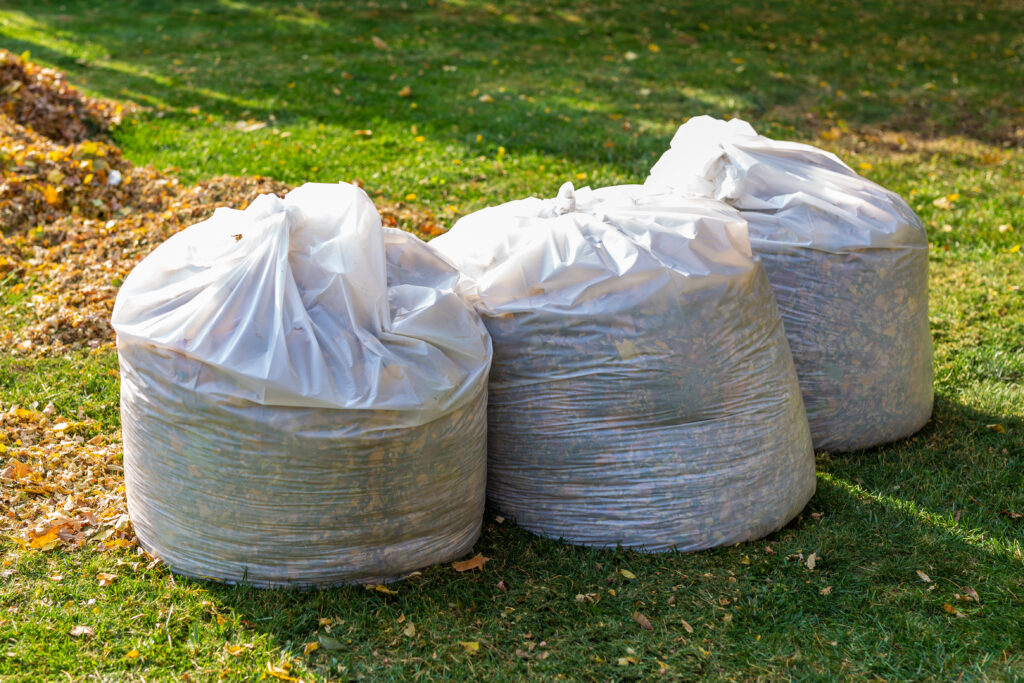
Leaf mold is one of the cheapest soil conditioners you can make at home. Collect fallen leaves, shred them with a mower if you can, then stuff them into black trash bags. Add a little water so the leaves are damp, poke a few small air holes, and set the bags in a quiet corner. Over time the leaves break down into a soft, crumbly material that looks like dark forest soil.
Leaf mold takes patience, but it is very low effort once the bags are set. Check the bags every few weeks and add water if everything feels dry. When it is ready, mix it into beds to help soil hold moisture and loosen heavy ground. You can also use it as a gentle mulch around plants that like rich, cool soil.
Build a Small Raised Bed From Untreated Pallet Wood
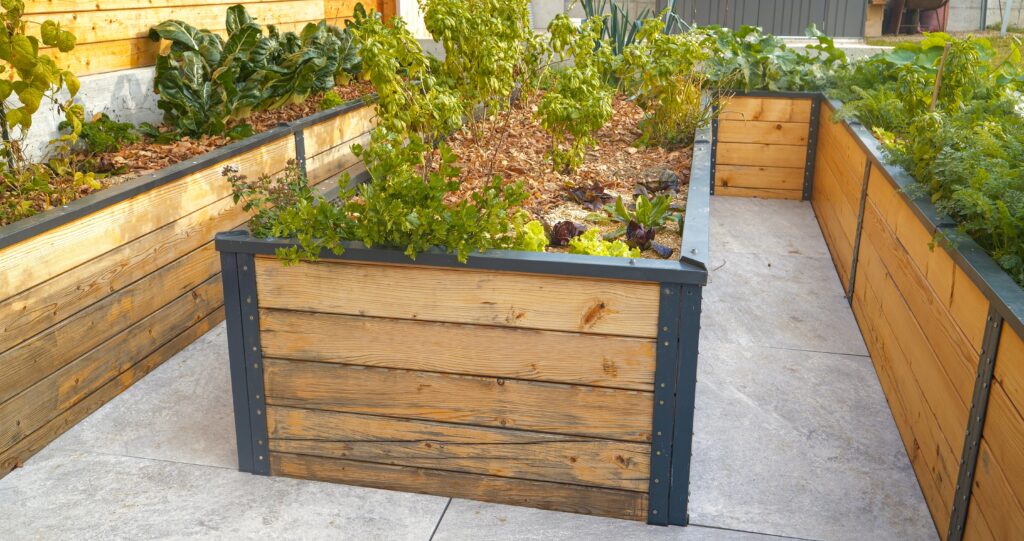
A small raised bed can make planting easier, especially if your soil is rocky or compact. Untreated pallet wood can be used for a simple frame if it is clean, solid, and not marked as chemically treated. Cut boards to size, screw them into a rectangle, then place the frame in a sunny spot on level ground. Line the bottom with cardboard to block weeds and grass before you add soil.
Fill the bed with a mix of compost and topsoil, then water it well so it settles. Keep the bed modest in size, like 3 by 6 feet, so it does not take a lot of soil to fill. This setup warms faster in spring than ground-level beds, which helps early planting. A raised bed also keeps paths cleaner because you are not stepping into loose soil while you work.
Make a Simple Trellis With Twine and Bamboo Stakes
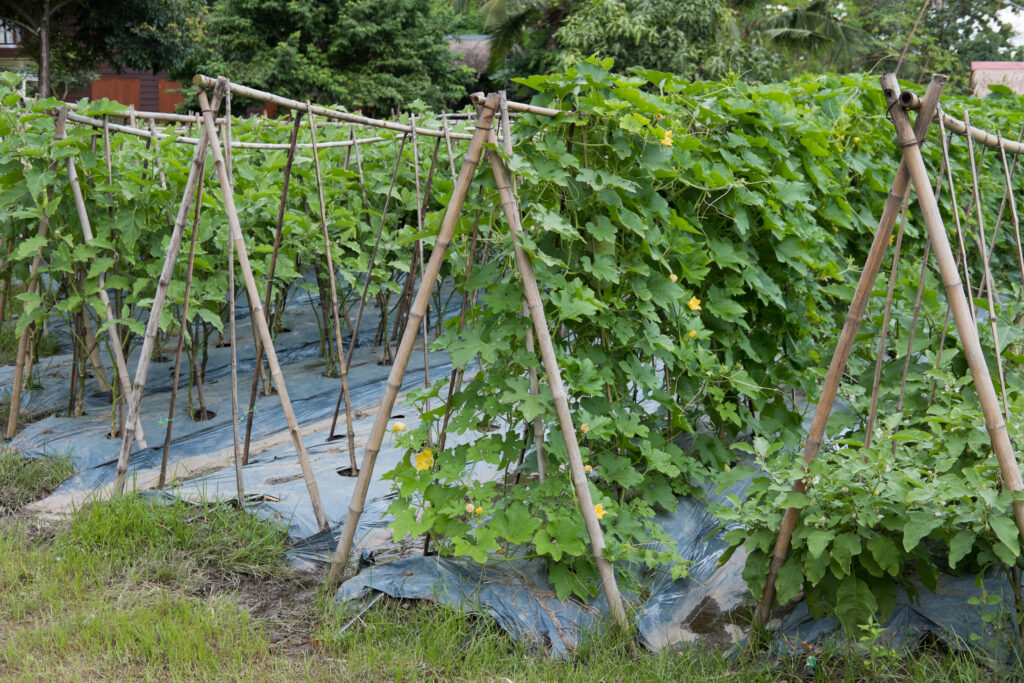
Climbing plants need support, and a basic trellis is cheap to put together. Push bamboo stakes into the soil about 12 inches deep, spacing them along a row or in a teepee shape. Tie twine between stakes in a loose grid so vines have something to grab as they grow. This works well for peas, cucumbers, beans, and even lightweight flowers like sweet peas.
Use outdoor twine or jute that will hold up through spring rain. Check knots as the season goes on and retie any that loosen. If you build it now, the soil is usually soft enough to push stakes in without hammering. At the end of the season you can cut the twine and reuse the bamboo for another year.
Add Solar Path Lights to Brighten Walkways
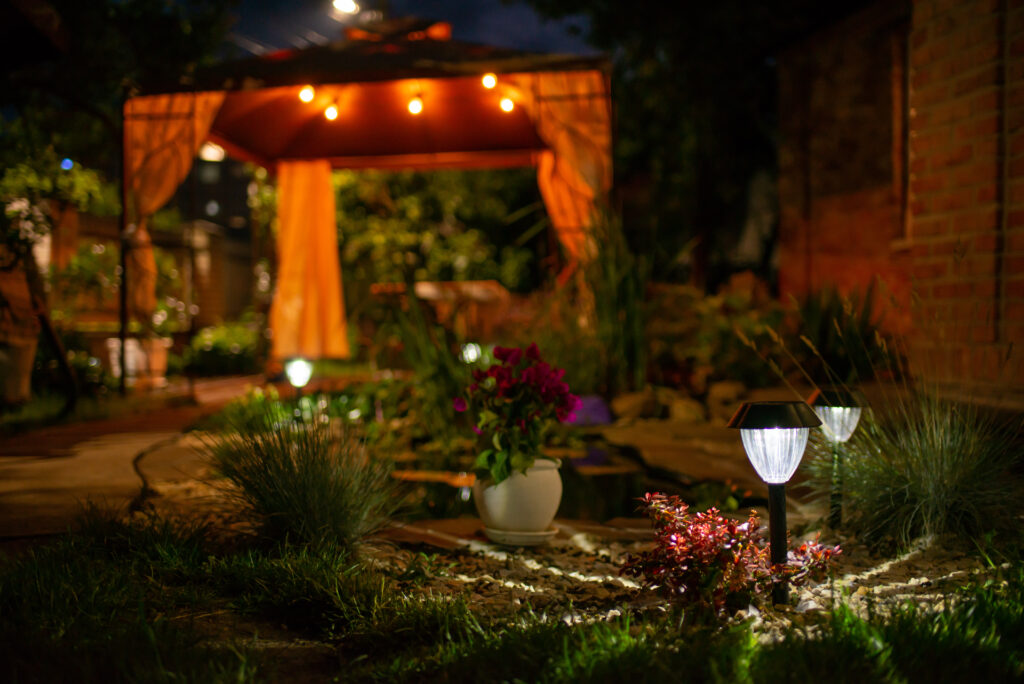
Solar lights are a quick way to make a yard feel safer and more welcoming after dark. Look for simple stake lights or small lantern-style lights, and place them along steps, corners, and path edges. Clean the solar panels with a damp cloth before you set them out so they charge well. Even a small set can define a walkway and reduce trips on uneven ground.
Space lights so they guide the eye, not so they crowd the path. Set them where they get at least a few hours of sun each day, since shade can weaken the charge. If a light flickers, replace the rechargeable battery instead of tossing the whole unit. This is a small upgrade, yet it makes evening dog walks and early spring dinners outside feel easier.
Create a Gravel or Mulch Path to Reduce Mud
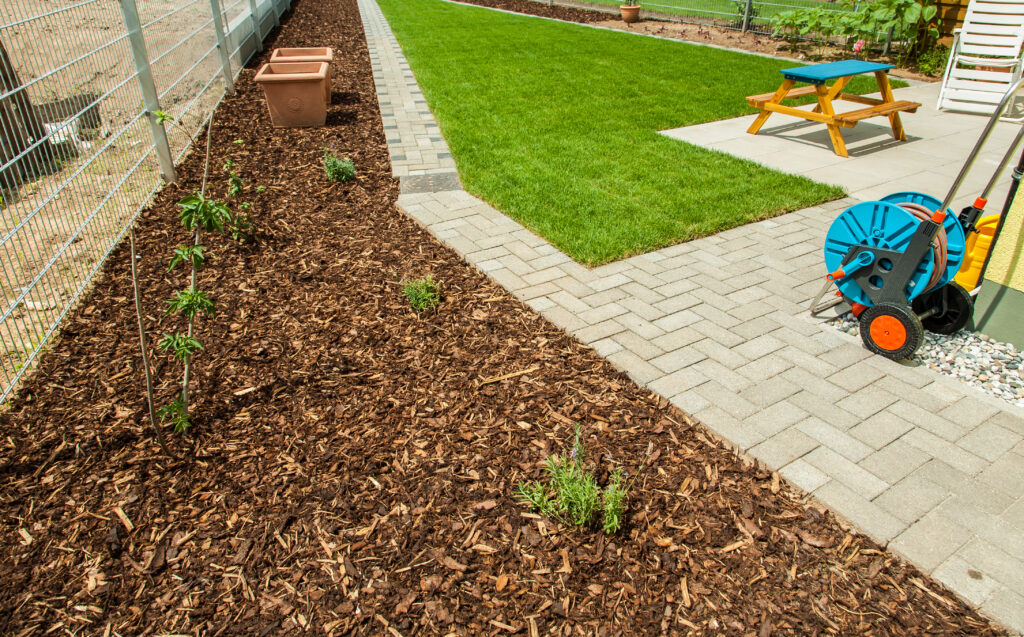
A simple path keeps shoes cleaner and protects garden soil from compaction. Mark the path with a hose or string, then remove sod or weeds down to a shallow, even surface. Lay cardboard or a few layers of newspaper to block weeds, then top it with 2 to 3 inches of gravel or coarse wood chips. The path will drain better, and you will not be slogging through mud after spring rain.
Mulch paths are softer underfoot and easy to refresh with a small top-up later. Gravel lasts longer, though it may need edging to keep it from drifting into beds. If your yard slopes, add a slight crown in the center so water runs off the sides. Once a path is in place, working in the garden feels more organized and less messy.
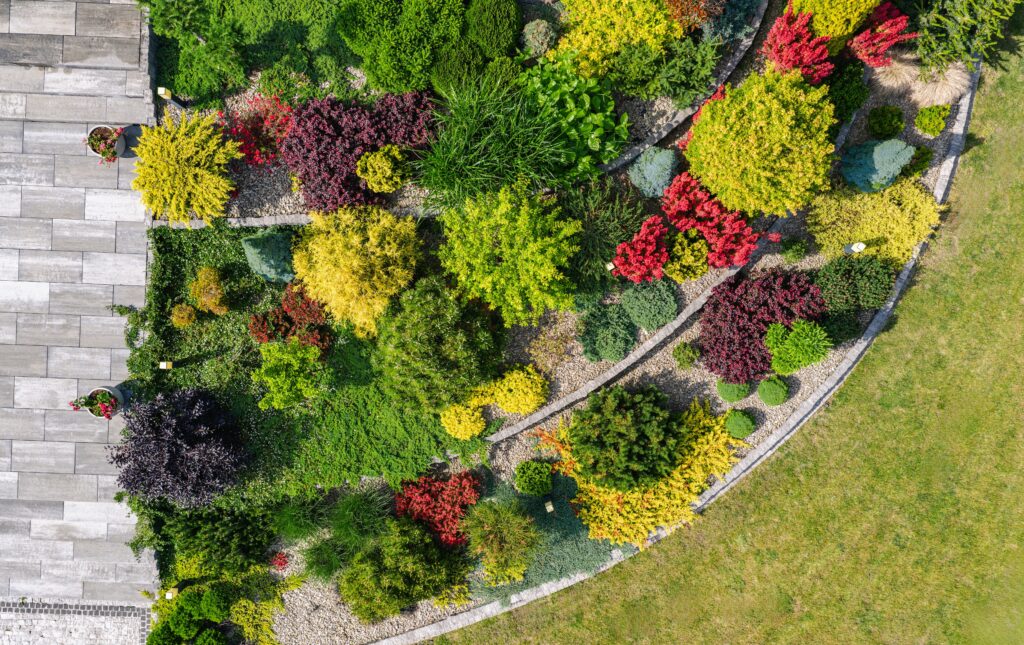
Divide and Replant Perennials You Already Have
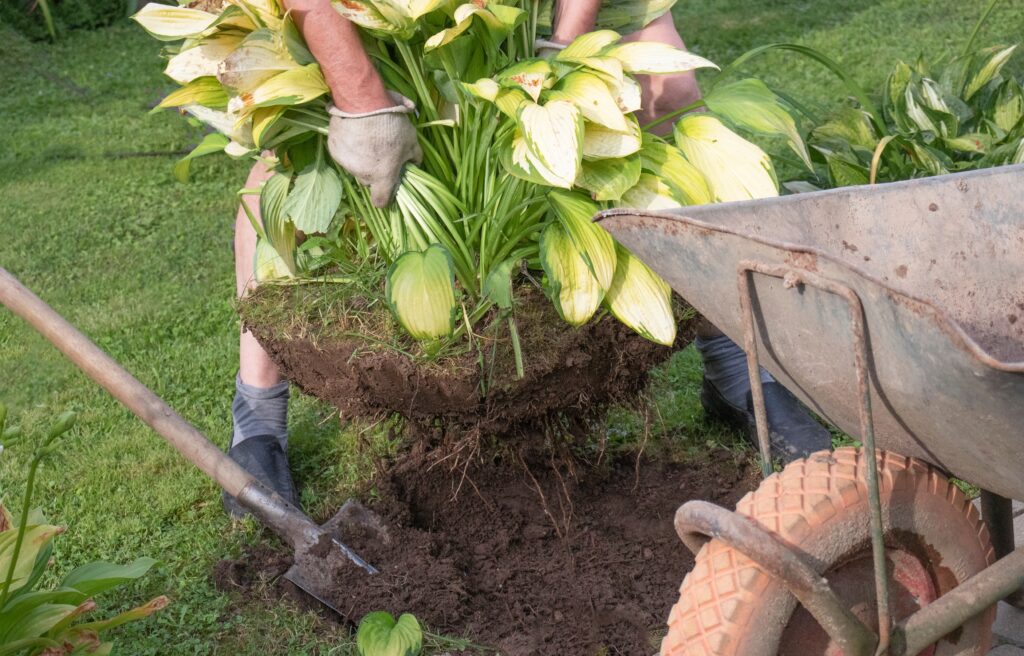
Many perennials grow into big clumps that benefit from being divided every few years. Dig up a healthy clump, shake off soil, then split it with a spade or garden knife into smaller sections with roots attached. Replant divisions at the same depth they were growing before and water them well. This gives you more plants for free and often makes the original plant bloom better.
Choose a cool, cloudy day so plants do not dry out while you work. Keep divisions in a shady spot with damp soil if you cannot replant right away. Share extra pieces with neighbors or use them to fill bare spaces near fences and paths. This simple task can change the look of a garden without spending anything.
Clean and Sharpen Tools Instead of Replacing Them
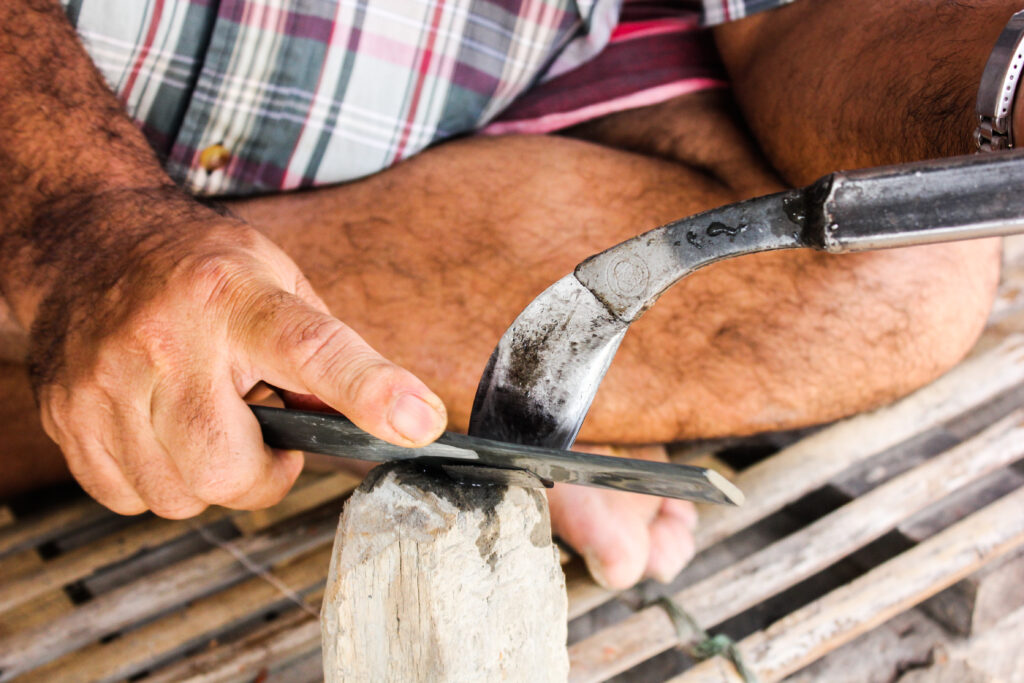
Tools work better and last longer when they are cleaned before the busy season starts. Scrub off dirt with a stiff brush, then wipe metal parts with a rag and a little oil to slow rust. Sharpen pruners and shovel edges with a basic file, using steady strokes along the existing angle. When blades are sharp, cuts are cleaner and digging takes less effort.
Check wooden handles for splinters and sand them smooth so they are easier to grip. Tighten loose screws and replace missing nuts before you forget. Store tools off the ground in a shed or garage so moisture does not eat away at metal. This kind of upkeep costs very little, yet it pays off every time you work outside.
Make Plant Labels From Popsicle Sticks or Scrap Plastic
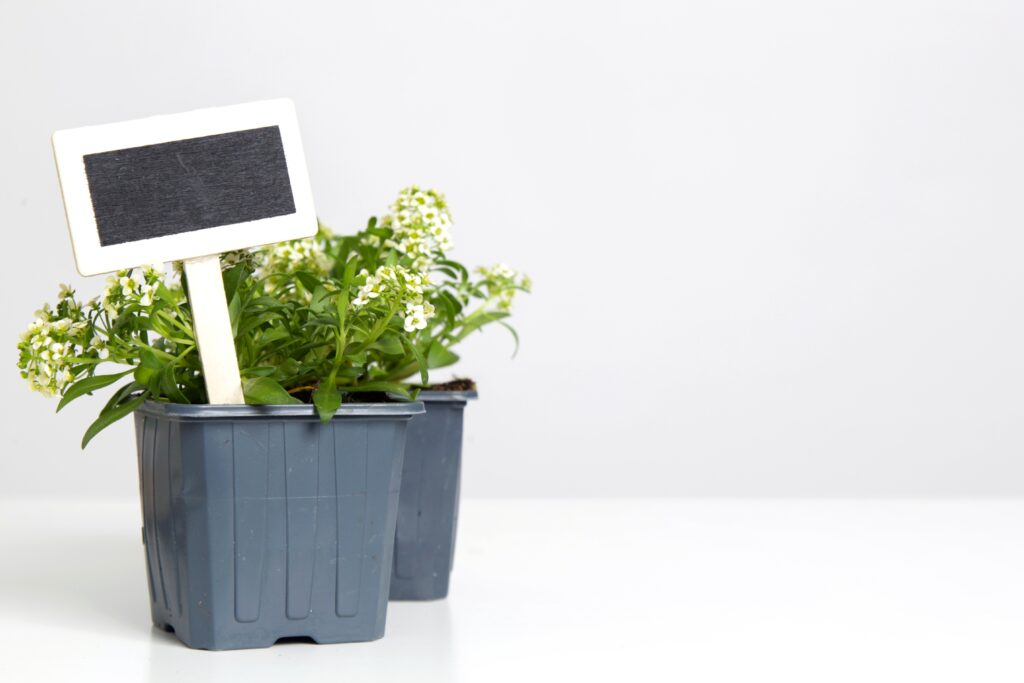
Labels keep you from forgetting what you planted and where it went. Popsicle sticks, plastic yogurt lids cut into strips, or old blinds cut into pieces all work well. Write with a waterproof marker, then push labels into the soil near seedlings or tuck them at the edge of a row. This saves money and also helps you track what worked well when you plan next year.
For extra protection, cover the writing with clear tape so rain does not fade it. Use shorter labels for pots and taller ones for garden beds so they do not get buried under mulch. If you are starting seeds indoors, label trays now and carry the label outside when you transplant. A little organization early can prevent a lot of guessing later in spring.
This article originally appeared on Avocadu.