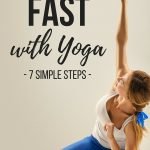
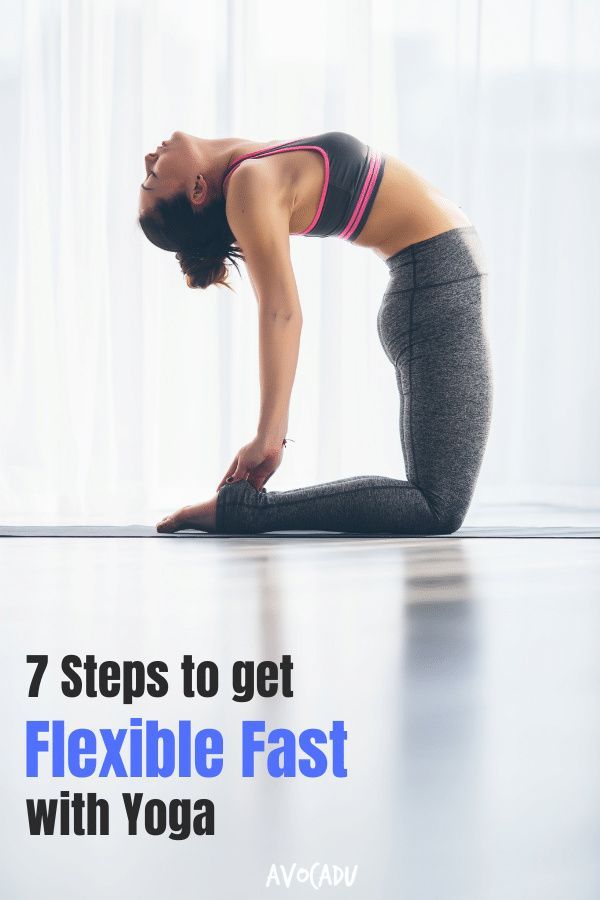
How to Get Flexible Fast with Yoga, 7 Simple Steps
This post may contain affiliate links, which helps keep this content free. Please read our disclosure for more info.
Looking to get flexible fast with yoga?
So you’ve started your yoga journey and realized just how inflexible you are.
Or maybe you just decided to do a little stretching this morning and noticed just how far away your toes are.
Maybe you have chronic aches and pains that led you to look into yoga and flexibility to heal them. Either way, you have come to the right place.
While there is no magic pill or magic stretch for increasing your flexibility overnight, there are tips, tricks, and methods that you can practice to get more flexible, faster.
Before we get started, we just wanted to remind you to never compare your level of flexibility and progress with that of others.
People are born with natural levels of flexibility, and some people have to work MUCH HARDER at it than others (myself included).
It’s great to have a friend or famous yogi to admire and help motivate you but remember that this is your journey and you should only compare your progress against yourself.
1. Set specific goals, and let them be your motivation.
What is the reason that you are trying to get more flexible? Is it because you want to do the splits? Is it because you saw this certain pose and just HAVE to be able to do it? Is it because you want to relieve your lower back pain?
Find your reason, and set that as your goal. Let it motivate you to get on your mat every day and stretch it out.
For me, the biggest goal I have had since starting yoga is to be able to do the splits. I am fairly tall, and VERY inflexible, especially in the hamstrings. I have to work at it EVERY DAY, but I do, because I want to get there and know that I can with practice!
2. Find out what yoga poses and stretches are best for what you want to accomplish.

There are so many different places that you can increase your flexibility, and so many different yoga poses and stretches to get you there. That being said, there are some poses that will help get you there faster and are more worth your time than others.
We will include some of the basic yoga poses for flexibility below:
- Hamstrings: Forward Bend, Head-to-Knee Forward Bend, Half Splits
- Hips: Pigeon Pose, Crescent Lunge
- Back: Cobra Pose, Upward-Facing Dog, Camel Pose, Bow Pose
- Chest and Shoulders: Puppy Pose
3. Practice, Practice, Practice.
Some of the most common questions we get regarding stretching and flexibility are:
- How often should I stretch?
- How long should I stretch?
I wish there was a magic number to tell you here. I know that I was looking for it when I started my flexibility journey. The truth is, it depends.
It depends on just how fast you want to achieve your goals. It depends on whether you tend to get sore from stretching. It depends on how much time you want to invest. Let’s talk about it…

How often should I stretch? If you are looking for serious and tangible results, you should stretch at a fair level of intensity AT LEAST 3x per week. If you want FAST results, you should stretch every day.
Some days can be longer and more intense stretching than others, but you should be getting those muscles warmed up in some way at least once per day.
How long should I stretch? Again this is up to you, but the recommended time to stretch EACH muscle is AT LEAST 30 seconds if you want to see real results.
It’s even better if you can stretch a certain muscle group for at least 1 minute at a time. For example, my goal is the splits, so I spend at least 1 minute in every type of stretch or pose that I do for my hamstrings and my hips (because flexibility in both is necessary for the splits).
When you are stretching, reach as far as you comfortably can and hold the pose. When your body adjusts, and you feel the tension ease up a bit, try to stretch a little further. Continue this process through the 30 seconds – 1 minute.
You will likely experience mild soreness some days, but this is normal and does not mean that you have to stop stretching. Slowly ease into the stretch the next day, and the soreness will dissipate.
Be aware though that pain is not normal and means that you may have pulled a muscle. Make sure to start slowly, and listen to your body. Ease up when you feel any pain. An injury will set you back weeks or even months.
It seems a little time consuming, right? Well, this leads to our next point…
4. Let the TV be your accountability partner.

Yogis everywhere may cringe at those words, because yoga is supposed to be all about quiet time, meditation, etc. Well yes, that is true…
But I have to say, when you are working long and hard on your flexibility and repeating the same or similar stretches every single day, it can sure get BORING sometimes…
I find that it helps me to watch an hour-long episode while I stretch. It’s a good break from work, and it helps to keep me accountable to work out the full hour that the show is on.
Just make sure that you are still concentrating and focusing enough on the poses and your body. It should not be something that is so engaging or distracting that you can’t focus on your body and your goals.
5. Take progress photos.

I can’t stress this point enough. Please don’t read over it and discount it immediately. It has been THE most invaluable tool throughout my flexibility journey.
Photos serve as hard evidence that you ARE making progress. Flexibility can feel like slow work, and it can be very frustrating at times.
It can be enough to make you want to quit because you feel like you are getting nowhere.
I felt like that during my splits journey. Alex forced me to take a progress photo once, and I was blown away by how close I was! It didn’t feel like it at all. The problem was that I just couldn’t SEE it myself. This also helped to motivate me to work even harder!
Try taking photos every 2 weeks or so to see how quickly you are progressing. You can keep them on your phone or post them to Instagram (which is the best option, because you can compare your photos much easier, and they won’t get lost in your phone library).
6. Use props.

Another invaluable tool I used was a yoga strap. It helps you access hard to reach places and keeps your body properly aligned until you can get the flexibility to get there without it.
Another great tool is a yoga block. This one can also help to ensure that your body is properly aligned and your form is correct until you have the flexibility to reach the ground. It’s also great to use for stretching.
They are both easy tools that can make a huge difference at the beginning of your practice!
7. Use a structured program FOR flexibility.
It can be a little overwhelming and very frustrating to get the process started, stay motivated, and stay on the right track.
I know that when I started, I was trying to work on everything at once. There were so many poses with so many different benefits. I ended up getting barely better at everything rather than much better at my goals.
This is why I created a Flexibility Guide as part of my Yoga Fat Loss Bible for Beginners.
The Yoga Bible itself has 50-fat burning yoga poses with pictures and full instructions that are aimed at all of the most common areas of yoga: strength, balance, flexibility, and meditation.

The Flexibility Guide was created for the number 1 goal of increasing flexibility. I wrote it from the standpoint of my own practice and what has worked the most for me over the past several months.
It is all-encompassing, with the most effective stretches and yoga poses for every muscle group that you want to target. It also includes beginner modifications and other tips and tricks that I have discovered along the way.
Check out the Yoga Fat Loss Bible.
Good luck in your journey, and please leave any comments or questions you may have below!
Great article and superb advice!! Namaste
Where can I get this boook
Jessy, you can just click any of the links at the bottom of the article! 🙂